In this category, we’ll be covering some of the most popular miniature painting techniques to help you get started:
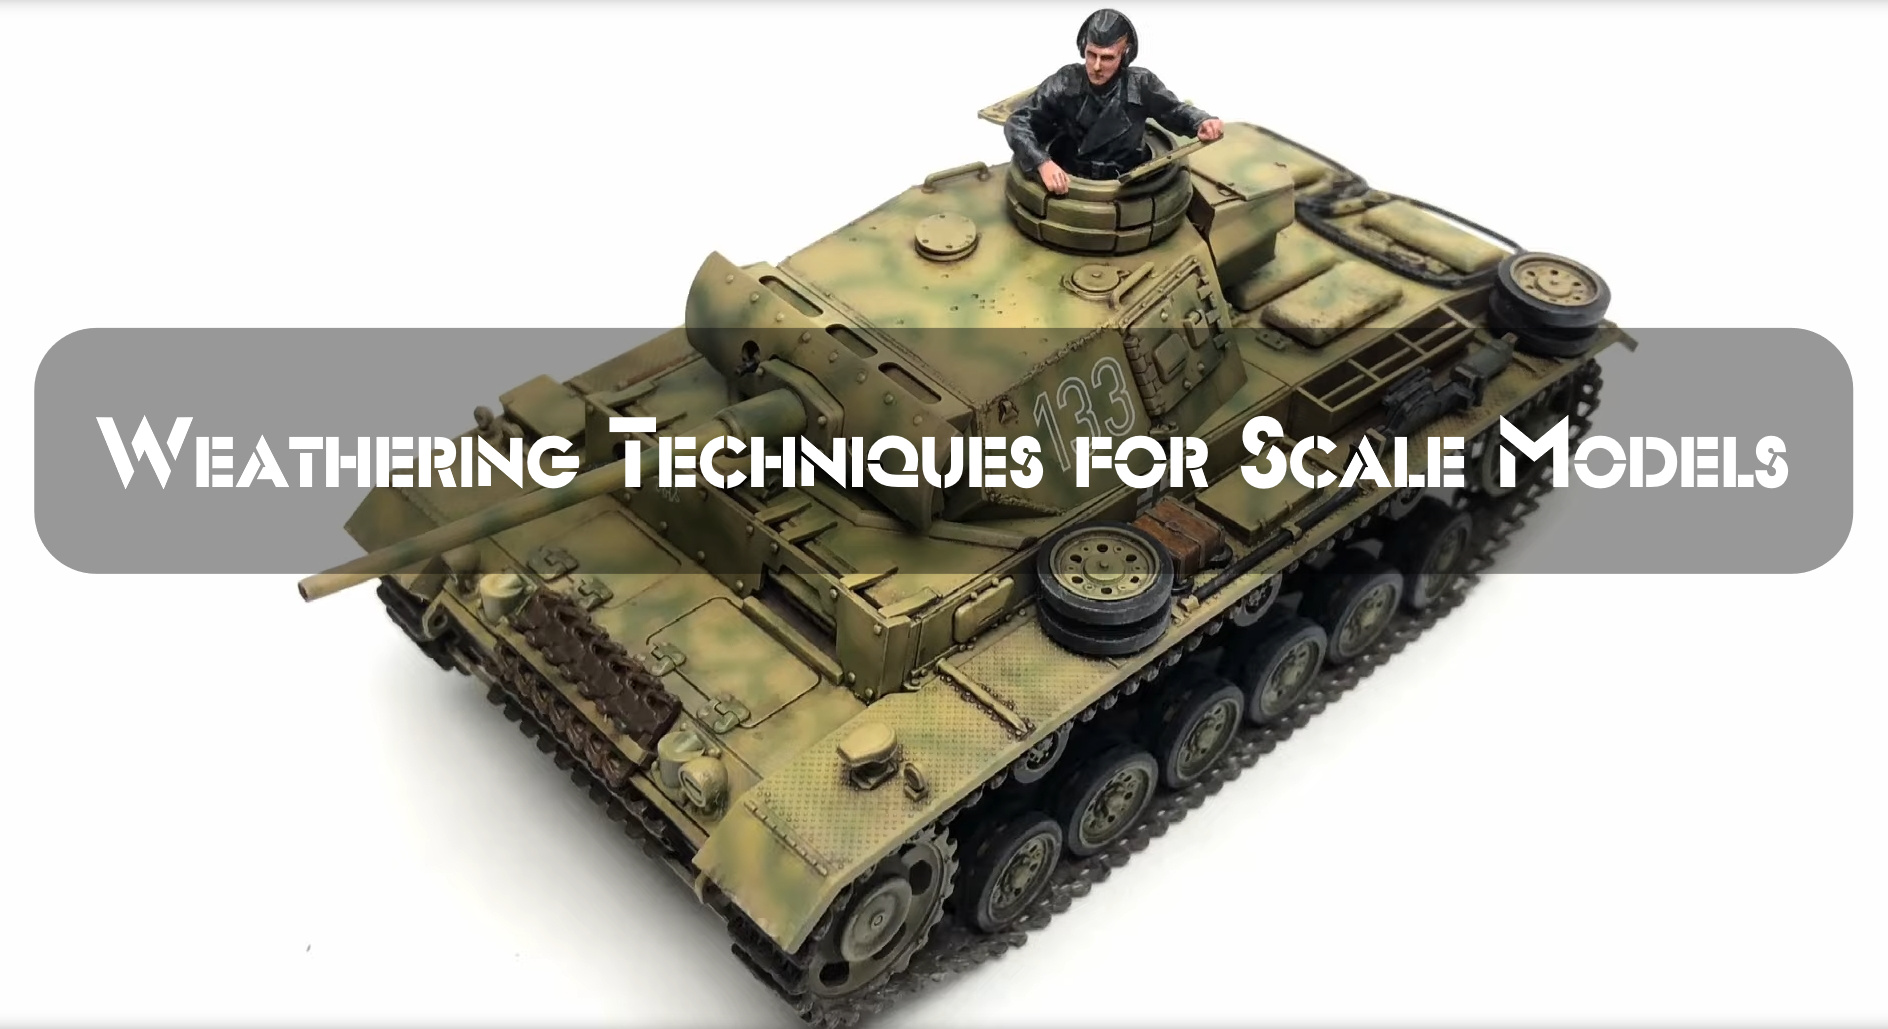
Weathering Techniques
One of the simplest ways to add weathering is to use a black or brown Sharpie marker. This can be used to simulate rust, dirt, and other stains. You can also use a white Sharpie to add highlights, such as scratches or chips in the paint.
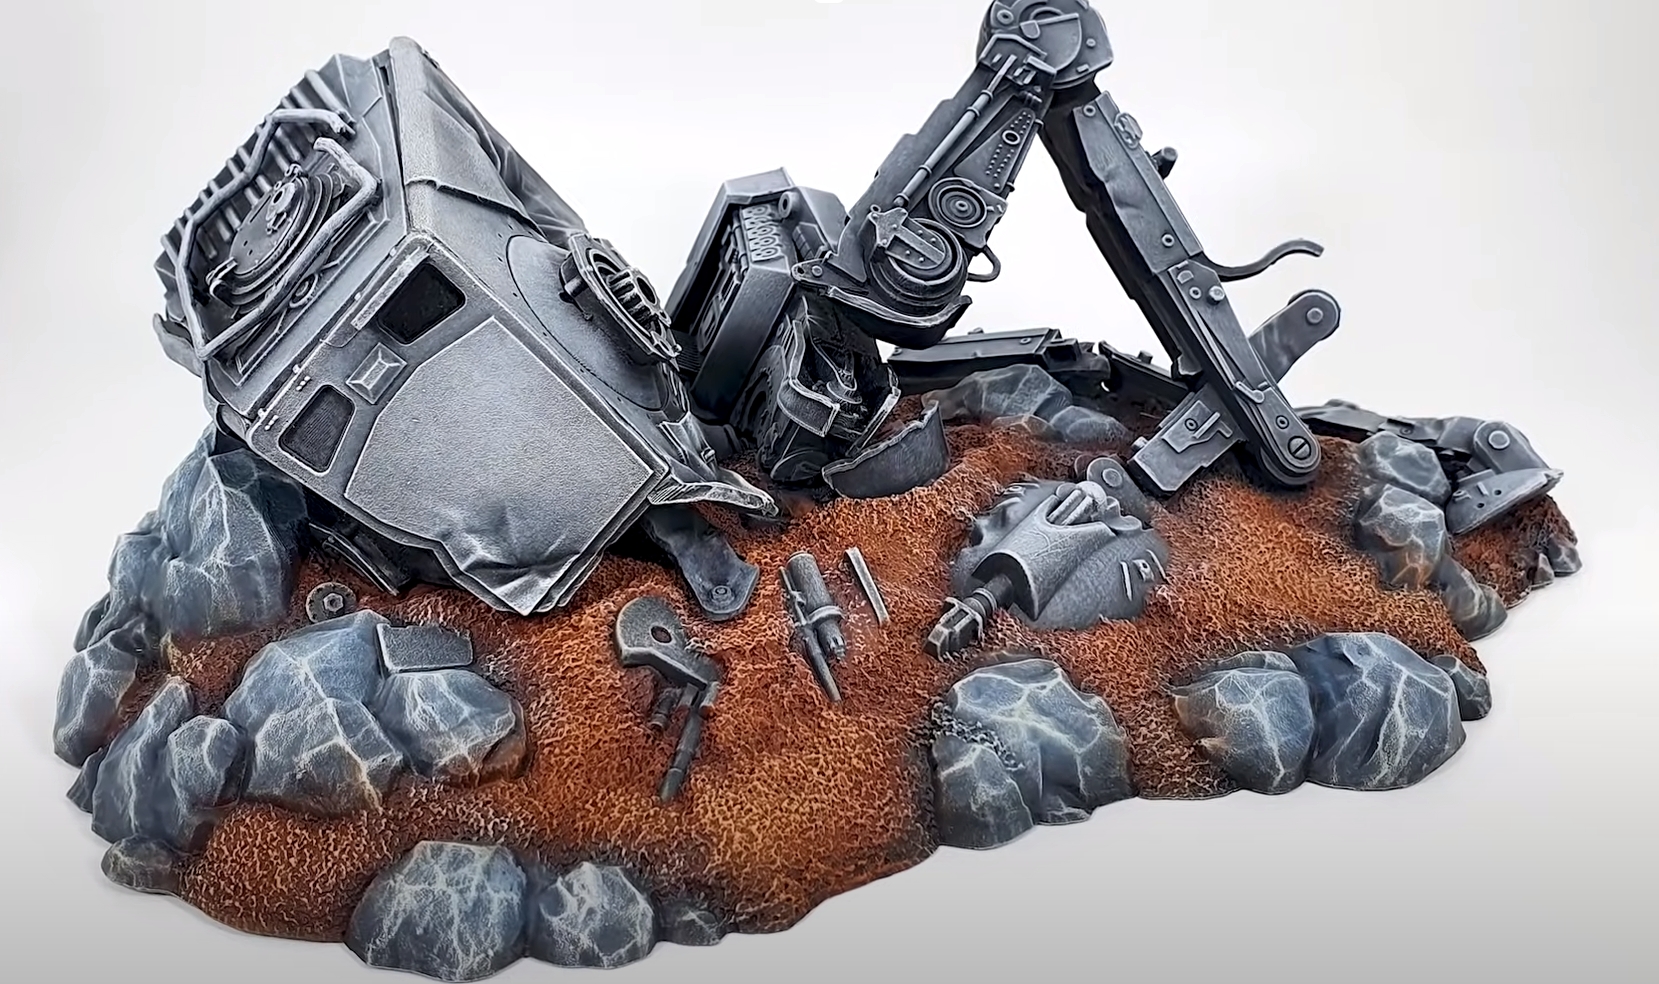
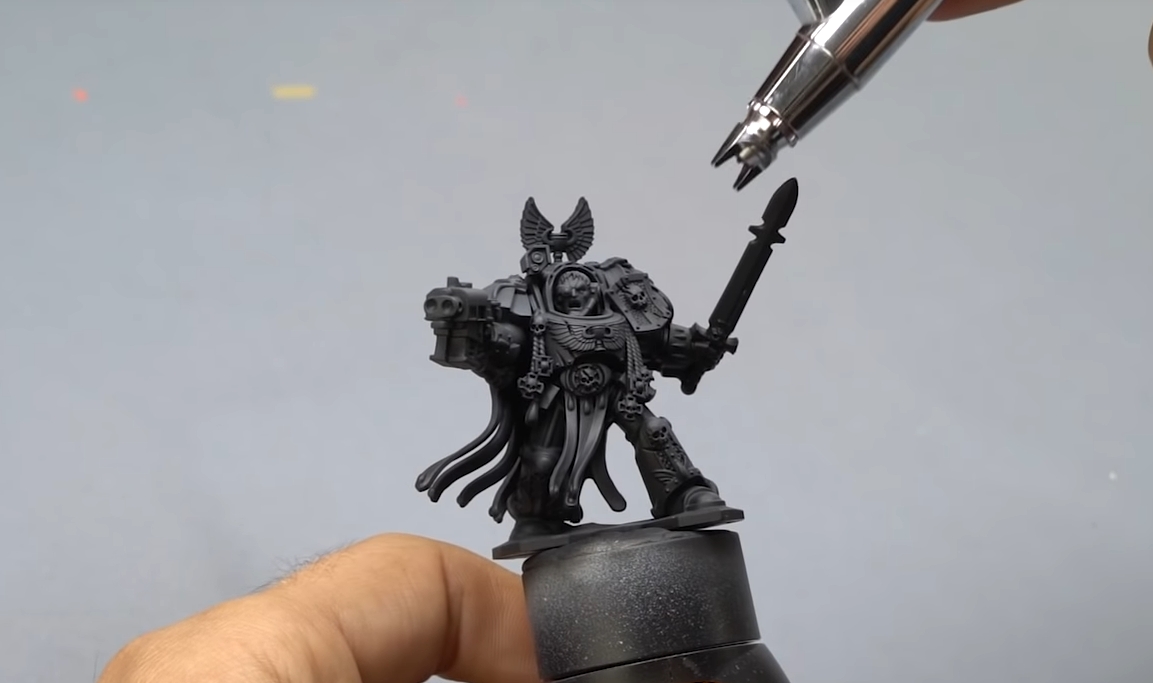
Zenithal Priming
Zenithal priming is a great way to get nice shadows and highlights on your models without having to do any fancy painting. Basically, you prime your model black (or very dark grey), then spray it from above with white (or light grey). The white will settle into the recesses, giving you a nice contrast for when you start painting.
This technique is especially useful for armour plates and other raised details.
Dry-Brushing
Dry-brushing is a technique where you use a dry brush loaded with paint to lightly “scrub” the surface of your model. This leaves a thin layer of paint on the high points, while the lower points remain mostly bare.
This is a great way to add highlights, or to simply give your model a bit more contrast.
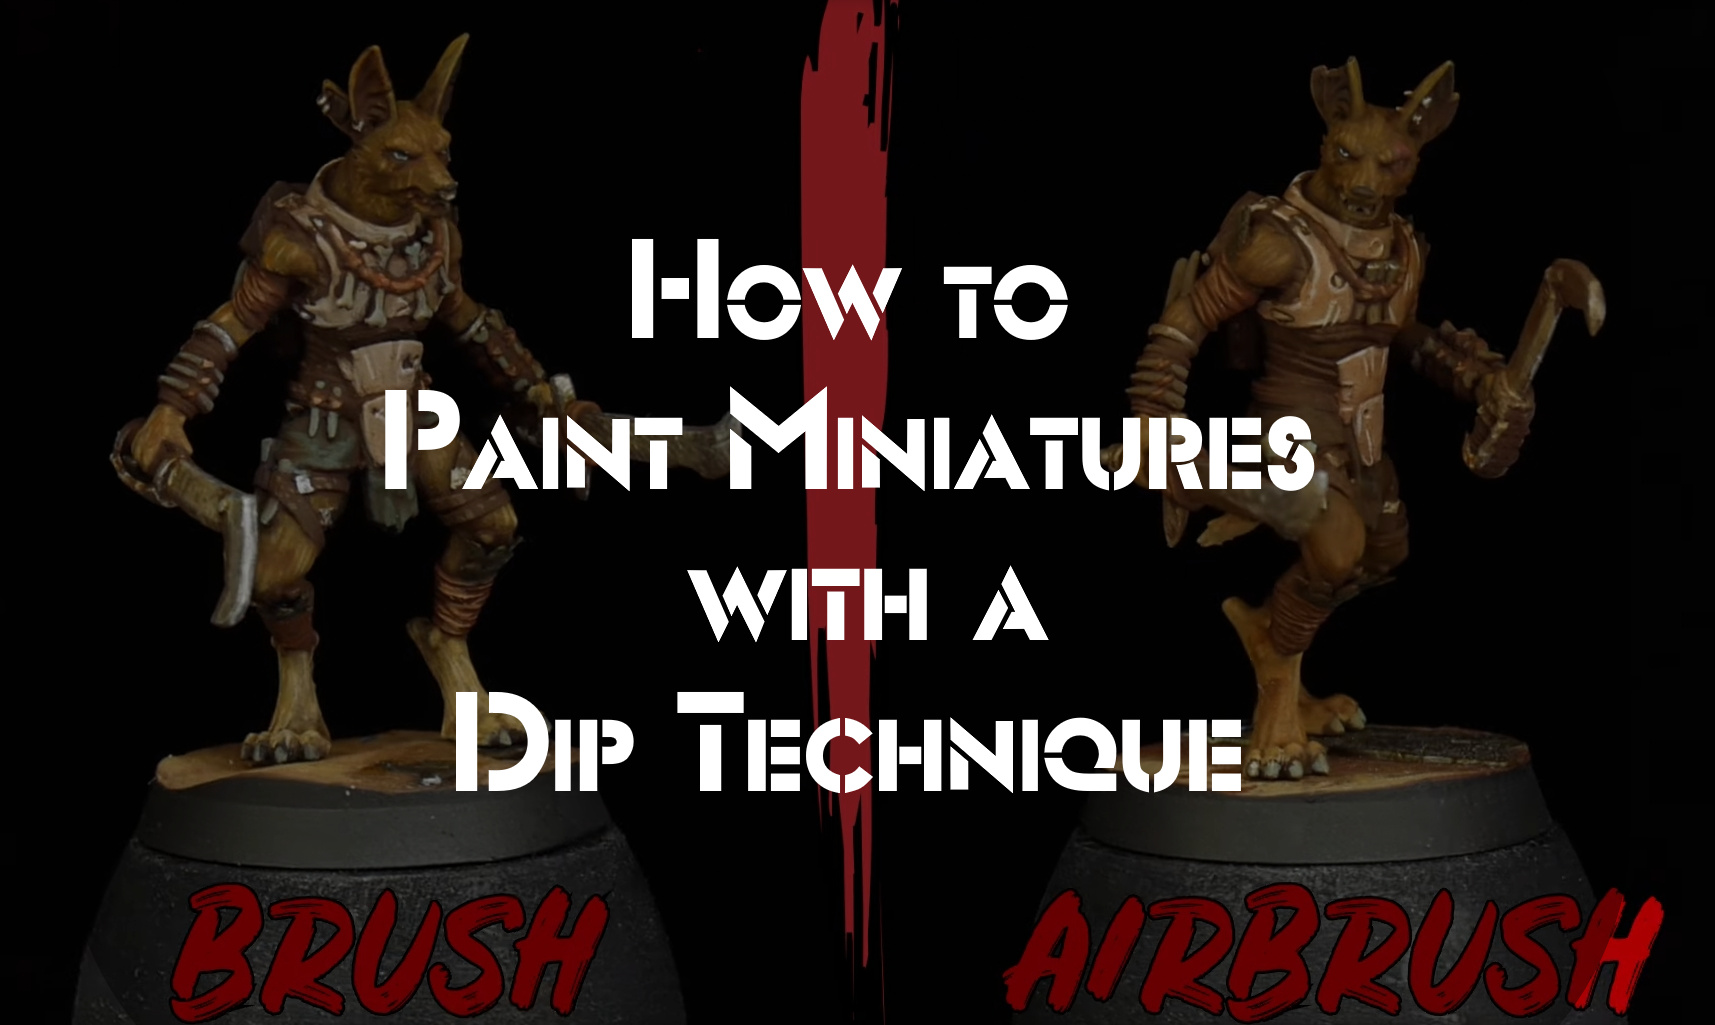
Airbrushing
Airbrushing is probably the most versatile weathering technique. It allows you to apply very thin layers of paint, giving you a lot of control over the final look.
You can use airbrushing to add subtle shading, or to build up thicker layers of weathering. It’s really up to you!
Chipping
Chipping is a great way to add realism to your models, and it’s really easy to do! Basically, you just need to paint on some chips using a thin brush. You can use any color you like, but darker colors tend to work best.
Once the chips are dry, take a toothpick or other sharp object and carefully scrape away at the edges. This will create realistic-looking chipped paint.
You can also use a hobby knife to carefully scrape away at larger areas. Just be careful not to go too crazy, or you’ll end up with big gouges in your model!
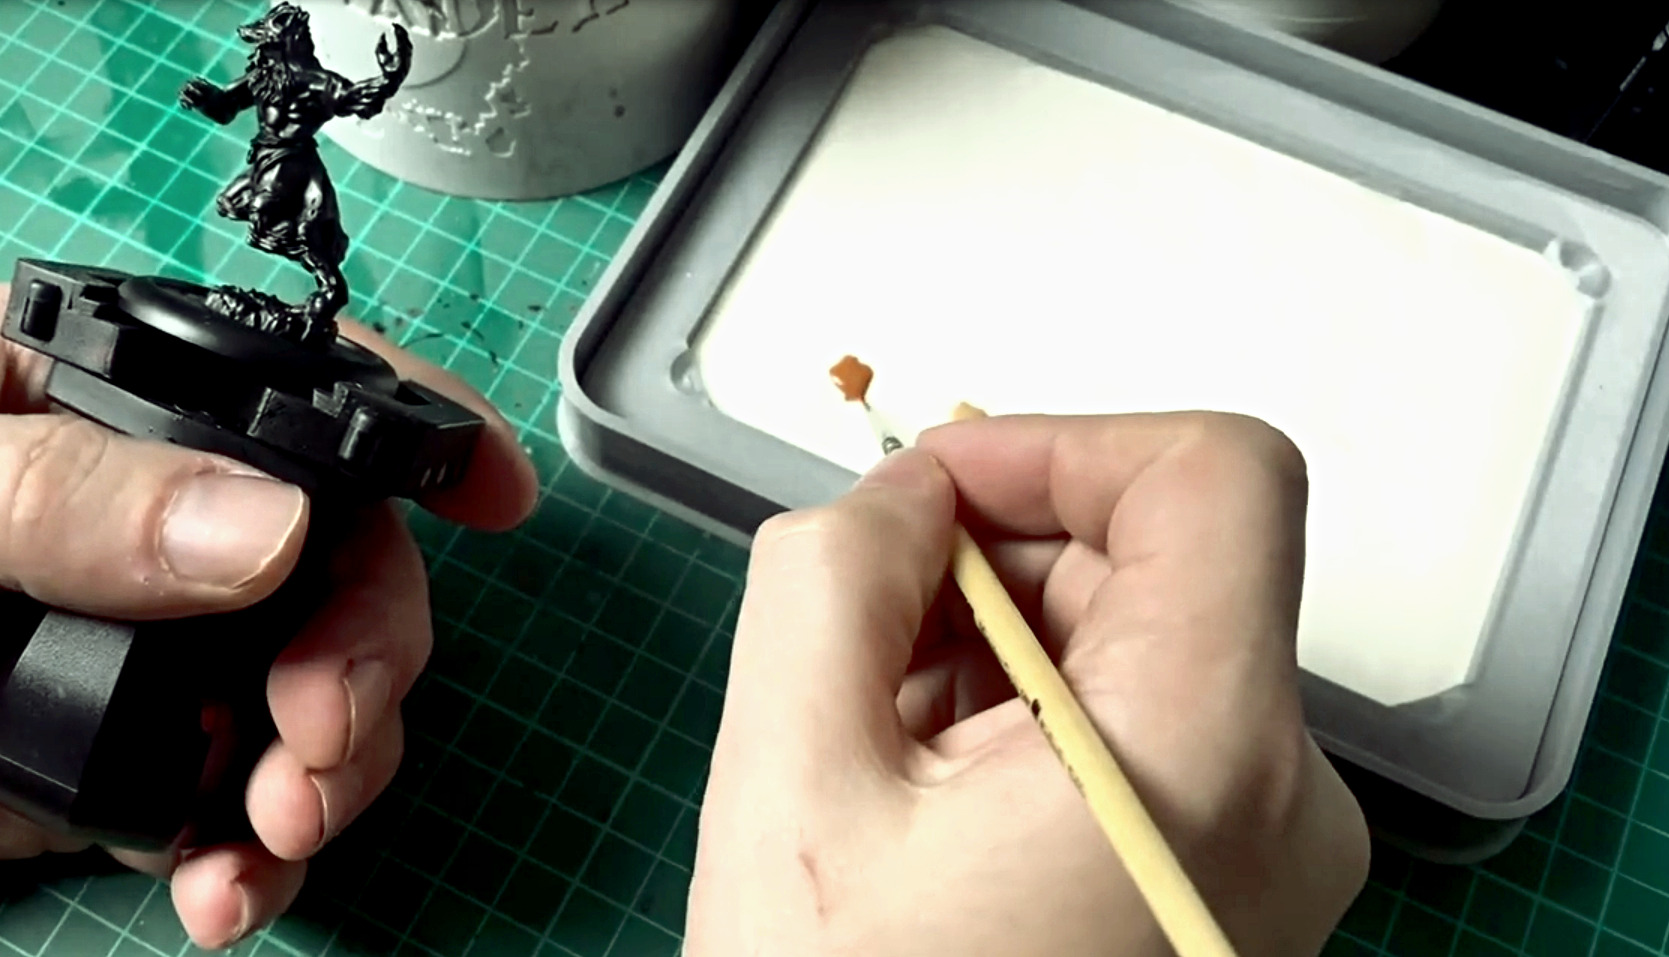
Washes
Washes are thinned-down paints that are applied liberally to the model, then allowed to dry. They will settle into crevices and recesses, giving the impression of dirt and grime build-up.
You can use any color you like for your wash, but darker colors tend to work best. Black is a good choice for most purposes, but you can also experiment with browns, greens, and other shades.
Once you’ve applied the wash, simply let it dry. You may want to give it a few hours to really set in. Once it’s dry, you can gently remove any excess with a soft brush.
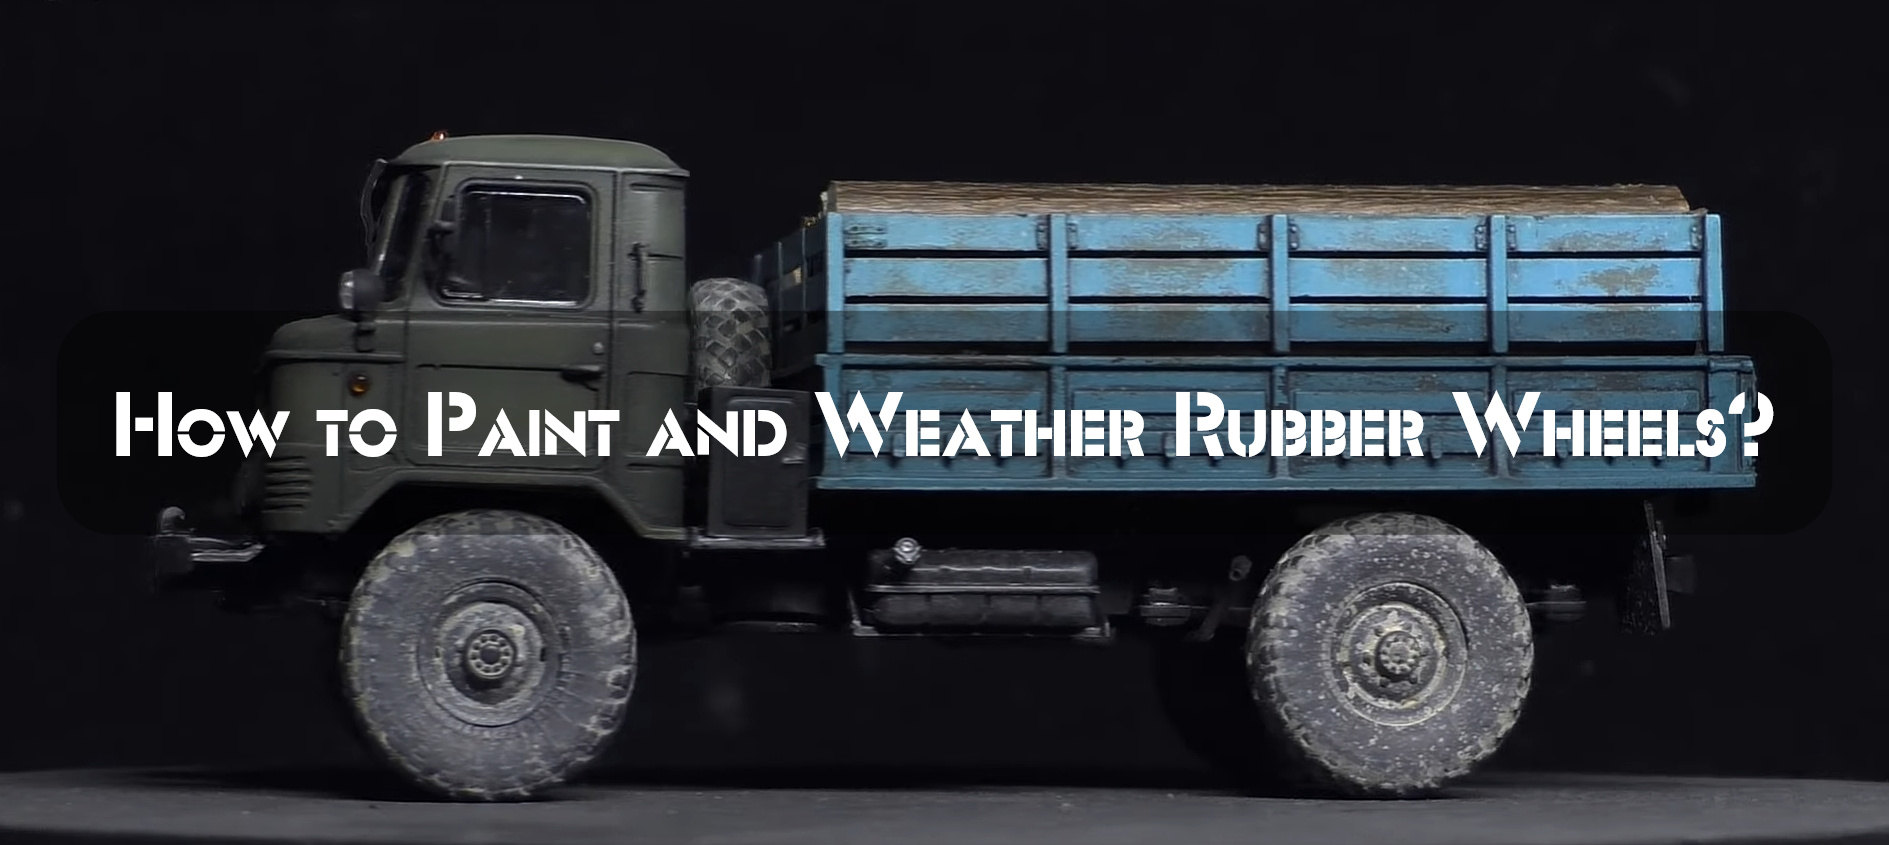
Fading
Fading is a great way to add a bit of realism to your models. It’s especially effective on vehicles that have been exposed to the elements for long periods of time.
Basically, you just need to paint on some fade using a thin brush. You can use any color you like, but lighter colors tend to work best.
Once the fade is dry, take a toothpick or other sharp object and carefully scrape away at the edges. This will create realistic-looking fading.
You can also use a hobby knife to carefully scrape away at larger areas. Just be careful not to go too crazy, or you’ll end up with big gouges in your model!
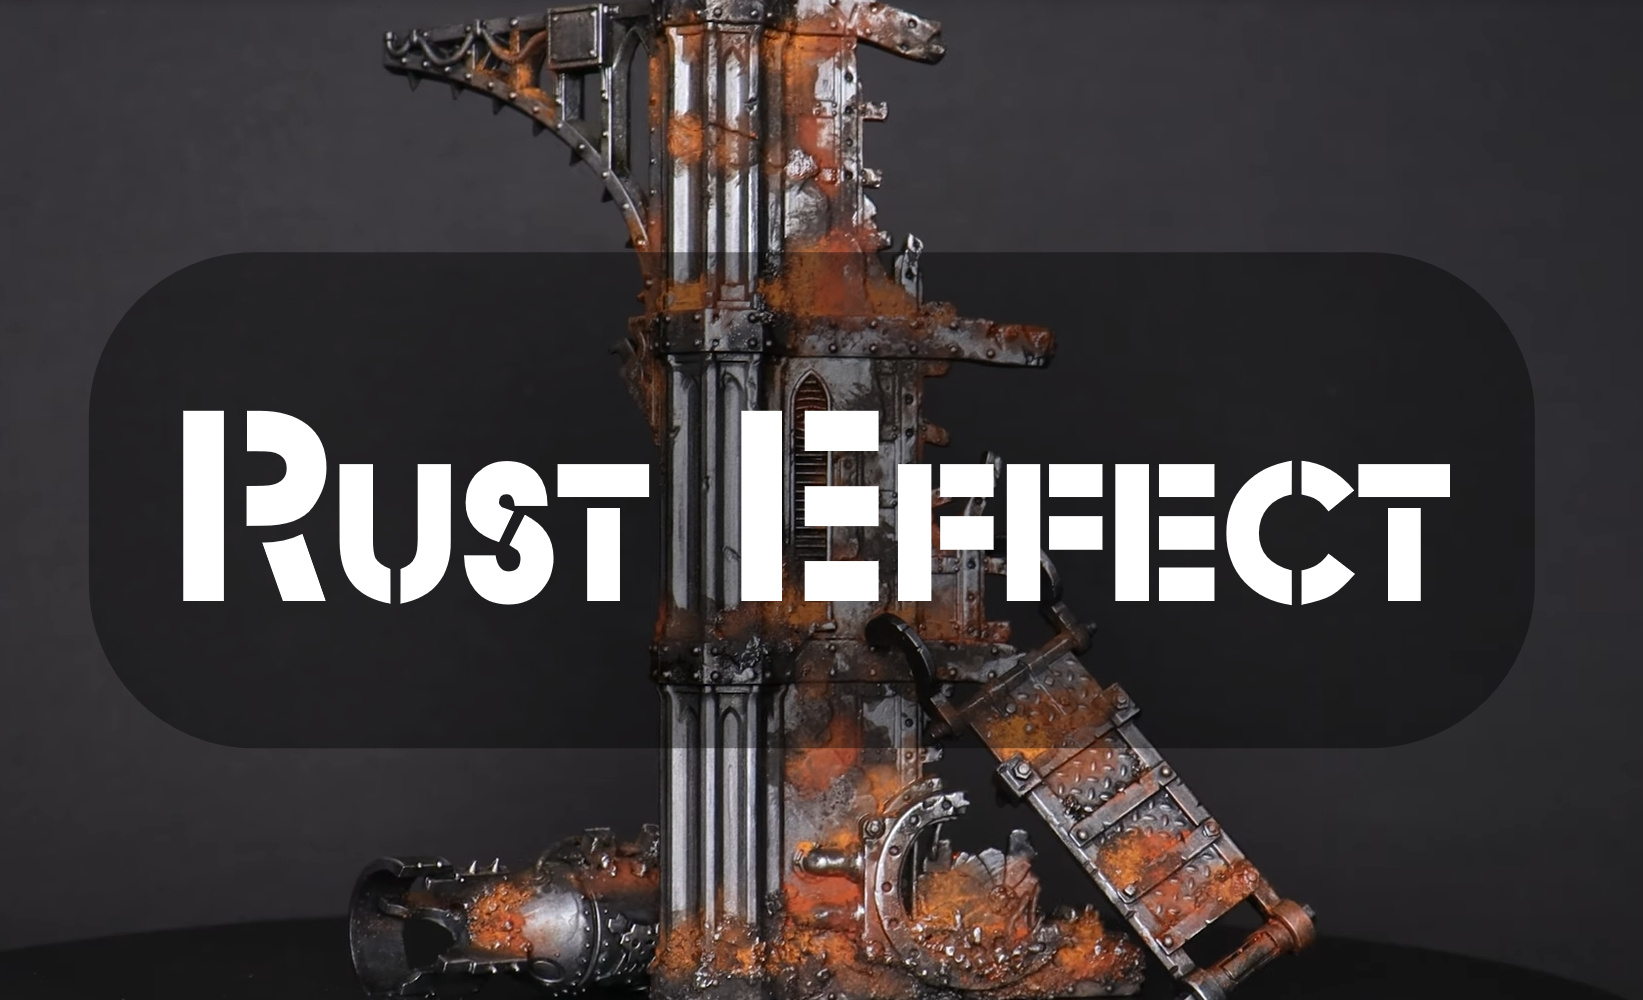
Rust
Rust is a great way to add realism to your models. It’s especially effective on vehicles that have been exposed to the elements for long periods of time.
Basically, you just need to paint on some rust using a thin brush. You can use any color you like, but reds and oranges tend to work best.
Once the rust is dry, take a toothpick or other sharp object and carefully scrape away at the edges. This will create realistic-looking rust.
Pigment Powders
Pigment powders are a great way to add realism to your models. They’re especially effective on vehicles that have been exposed to the elements for long periods of time.
Basically, you just need to sprinkle on some pigment powder using a small brush. You can use any color you like, but darker colors tend to work best.
Once the pigment powder is dry, take a toothpick or other sharp object and carefully scrape away at the edges. This will create realistic-looking fading.