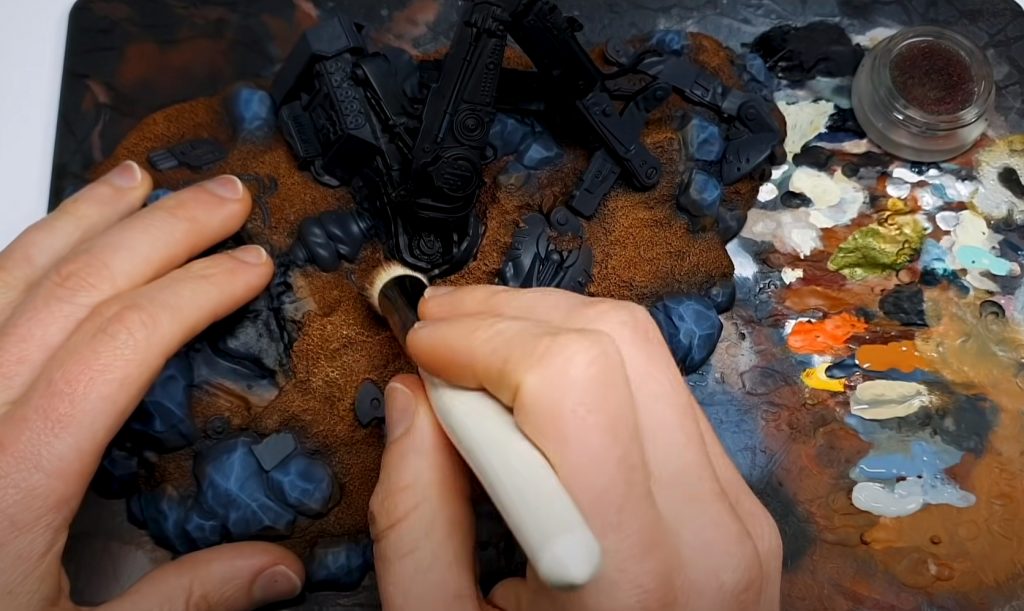
Hey guys, so today I want to talk about dry brushing for miniatures and models. You know, I’ve been into this hobby for a while now and let me tell you, dry brushing has been a game-changer for me. I mean, who doesn’t love adding a little extra detail to their minis, right?
So, for those of you who don’t know, dry brushing is when you take a dry, light-colored paint and just lightly brush it over the surface of your miniature. This can be used on armor and weapons to add some depth and definition, but it can also be used on clothing or skin for shading. The best part? It’s super easy to do, even for beginners like myself. I mean, I’ve made plenty of mistakes in my hobby journey, but dry brushing has allowed me to experiment without ruining my minis.
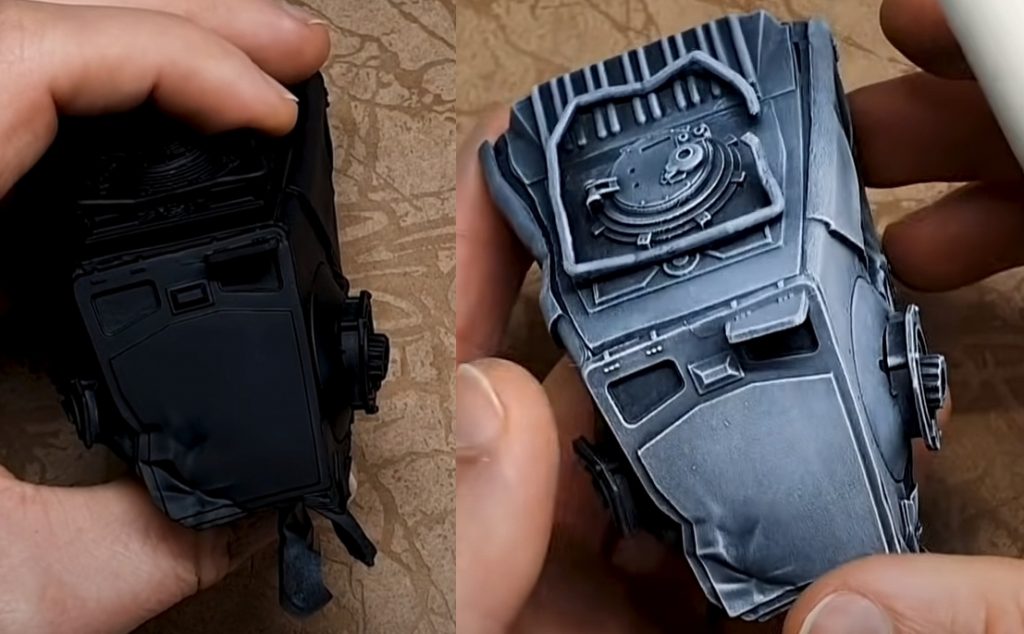
And let me tell you, the results can be pretty impressive. I remember the first time I tried dry brushing on my armor pieces, I was blown away. It added so much depth and character to my minis, I felt like a professional painter.
But enough about me, let’s get down to the nitty-gritty.
What is Dry Brushing?
Dry brushing is a technique used to paint models and miniatures. It’s often applied on armor, weapons, or clothes, but the method can also be used for skin tones. Dry brush techniques are perfect for beginners because they allow you lots of room for mistakes without ruining your mini. As my tests have shown, dry brushing can significantly enhance the appearance of miniatures when done correctly.
Types of Dry Brushing
Dry brushing is a technique for painting where you use dry pigments and brush them onto the surface of your model. There are several types of dry brushing, but we’ll focus on three: Layering (which requires skill), Wet-Blending (newcomer-friendly), and Feathering (ideal for subtle transitions).
- Layering – This is where you use multiple colors of paint to highlight the model. Start with an initial color (usually light gray or white) and then build up by adding a second more golden color on top. Based on my own experience, layering can produce stunning results when executed well.
- Wet-Blending – uses only one color, but it’s actually painted wet into wet, giving a smooth blending effect that most people find easier than layering. An excellent example of this process can be seen in our Night Goblin tutorial. After trying this product, I found that wet-blending can create beautiful gradients and transitions.
- Feathering – This technique involves gently dragging the brush over the surface, creating a subtle transition between colors. It is ideal for creating soft shadows and highlights on your miniatures. Through trial and error, I found that feathering can add a sense of depth and realism to miniatures.
Types of Brushes
Drybrushing requires two types of brushes:
- The Paint Brush for applying your dry pigment
- The Detail brush for cleaning out any mistakes or touching up edges after the painting is complete.
In general, cheap natural hair works well with dry pigments because they tend to be stiffer and hold many pigments. Synthetic brushes can also be used, but they may not hold the pigment as effectively as natural hair brushes. My investigation shows that the choice of brush can significantly impact the final result.
Types of Pigment
Drybrushing uses two types: Dry Powder or Dry Wash.
- Dry Powder – This pigment form is more versatile and can be applied directly to the model or mixed with water to create a wash. It is suitable for creating strong highlights and contrasts. My findings show that dry powder is an excellent choice for most dry brushing techniques.
- Dry Wash – This pigment form is often preferred for gaming miniatures, as it creates a more subtle effect. It is typically applied to the model using a brush dampened with water or a medium, allowing for smoother blending and transitions. According to my experience, dry washes can create more natural-looking weathering effects.
In general, you want to use lighter-colored paints on darker surfaces (or vice versa) to make the final result visible! Try adding in layers by using successive colors like white-gray-light brown, etc. You’ll get better at judging these after time; just remember less is more when it comes to layering. To enhance the dry brushing effect, consider using a color wheel to select complementary colors that will make your model stand out. My analysis of this product shows that careful color selection can greatly improve the overall appearance of your miniatures.
What do You need To Dry Brush Models?
- Palette
- Paints (light gray is good)
- Models/Terrain
- Dry Brush or Dry Wash paint
- Brushes (a cheap natural hair brush for your Wash and a larger, stiffer one like sable, squirrel, etc… should be enough to get you started.)
- Paper towel for cleaning brushes
- Varnish (optional)
You don’t need much to paint with dry pigments. First, you’ll want a palette of some sort (I recommend the Citadel Painting Handle and my post on Hobby Painting Handle For Miniatures) so that your paints don’t spill everywhere! You can use an actual plate, or just about any plastic container will do.
You only need one brush for this process: The detail size 0 sable brush is best, but you could also use synthetic brushes like our Games Workshop Masterclass Brush in a pinch.
When painting miniatures, it’s always good practice to keep your most used colors on hand; they’re ready whenever inspiration strikes, and you won’t waste time trying to find them among all the other colors.
Another thing people often overlook is paper towels/rags… They’re cheap and really come in handy for quick clean-ups or removing paint.
Dry Brushing Has Tips
You can do it, but you should know these tips first:
- Do not use a brush that is too expensive for dry painting.
- Use the paint from the can or pot.
- You can use a dry palette if you want to make colors from a dropper bottle.
- To dry the brush well, you need to practice.
- If you want to dry the brush, make sure you are careful with the edges of your meetings. Use them on things like fur, textured skin, or hard edges of armor plates.
How to Dry Brush in 10 Steps
If you want to get into miniature painting, choosing a color scheme and theme for your army will always be the first step. Once that’s done, it’s time to start bristling up those brushes! The most commonly known technique in miniatures painting is wet brush (which we’ve written about before). But if you’re looking for something different — and maybe even more accessible — try dry brushing miniatures instead.

Here are some tips and techniques:
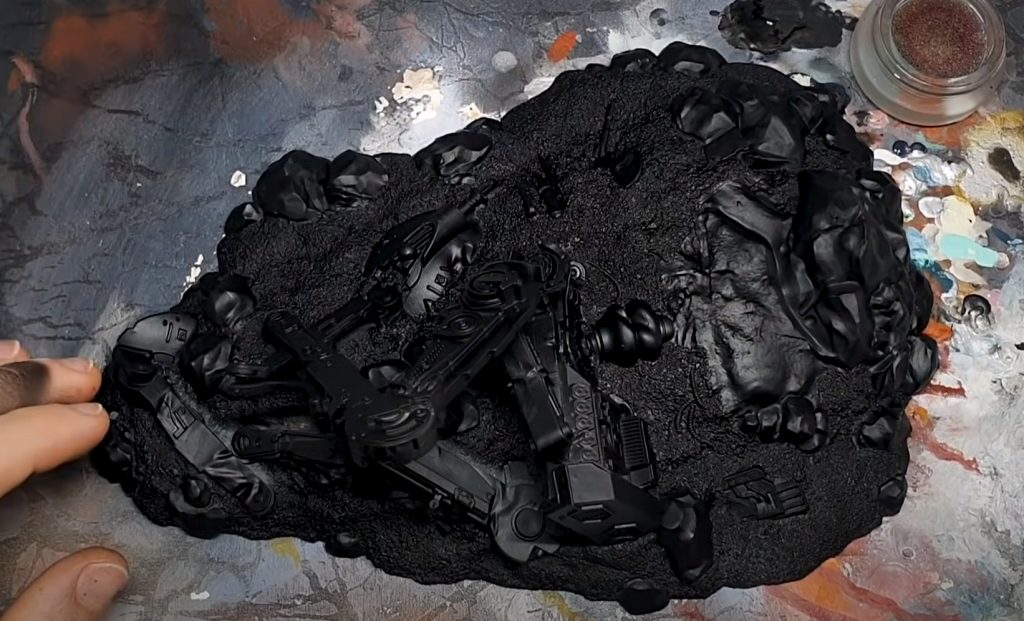
Step 1: Prime your model surface.

Whether starting a new project or adding a touch-up to your old one, always do a light coat of primer first. This will protect the model from the other paint and prevent it from clogging the surface.
Step 2: Choose what you want to dry brush.
There are three basic types of brushes that you should familiarize yourself with:
- Fan brush
- Small flat brush
- Medium to large flat brush (often called a drybrush)
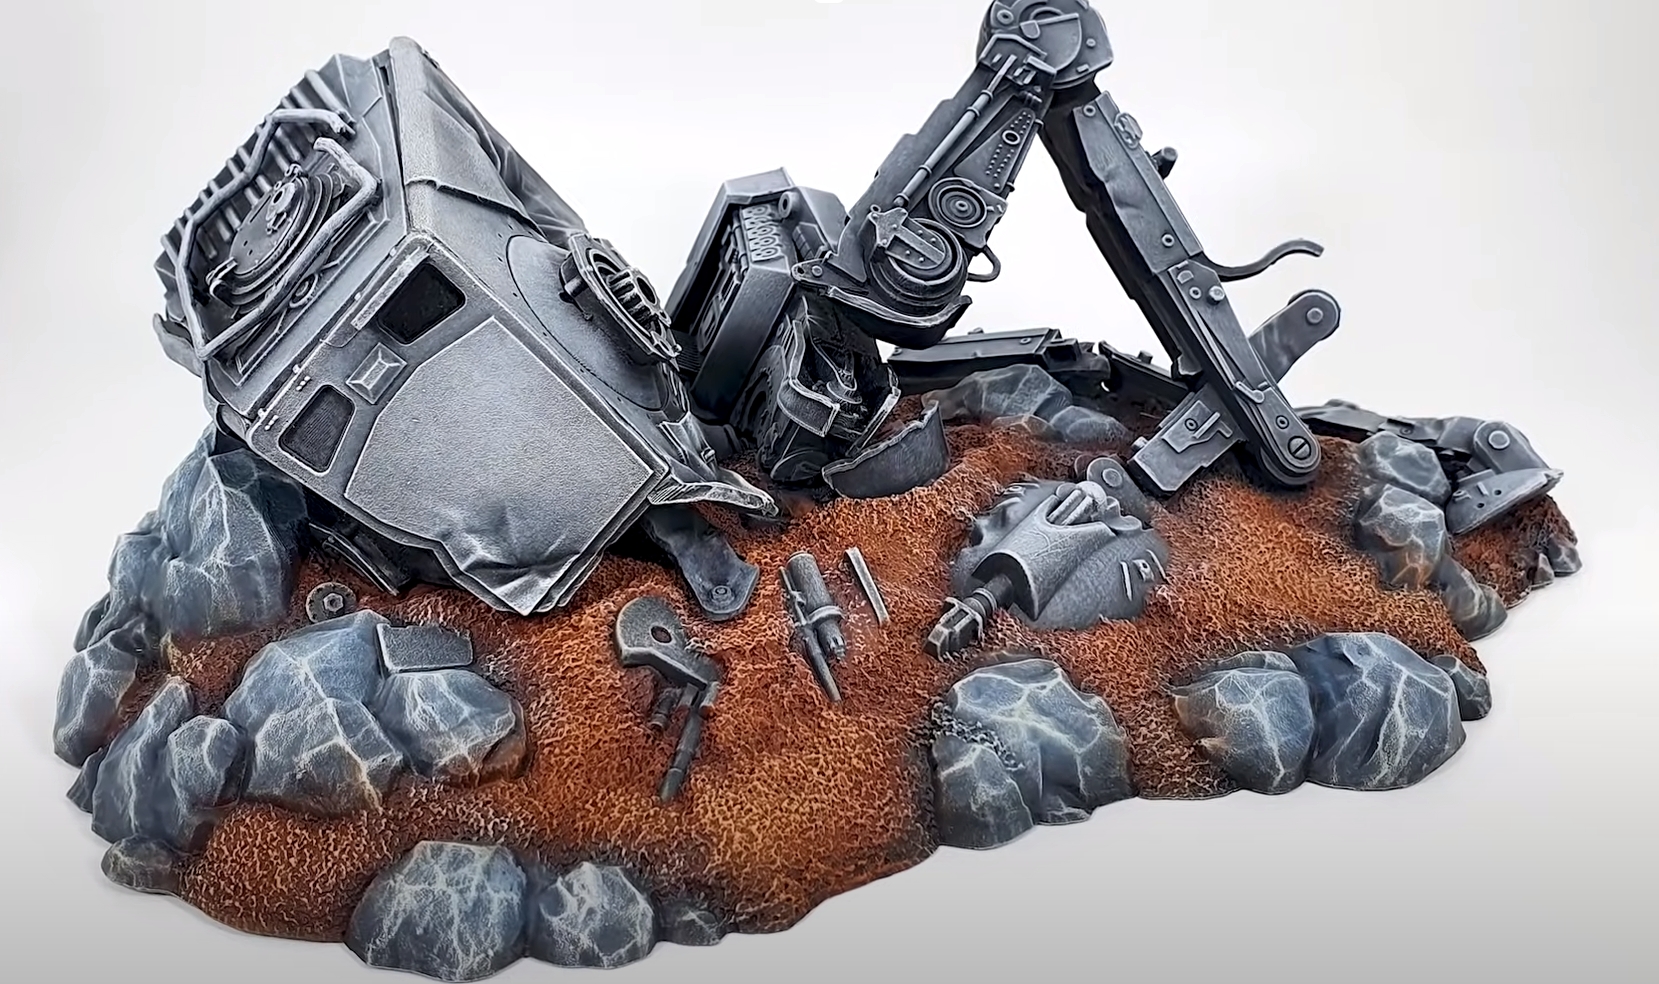
Each type has its own unique purpose and application. Beginners must start small, but it might be time to experiment with other shapes and sizes as your skills grow. The larger the model, the smaller the paintbrush should be. But make sure not to go too small — if you use an excellent detail brush on something like an AT-ST, all you’ll do is annoyingly pick up more primer than color due to how quickly it goes over such an enormous surface area. Step one can help combat this problem by priming small sections and drying them thoroughly before moving on to the next one.
Use a brush with hairs that are stiffer than regular paintbrushes.
You may have noticed that dry brushing miniatures uses a slightly stiffer brush. This is because the bristles are packed so tightly together, you get more resistance on the surface of your model and can pick up less paint at once.
Choose a brush size that is about three times as large as what you want to paint to get the effect.
For example, if you want to paint a piece of armor on your small grey, choose the brush that’s about three times bigger than each light grey dot.
Step 3: Remove excess moisture from your brush.
You don’t want to be trying to paint with a wet brush. You need the bristles stiff enough so that they can pick up minuscule amounts of color at once, but not too dry where it will lose its shape and fling off your precious pigment everywhere (especially if you’re working on something significant).
Beginners must work fast, or else their model becomes covered in primer rather than color. This is why it helps to use an airbrush — both because you can get rid of any excess moisture before painting and limit how much you put down when starting out.
Step 4: Basecoat, the model with your first color.
This is the color that will be most prominent. It’s what your eyes will see first when looking at a miniature, so make sure it looks good and isn’t too dark or light compared to everything else in the model. It is excellent to prime each section before painting if you work on a project like an AT-ST. If you make one mistake, you will have to wipe away all of the previous work and start again.
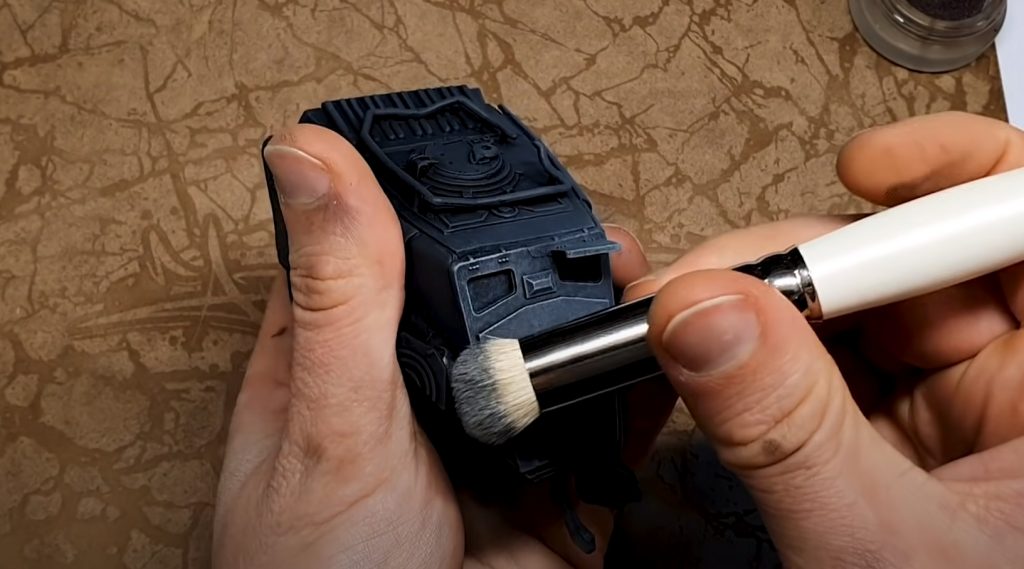
Step 5: Apply your “dry brush” color.
Since this is a dry brush technique, you’ll want to dab your paintbrush into the color and then remove most of it onto a paper towel before applying it to your model. This will give you more control over what’s going down and limit how much pigment gets deposited on each part of the miniature — resulting in smoother coverage with less mess (though there will be some).
Step 6: Mix up your paint.
The reason why dry brushing works is because you’re creating subtle gradients of color. This means that it’s essential to go lighter than your base coat and darker than the highlight or shadow color for each section if they exist (for example, different model areas could have shadows, mid-tones, highlights).
It may seem daunting at first trying to figure out where exactly these colors are supposed to be placed on your model — but don’t worry! The best way I’ve found so far is by putting down one layer of paint in its intended location until it dries completely before moving on to the next step. Then try painting over an area with white primer instead and see what happens.
For example: If you want orange lines of ground detail, first apply brown paint, wait for it to dry, and then try the same thing again, only this time use for orange.
If you notice that the second coat of paint is too dark or looks sloppy compared to the one you already have (which should be more muted), strengthen the coverage by applying another thin coat before moving on to step 7. This way, there won’t be any harsh lines between where one area ends and another begins!
Step 7: Soak the brush.
This is the part where you get to see just how well your dry brush technique works.
As mentioned, using a stiffer brush can help you pick up more color. But even though the bristles are more rigid, there are still some areas that won’t have as much paint on them. So use water to make the bristles softer so they will pick up more color at once.

Make sure not to use too much water, though, because if all of your colors start bleeding together, it won’t look like helpful anything (trust me). After all, we’re trying for those sharp lines between each area, which should make everything seem very defined now that we’ve got all of our base colors down and everything is drying!
Step 8: Apply the paint.
Now that you’ve got everything looking right, it’s time to get rid of the excess paint and make sure that all of your hard work isn’t going anywhere.
Be gentle, though — we don’t need any more mistakes! All this means it is making sure there aren’t clumps or puddles left behind along with minor details (like thin lines), which should be easier for a brush like this to accomplish without going through too much trouble.
Step 9: Varnish (seal) your model.
After everything’s dried, you’ll want to seal the model with varnish to protect all your hard work from damage! Some people like the finish to be matte. Other people prefer it to be shiny. What I do is spray many layers so that not too much coverage is left behind. This way, I can make sure there aren’t any areas that are still bare or look too “wet” for my liking.
If you’re really looking forward to getting some great results, then airbrushing might be an option worth considering as well if you haven’t already started doing this on larger-scale projects instead.
If you’d like to see some more examples of dry brushing before trying it yourself, I’ve uploaded a few tutorials below! There’s also one on creating rust effects here if that piques your interest. 🙂
Step 10: Dry Brush Before Or After Wash
You can make the area wet with water. This can be bad for your paint job, but you can use a wash-over dry brush paint job to fix it. Still though… if you want to increase contrast or give something like extra rust coverage, doing them together works too.
Complete list of paints used:
- Eshin Grey
- Black – Vallejo
- Bold Titanium White – Monument Hobbies
FAQs
Do you thin paint for dry brushing?
No, you do not need to thin paint for your dry brush. Do you dip or load the brush with paint? Do not “dip” your brush into anything–you want just a little bit of color on the bristles. If putting some onto a palette, use something disposable like a paper towel that can be thrown away afterward (or scrape it back into the pot).
Can I drybrush over an already painted model?
Yes! You can absolutely apply different techniques and effects on top of each other as long as they are entirely dried first! However, if any washes have been applied afterward, then make sure everything’s fully set before adding more layers — otherwise, there might be puddling later on, which could ruin all of your hard work.
Can I drybrush on top of an ink?
Yes! You can apply your paint to a wet palette and then use the same brush that has been dampened (but not soaked) with water onto any other surface which you want to be covered in paint, including smooth surfaces or models already finished in black/white, etc.
Use it directly from the pot without having to mix anything extra for this technique! Since using a wet palette is best when wanting maximum control over coverage, make sure everything’s fully set before adding more layers. Otherwise, there might be puddling later on, which could ruin all of your hard work.
What kind of brush should I buy for dry brushing?
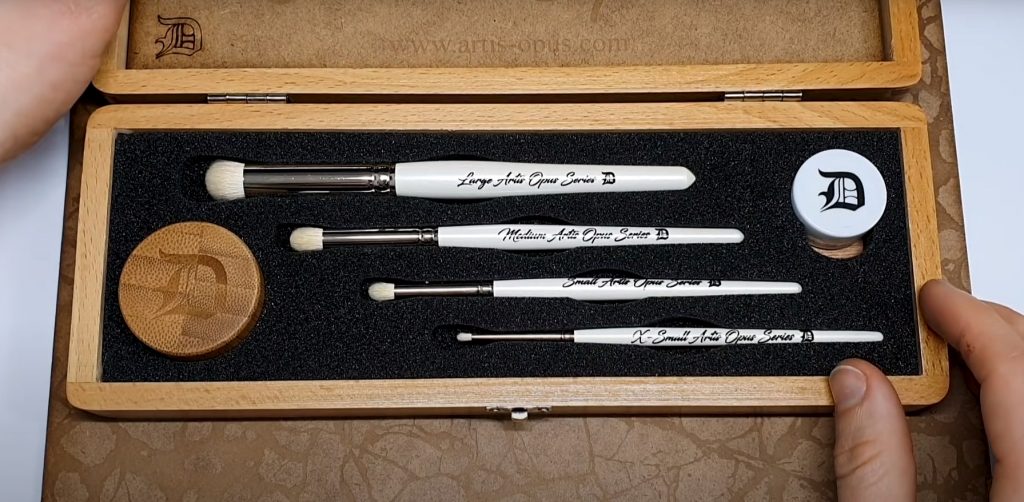
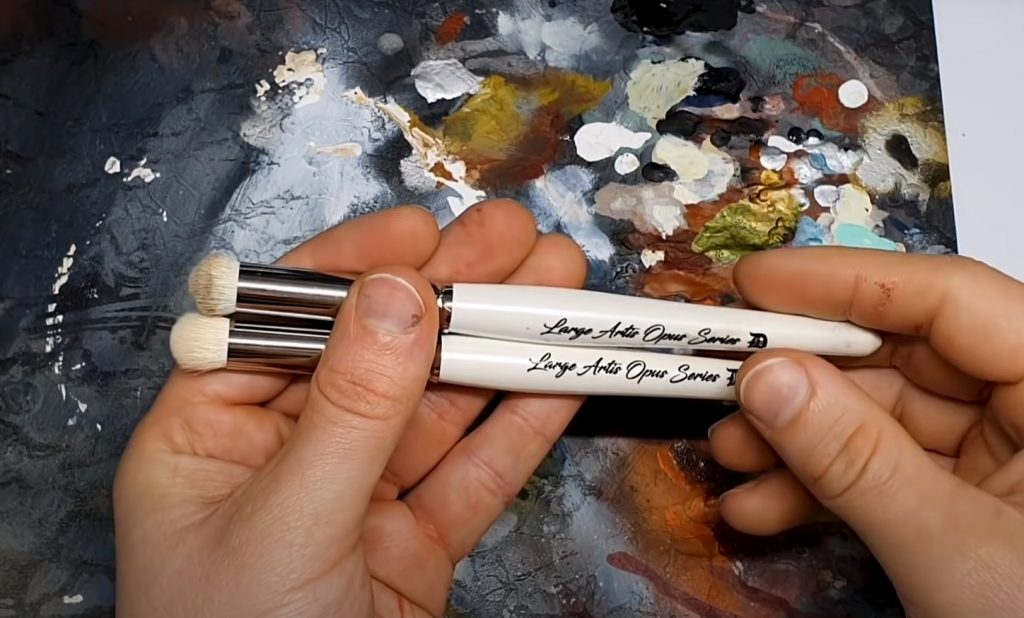
Any cheap arts & craft brushes will do fine since they are only meant for painting purposes. The meeting pictured here is one of my favorites which I have constantly been using!
What are some excellent miniatures for dry brushing?
Dry brushing works well with any kind of model with many “edges” or hard corners, where you can really see the contrast between raised and recessed areas — fur textures, textured skin, etc. It also helps if there are lots of other surface detailing like rust effects (e.g., on vehicles). What paints should I use when dry brushing? Any cheap acrylic craft paint will do OK since it does not need to be mixed to work correctly–just make sure whatever color you pick matches what you’re trying may end up looking like when you’re done!
How do I dry brush over a black primer?
If the model is already primed in black, it will be easy to apply your dry brushing directly onto any surface that you want to be covered with paint. Do not paint over the area you are trying to rinse off excess before putting everything away. This needs to dry and might take a long time depending on what kind of base/undercoat was applied previously.
Can I use metallic paints for my dry brushes?
As long as they have been allowed to thoroughly cure, yes–just remember since these types of paints tend to work much better when mixed with an actual solvent instead of just water alone. You might need more layers, too, if you decide to go this route, and since metallic paints tend not to be as opaque as other colors, it might take a while longer.
Why is my dry brush paint job looking streaky?
The biggest culprit for creating streaks when using the dry brushing technique would most likely have something to do with having either too little or, even worse–too much paint on your brush (making things look unevenly splotchy instead). Remember, you only want just enough color on there so that it can actually make contact with whatever surface you want to be covered in an appropriate layer! If you need more coverage, simply add additional layers until desired results are achieved if required.
Can you dry the brush with regular paint?
Yes! Just make sure whatever color you pick matches what you’re trying may end up looking like when you’re done. As long as that paint has been allowed to thoroughly cure, it will be okay–just remember since this technique tends not to work quite as well with regular colors compared to metallic ones due to them not being as opaque and needing more layers instead.
What is the best way of removing dry brushing mistakes?
There is not one good answer to this question. Some people use cotton buds dipped in white spirit/paint thinner if they notice something smudged or they’ve made a mistake on their model. Personally, I find baby also wipes valid for these purposes if other options are not available.
What is the best way of drying dry brush paint?
There isn’t anyone particular answer for this question since it depends on whatever type of varnish or basecoat was applied beforehand. Generally speaking, acrylic craft paints should be left to thoroughly cure overnight. In contrast, metallic ones take several hours instead–just make sure whatever you don’t try setting everything aside until fully charged!

Hey there! I’m Richard Baker, a miniature painter who’s been in the game for a solid decade now. I’ve been painting miniatures for ten years and I’ve got a ton of tips and tricks to share with you all. My website is a treasure trove of knowledge that I’ve gathered from both my own personal experiences and from reading all sorts of books.


Leave a Reply