Hey folks, if you’re an airbrush enthusiast, you know just how important it is to keep that baby in tip-top shape. I mean, let’s face it, who wants to spend all that time and effort creating amazing masterpieces just to have your airbrush go on the fritz? That’s why I’m here to share my tips and tricks for keeping your airbrush in top condition.
First off, let’s talk about cleaning. Now, I know some of you might be thinking, “Ugh, cleaning? Do I really have to?” But trust me, taking a few minutes to clean your airbrush after each use will save you so much time and frustration in the long run. And you know what they say, an ounce of prevention is worth a pound of cure!
Airbrush Cleaning: Step-by-Step
It’s important to keep your airbrush clean to perform at its best. Here is a step-by-step guide on how to clean an airbrush.
If you are looking for a new airbrush for miniatures, be sure to read my article. It provides a buyer’s guide to the best airbrushes for this purpose.
Step 1: Disassemble Airbrush
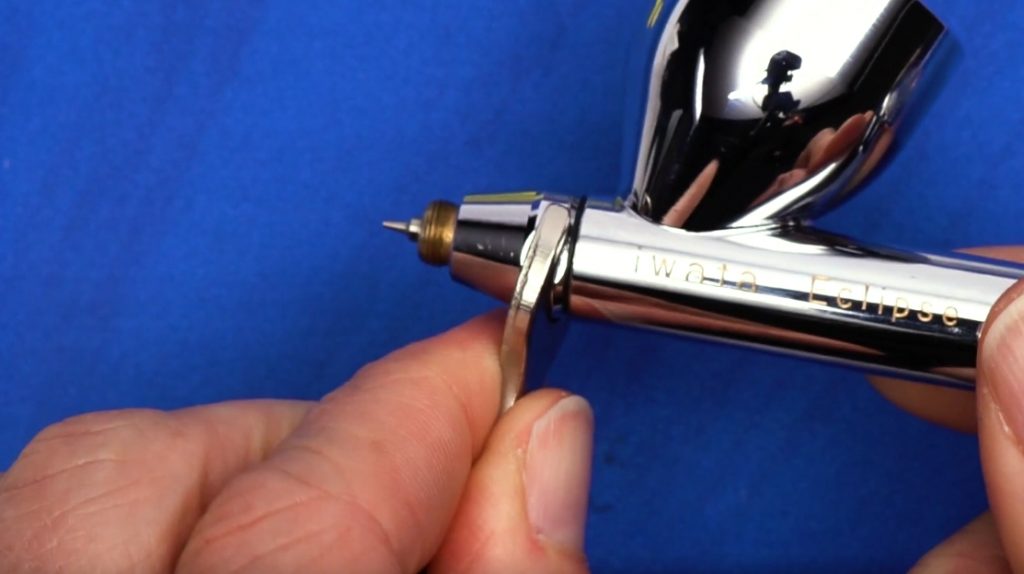
The first step is to disassemble your airbrush. This will allow you to get a good clean on all the parts of your airbrush. Make sure to remove any paint that may be clinging to the airbrush before continuing.
Step 2: Remove and Clean the Needle
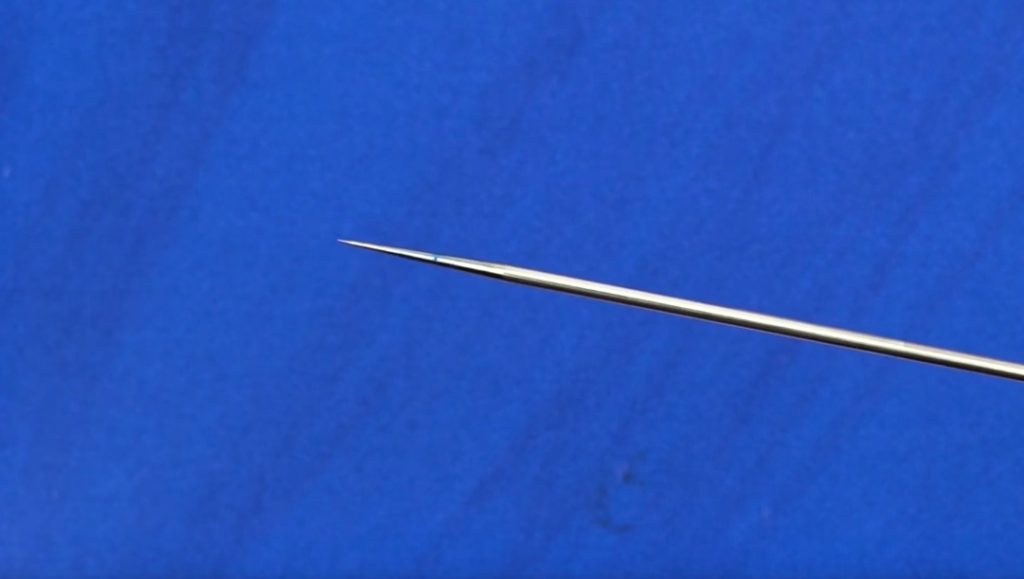
Once you’ve finished flushing the airbrush, remove the needle by unscrewing it from the nozzle.
To remove the needle:
- Unscrew it from the nozzle.
- Use a brush to clean off any dirt or paint residue.
- Soak the needle in a solvent such as acetone or alcohol to remove any dried paint.
- Allow the needle to dry completely before reassembling the airbrush.
I wrote an article on how to prevent the airbrush tip from drying out. It might help you.
Step 3: Cleaning the Airbrush Nozzle
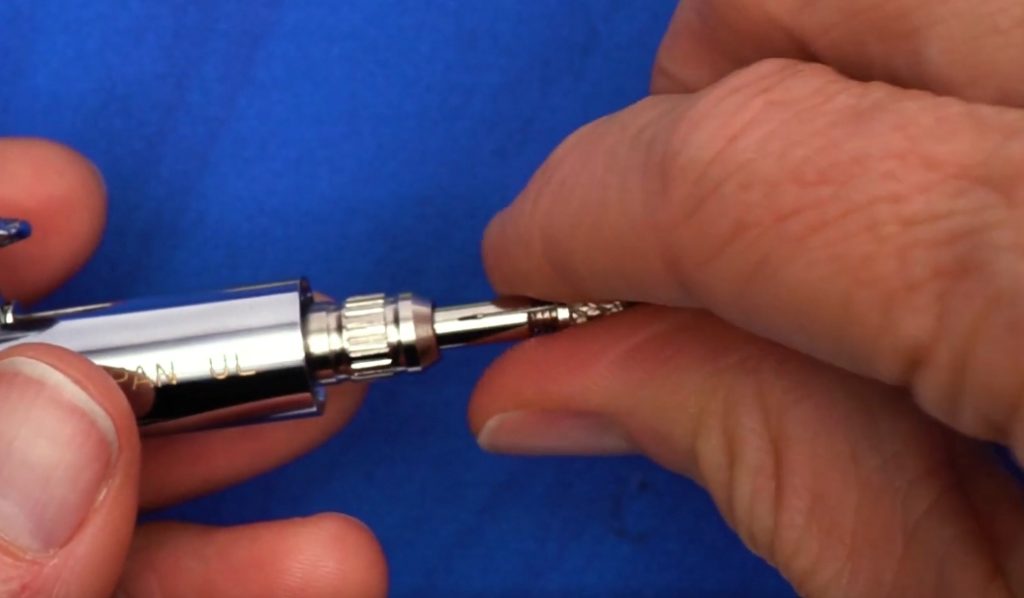
Cleaning the airbrush nozzle is a bit more delicate than cleaning the rest of the airbrush. First, unscrew the nozzle cap and set it aside. Next, using a soft bristle brush (like an old toothbrush), gently clean around the nozzle opening. Be careful not to touch the actual metal nozzle – this can damage it. Finally, screw the nozzle cap back on and give the whole airbrush a final rinse with water.
Step 4: Clean Caps and O-Rings
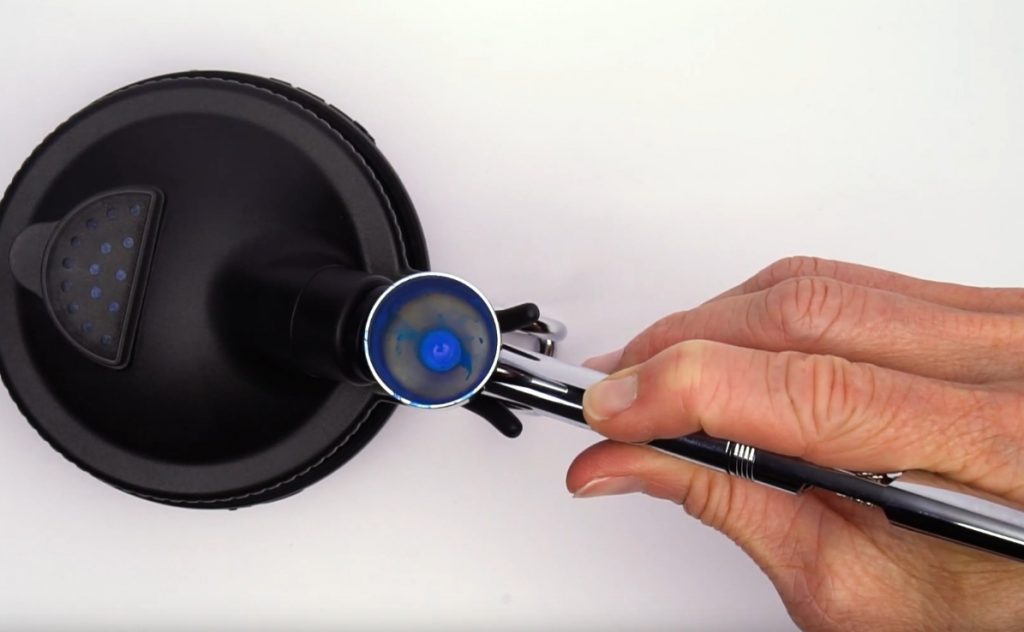
Once you’ve finished cleaning the airbrush, it’s time to focus on the caps and O-rings. These small parts are essential for keeping your airbrush in top condition, so it’s important to take care of them. Start by removing any dirt or build-up from the O-rings with a soft brush. Then, use a cotton swab dipped in alcohol to clean the inside of the caps. Be sure to let the parts dry completely before reassembling your airbrush.
Step 5: Clean Nozzle Connection, Ink Duct, and Air Head
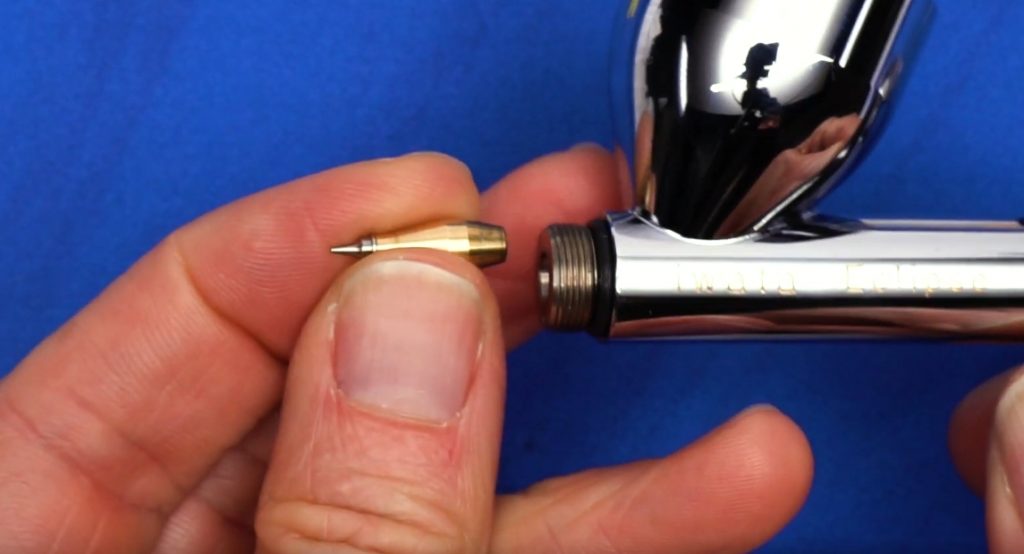
To clean the nozzle connection, remove the airbrush cup and unscrew the nozzle. Clean the area around the nozzle with a cotton swab dipped in alcohol. Be careful not to touch the actual nozzle as this can damage it. To clean the ink duct, unscrew the cap from the airbrush and remove any dried ink from inside. Use a cotton swab dipped in alcohol to clean the inside of the duct, and then screw the cap back on. Finally, to clean the airhead, remove it from the airbrush body and use a cotton swab dipped in alcohol to wipe away any dried ink or paint.
Step 6: Cleaning of Needle Chuck, Body, and Paint Container
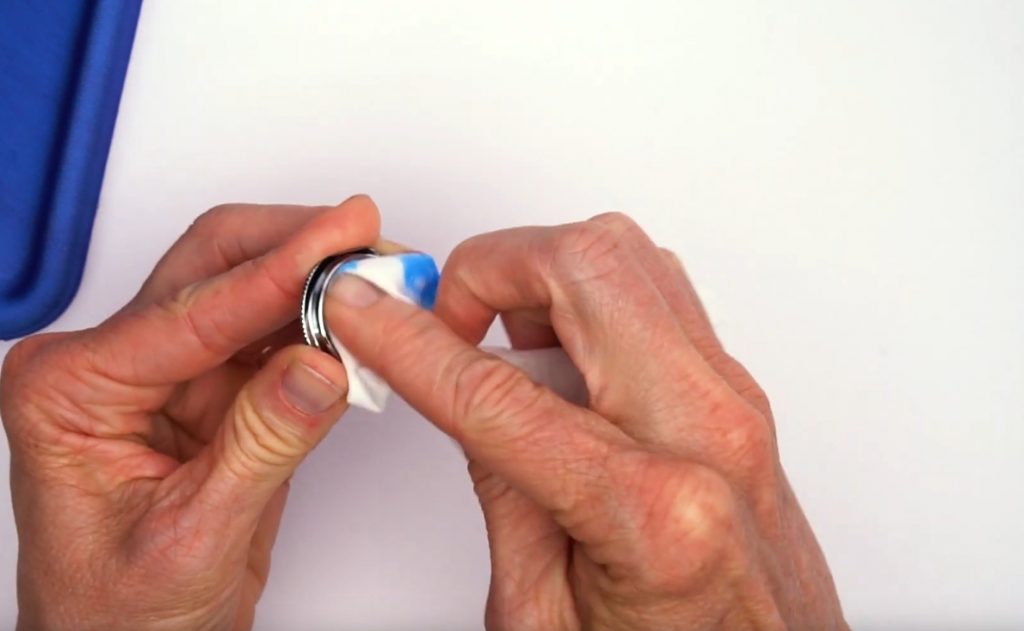
The paint cup can easily be cleaned with a paper towel and airbrush cleaner. If it is too small for this, you could also use cotton swabs or brushes to clean out any dirt inside the needle channel at the back of your device’s hose assembly – which needs disassembly only when cleaning thoroughly!
Step 7: Check Parts and Passage for Damage and Paint Debris
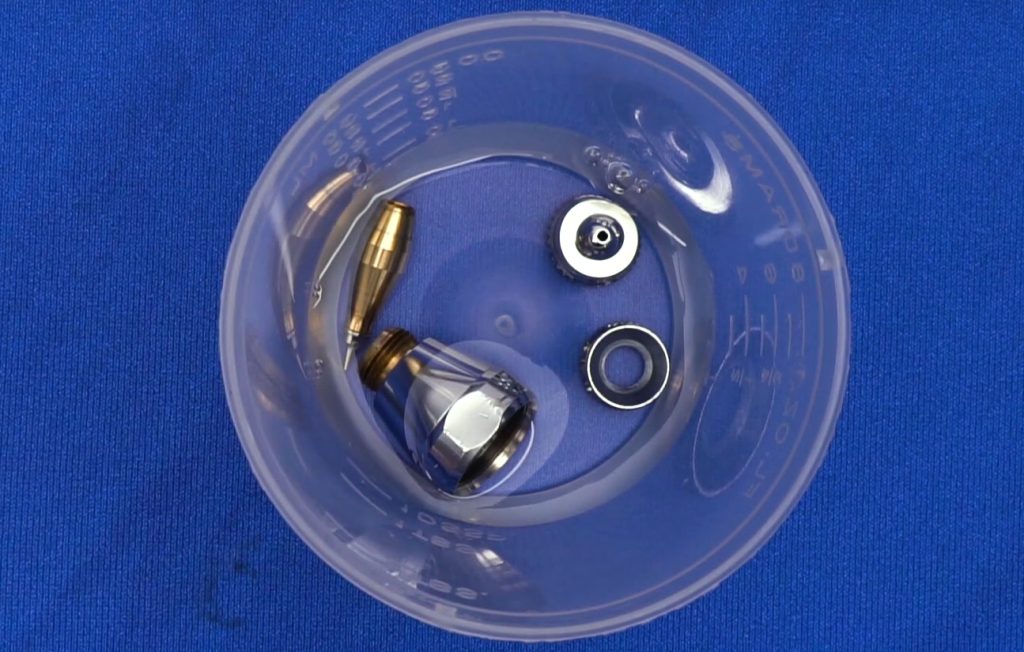
In step 7, you will want to check the parts and passage for damage and paint debris. This can be done by using a light and looking for any scratches or chips in the metal. You should also look for any paint buildup in the passages. If there is any damage or build-up, it will need to be cleaned and/or repaired.
Step 8: Lubricate the Airbrush
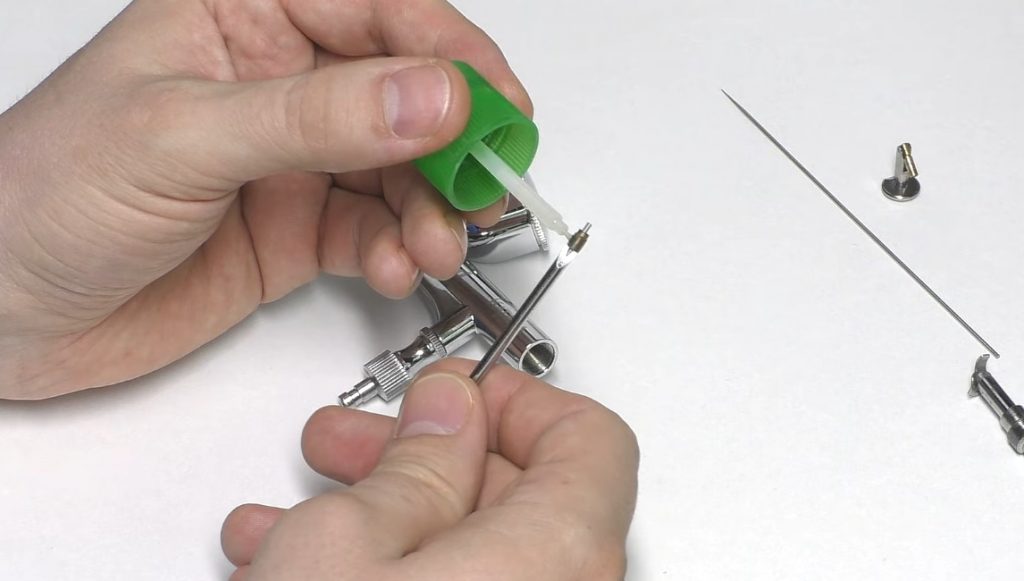
There are a few different ways to lubricate an airbrush. One is to use an aerosol spray lubricant specifically designed for airbrushes. Another is to use light oil, such as sewing machine oil or 3-in-1 oil. Simply apply a small amount of oil to the needle and trigger mechanism, then run the airbrush for a few seconds to distribute the oil evenly.
Step 9: Reassemble Airbrush
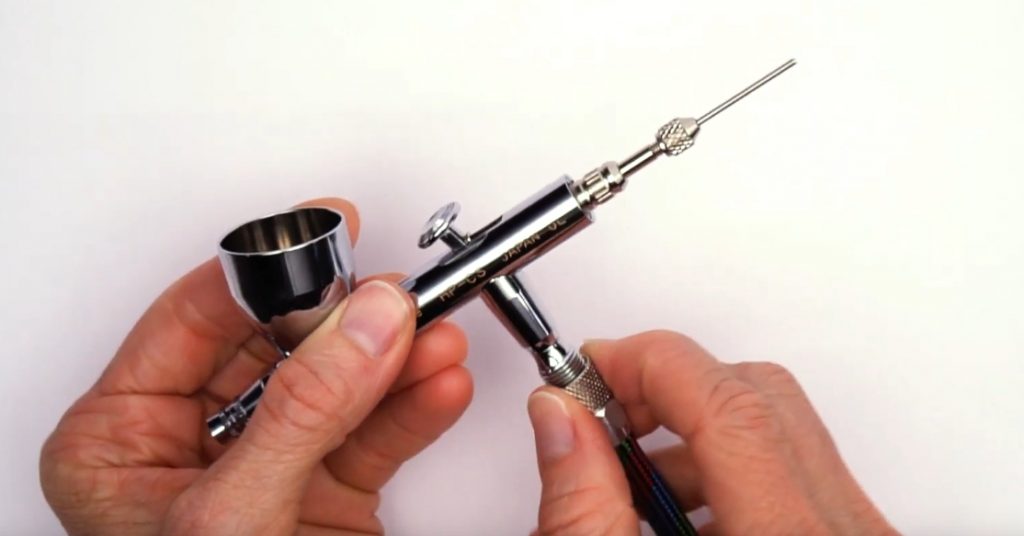
First, reassemble the needle chuck and paint container back into their original positions. Next, push your new Needle-operated airbrush from front to back to avoid bending it! When you can see through both parts again, then put them together with care so that no pressure is applied anywhere near where we want our brush strokes or colors coming out once everything has been screwed tightly shut – this will ensure an accurate application every time because all valves are opened up wide just waiting for some happy accidents 🙂
Step 10: Test the Airbrush
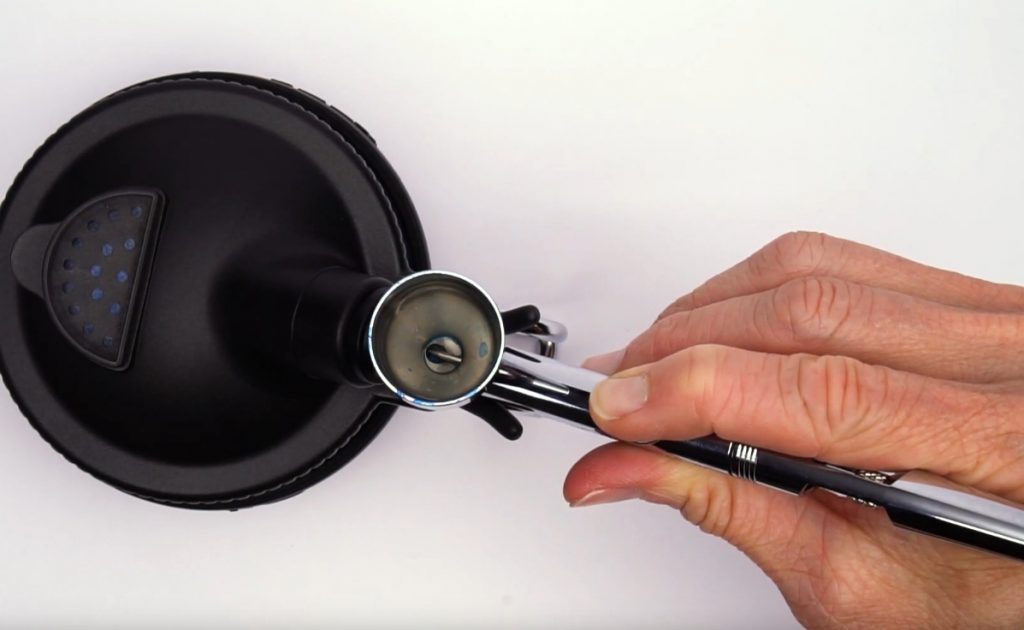
After you have put the airbrush back together, it is time to test it. First, fill the paint cup with water and screw it onto the airbrush. Next, put your finger over the nozzle and press the trigger. If water comes out of the nozzle, your airbrush works properly. If not, there may be a problem with the needle or nozzle, and you will need to disassemble and clean the airbrush again.
Congratulations! You have now learned how to clean and maintain your airbrush. With proper care, your airbrush will last for many years to come.
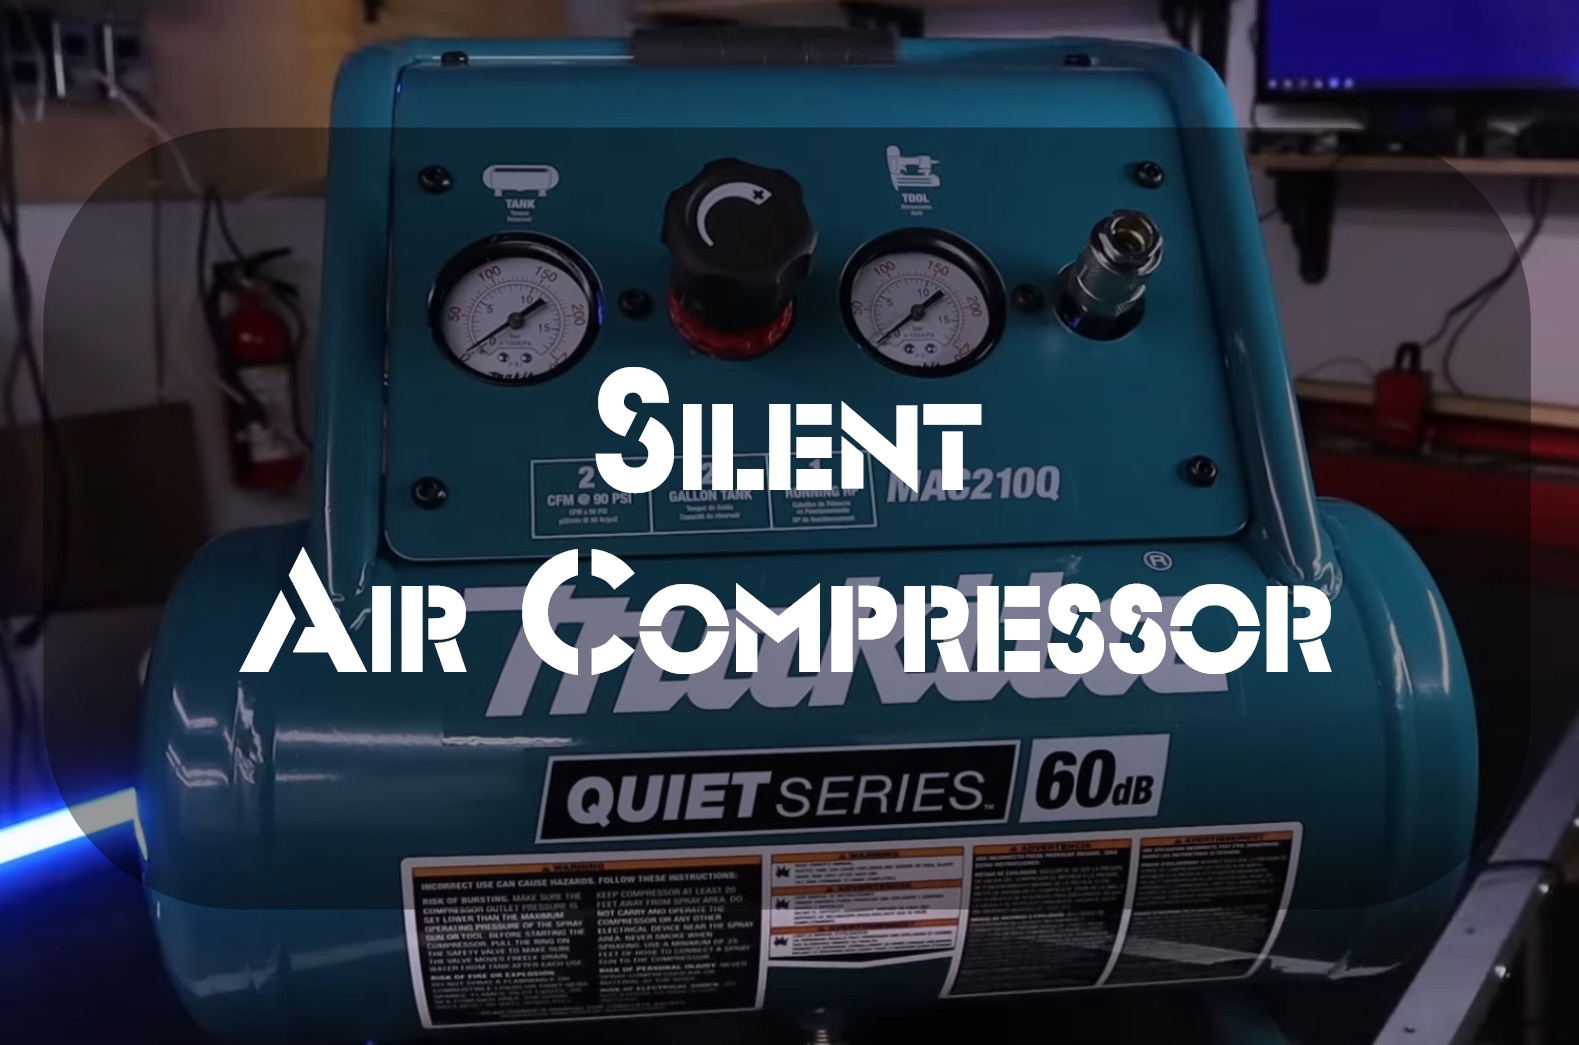
If you are looking for a new airbrush compressor, I have written an article that can help. The article provides a buyer’s guide to the best airbrush compressor for this purpose.
Airbrush Maintenance
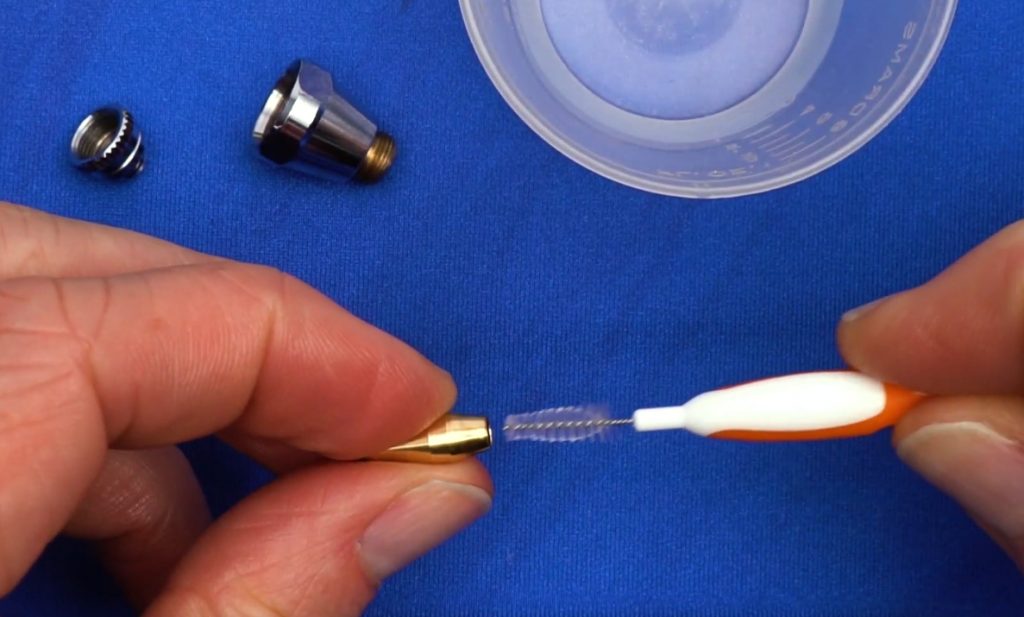
Inspecting your airbrush after a routine clean is important for two reasons. The first reason is ensuring that the seals and threads are all in good shape, which will preserve optimal spray pattern performance; this way, you can enjoy using it as much as possible!
Second- if there are any leaks or issues during operation, they’ll be revealed here, so keep giving those parts ago under close inspection before moving on to step three – lubricate where necessary based on results from previous sessions.
Inspecting the airbrush:
- Check for any cracks or leaks in the airbrush body
- Make sure that all seals are intact and in good condition
- Inspect the airbrush needle for any damage
Lubricating the airbrush:
- Lubricate the O-rings with a drop of airbrush lubricant
- Lubricate the trigger mechanism with a drop of airbrush lubricant
- If needed, lubricate the air cap assembly with a drop of airbrush lubricant – this will ensure optimal performance and prolong the life of your airbrush!
Checking seals and threads:
- Check that all seals are intact and in good condition
- Check that all threads are intact and in good condition
Repairing any leaks:
- If you find any cracks or leaks, be sure to repair them before using the airbrush again
- Use a sealant made specifically for airbrushes to fix any leaks
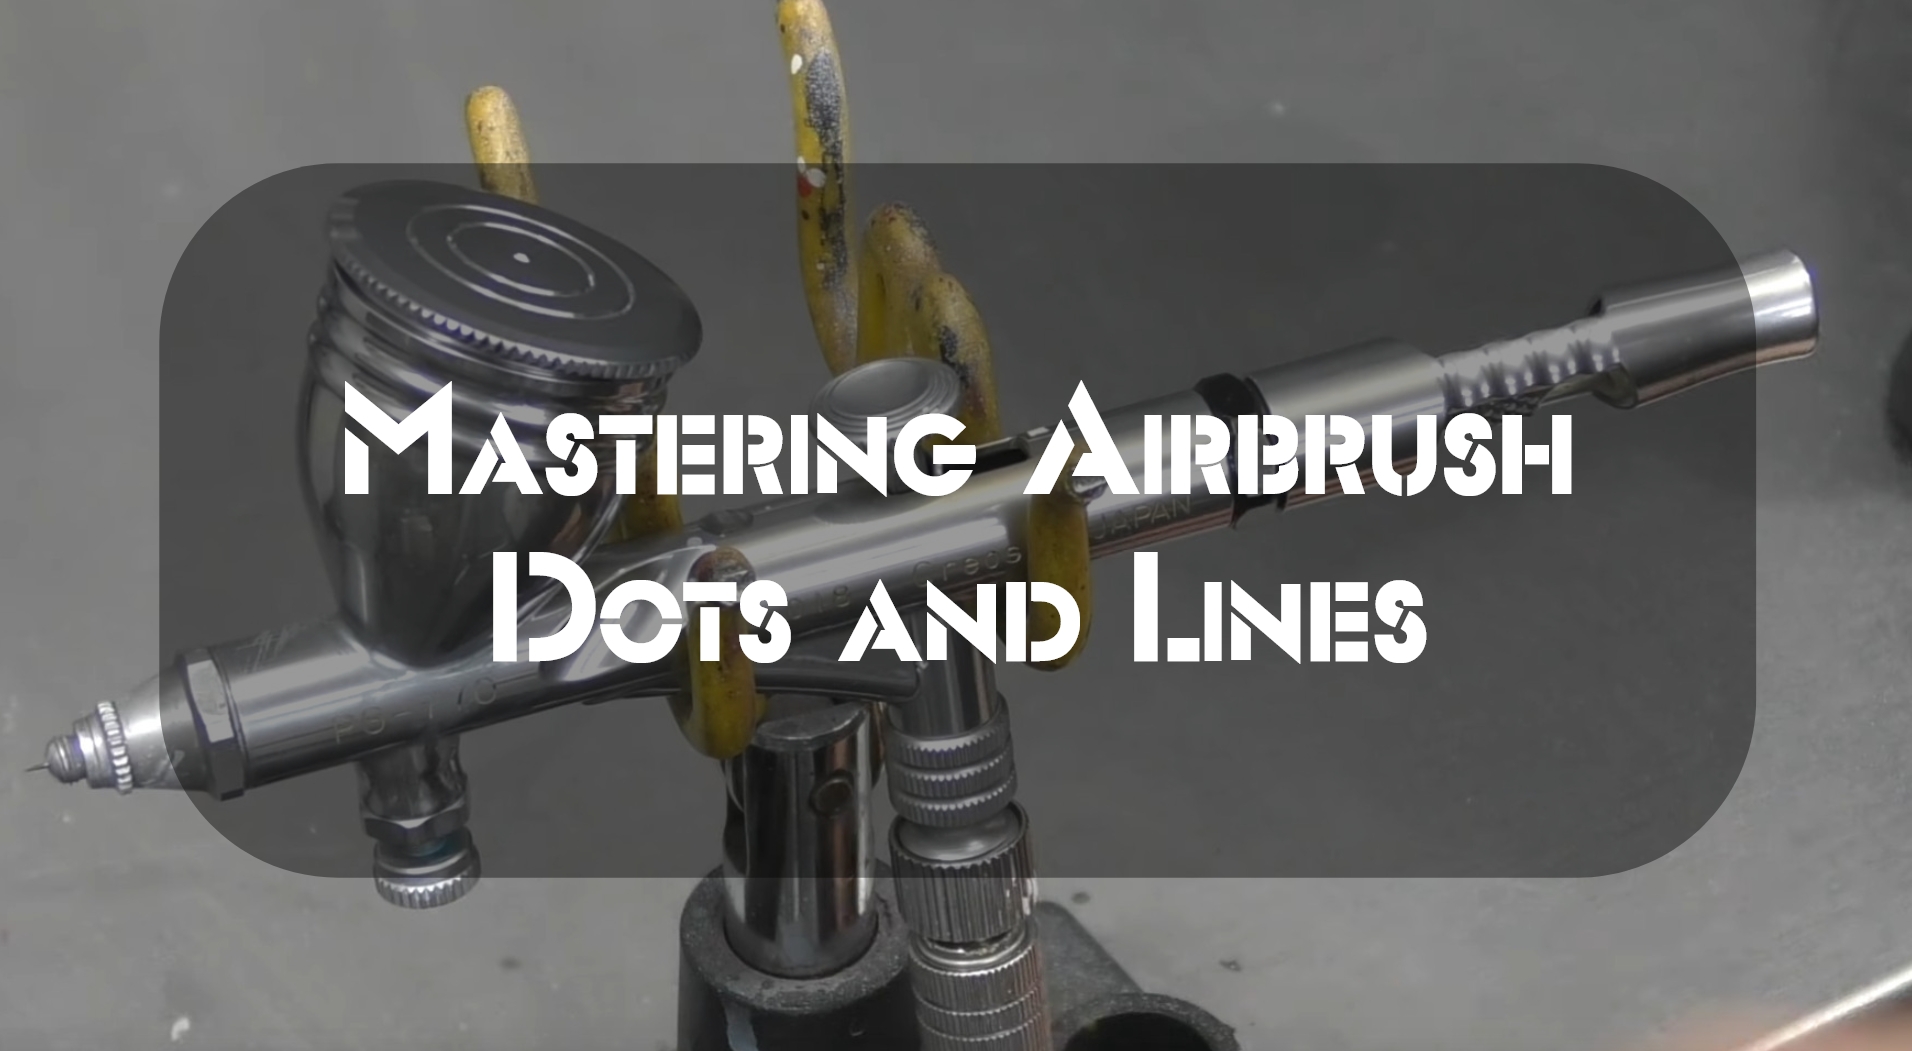
I have a guide on how to use a single-action and double-action airbrush. If you are interested, I suggest you take a look at it.
Airbrush Storage
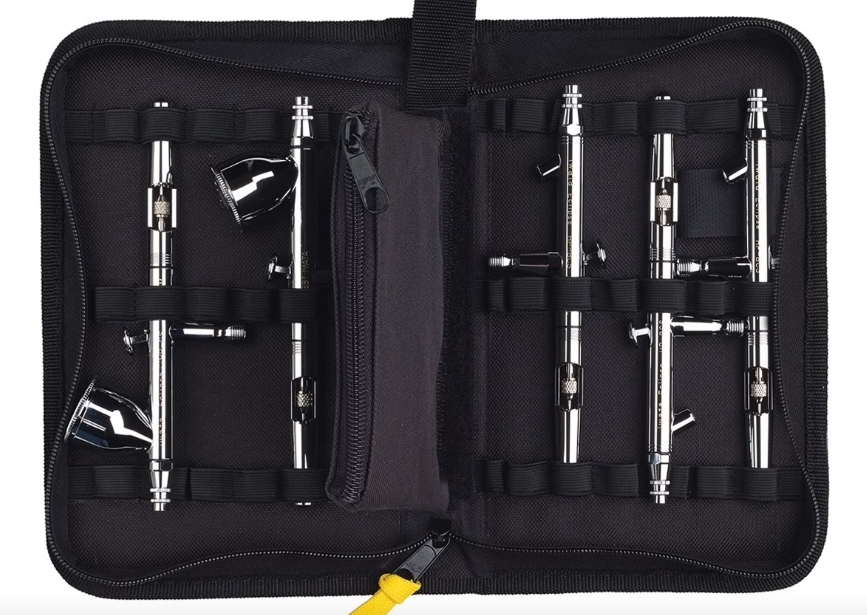
When you’re not using your airbrush, it’s important to store it properly to prevent damage. The best way to store an airbrush is in a case or box that will protect it from dust and other debris. You should also avoid storing your airbrush in direct sunlight, which can cause the paint to fade.
If you’re not planning on using your airbrush for a long period, it’s a good idea to clean it before storing it. This will help prevent the airbrush from drying out and becoming damaged.
When you are ready to use your airbrush again, check that all the parts are clean and free of any dried paint or other debris. It’s also a good idea to test the airbrush on a piece of scrap paper before using it on your project. This will help ensure that the airbrush is working properly and that there are no clogs in the nozzle.
Tips and Tricks
Keeping your airbrush in top condition is essential to ensure it performs at its best.
Here are some quick tips and tricks to help you clean and maintain your airbrush:
- Ensure to disassemble the airbrush after each use and clean all the parts with warm water and a mild detergent. Be sure to dry everything completely before reassembling.
- If the paint starts to build up on the needle, you can soak it in some thinners or acetone for a while to loosen it up. Just be careful not to get any of these chemicals on the other parts of the airbrush, as they can damage them.
- To keep the paint flowing smoothly, you can occasionally lubricate the needle with a light oil such as sewing machine oil or 3-in-1 oil.
- If you’re not using your airbrush for an extended time, store it in a safe place where it won’t be damaged or contaminated.
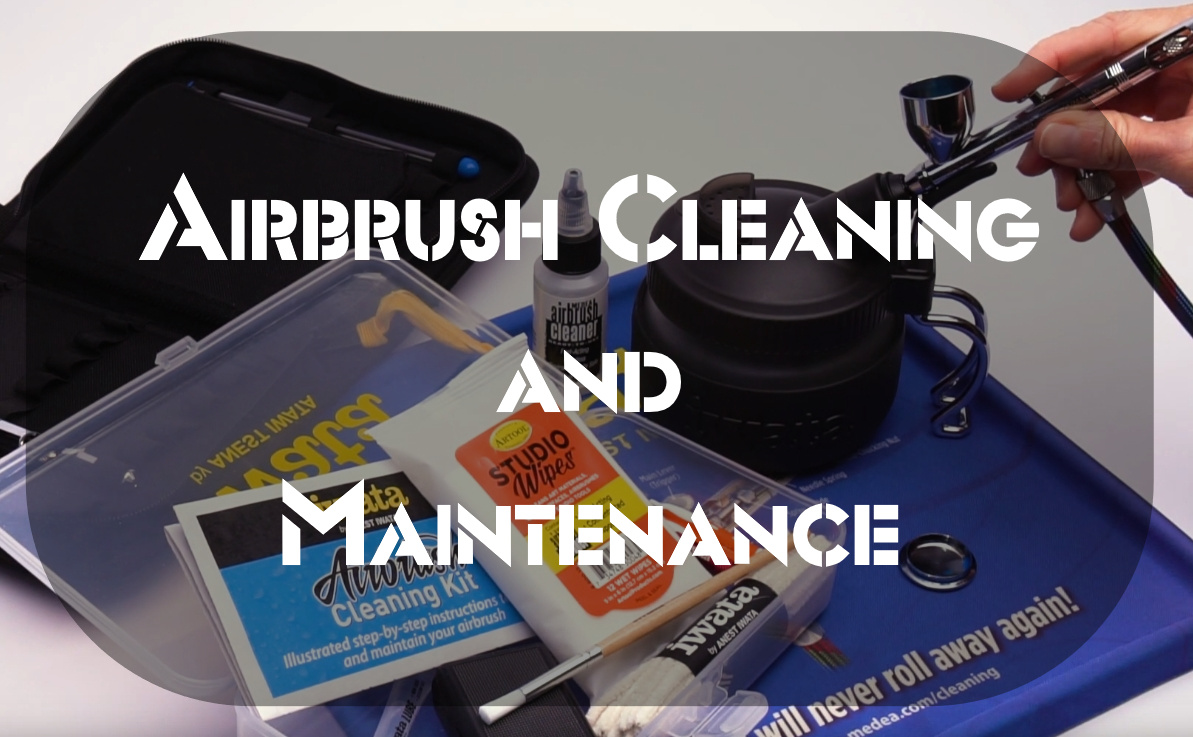
Use of a Cleaning Set
The airbrush cleaning kit is affordable and helpful for those with asthma or sensitive skin. It comes with everything you need to make your own mixture, consisting of a special agent that works best on paints but can also be replaced by household items like window cleaners if needed – just use what’s available! The brush bristles will wear down after long-term usage, so it might help get more uses out of their remaining lengthier than before by replacing them every time they lose popularity (which shouldn’t take too often).
Solvent as Cleaning Agent
I know you want to get your paint on as quickly and efficiently as possible, but I caution against using acetone. This solvent can break down stubborn residue left by other paints. It is safe to use, but there are risks associated with working in an environment where the solvent might release fumes. People close to the area where the solvent is being used should wear a protective mask.
We recommend solubility-enhancing products like Isopropyl Alcohol or denatured alcohols, which will make removing all film types easier!
What Can You Use to Clean Your Airbrush?
You can use several things to clean your airbrush, including water, dish soap, and a brush. However, some people also use rubbing alcohol or compressed air to clean their airbrush.
Here are my thoughts on cleaning supplies:
Can I clean my airbrush with water?
Yes, you can clean your airbrush with water. However, cleaning with soap and water is not recommended as it can strip the paint from the airbrush. Instead, use a brush or airbrush cleaner specifically designed to clean an airbrush.
Can you use paint thinner to clean the airbrush?
You can use paint thinner to clean the airbrush, but it is not recommended because it can harm the airbrush.
Can you use vinegar to clean an airbrush?
Yes, you can use vinegar to clean an airbrush. However, it’s not the best option because vinegar is a strong acid and can corrode metal parts.
Can you clean an airbrush with thinner?
You can, but it’s not the best way to do it. Thinner will clean the airbrush, but it will also damage the airbrush over time. It’s better to use a dedicated airbrush cleaner.
Can you make your own airbrush cleaner?
You can make your own airbrush cleaner with just a few household ingredients. All you need is some distilled water, white vinegar, and dish soap. Mix these ingredients in a bowl, and then use a clean cloth to wipe down the airbrush. This homemade cleaner will work just as well as any store-bought cleaner.
Use Ultrasonic Bath for Cleaning
An ultrasonic bath is the best way to keep your airbrush gun in perfect condition. This treatment takes minutes and has been proven very effective at cleaning every part of the firearm without damaging any delicate pieces!
Conclusion
Ascertaining optimal airbrush functionality and obtaining exceptional outcomes necessitates meticulous maintenance that warrants thorough cleansing after each session. It is imperative that you adhere to the following step-by-step guidelines to ensure seamless execution and achieve impeccable results. Fear not, as we are here to impart nuggets of wisdom that will augment your cleaning acumen and optimize the operational efficiency of your airbrush. Embrace this endeavor with gusto, and let the relentless pursuit of airbrushing excellence commence!
FAQ
How do you clean airbrush makeup?
You must first remove the needle and nozzle to clean your airbrush makeup. Soak both of these pieces in a cup of warm water and a few drops of dish soap. Let them soak for about 15 minutes, then use a brush to scrub off any buildup. Rinse the pieces under running water, reattach them to the airbrush and blow dry. You can also take the entire airbrush apart and clean it, but ensure you dry it completely before putting it back together.
How do you clean an airbrush after using acrylic paint?
To clean an airbrush after using acrylic paint, you must first remove the paint from the brush. You can use a paper towel to blot the paint away. Then, use a brush cleaner or warm water to clean the bristles. Finally, use a dry paper towel to remove any excess moisture.
Should you lubricate an airbrush?
Lubricating an airbrush is not always necessary, but it can help the airbrush function more smoothly. Airbrushes can grow over time, and lubrication can help clear away any built-up residue. However, use the correct lubricant for your airbrush, as some will damage the internal parts.
How do you backflush an airbrush?
To backflush an airbrush, you will need to detach the airbrush from the hose. Next, fill the airbrush with a cleaning solution (such as window cleaner) and hold it upside down. Push the button on the front of the airbrush and release it when fluid begins to come out of the nozzle. Finally, reattach the airbrush to the hose and blow through it to clear any remaining fluid.
How do you clean the airbrush between colors?
To clean an airbrush properly, you must first remove the needle and nozzle from the body of the airbrush. Soak all these parts in a bowl of solvent for about 10 minutes. After that, use a brush to scrub away any paint residue. You can also soak them in hot water to ensure all the paint is gone. Finally, reattach the needle and nozzle and blow out any remaining solvent or water.
Hey there! I’m Richard Baker, a miniature painter who’s been in the game for a solid decade now. I’ve been painting miniatures for ten years and I’ve got a ton of tips and tricks to share with you all. My website is a treasure trove of knowledge that I’ve gathered from both my own personal experiences and from reading all sorts of books.


Leave a Reply