Hey there fellow artists! You know what’s the worst thing ever? When your airbrush starts acting up and you’re left with a nasty case of tip dry. Trust me, I’ve been there. I remember this one time, I was in the middle of a project and suddenly my airbrush wouldn’t spray. I was about ready to chuck it out the window! But then I learned a few tricks to prevent it from happening again.
What is Airbrush Tip Dry?
You don’t want your paint to dry out, so what do you think happens when it gets stuck on the tip? It’s just like having a little ball of greasy ether there. Once this starts happening with an airbrush trigger, the adjustment becomes hard and takes longer than before for adjustments or if someone wants them adjusted in any way at all! The result is splatter because now, instead of making fine lines, we get large droplets that can take some getting used to, but I’m sure after a while, everything will adjust back smoothly without much trouble.
There are Many Ways to Reduce How Often Your Tips Get Dry
Here are some tips for you:
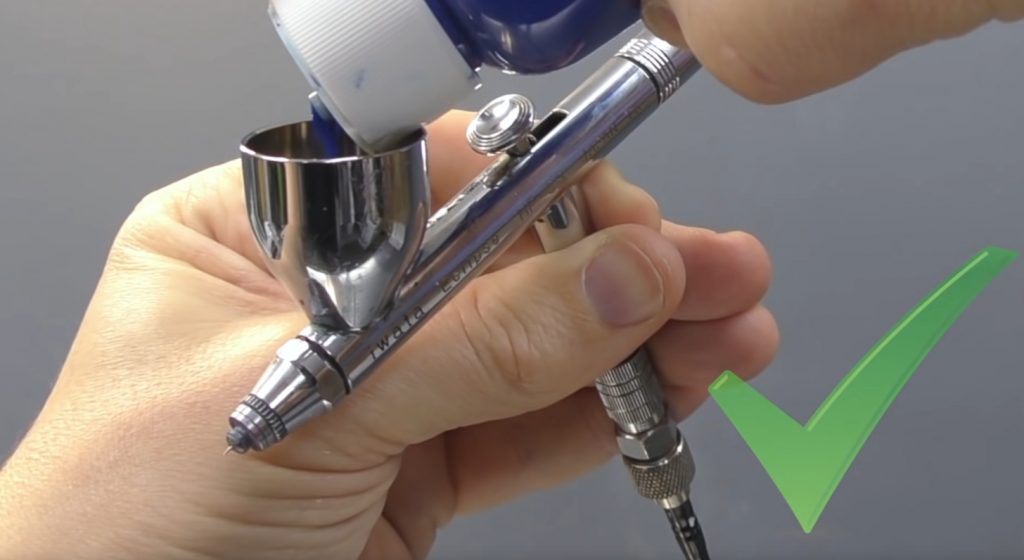
- Properly maintain your airbrush needle: Make sure that your needle is always clean. Keep the tip of it at a 45-degree angle while you spray, and move in even strokes when applying paint.
- Clean your airbrush: If you’re using a double-action airbrush, the paint in your hose will not dry out. However, if you leave color in your cup or bottle for more than three days, it can start to turn and clog up the nozzle of an internal mix type of brush.
- Use less thin: Try reducing how much thinning (thinner) you add when mixing colors with acrylic paints. The recommended ratio is one part thinner to nine parts paint; try adding six or seven parts instead—it may be just enough!
- Reduce humidity: Outdoors on hot summer days, especially near bodies of water like lakes and rivers, humidity levels can climb into high numbers, making painting difficult due to higher chances of tip dry.
- Be patient: If you’re having trouble with tip dry, try reducing the total number of coats that you paint in one session (don’t go over three or four). Also, make sure to wait at least five minutes between each coat—for your colors to properly bond together and create a smooth finish.
- Add some thinner: Add about ten drops of Thinner per ounce (30ml) into your bottle when it is half empty/half full. It will ensure that some fresh layers are always applied on top while not drying out the color underneath. Adding more than this can affect how long your color lasts before needing another coat!
- Use distilled water instead of tap water: The calcium ions in tap water can cause paint to turn into a solid brick that won’t budge from your airbrush. Distilled water will prevent this problem, making it even safer for you to use!
- Don’t let them dry out: If you do end up with tip dry and need to wait before being able to clean the brush again, make sure you keep both ends of the needle wet at all times. This is very important because if one part of the needle dries out, it could clog or damage your instrument. Leave a tiny bit of color in there, so they don’t stick together while waiting on another coat to be applied—but not too much where it might start drying up as well!
- Properly thin your paint: If you’re using acrylic paint, make sure the color is a little bit on the thick side. This helps prevent clogging and dry tips and makes it easier for the paint to come out of your brush—especially after multiple coats have been applied!
- Store them properly: Keep all of your airbrushes in an upright position with no one leaning or touching another. When they are stored horizontally or pressed together, this can cause moisture from clean brushes to be deposited into ones that aren’t completely dried yet, which could lead to tip dry problems even faster than before!
- Turn down the pressure: If there isn’t enough pressure going through your paintbrush, then a lot more time will be required between each coat because the air will have to go through the brush much slower. This helps prevent tip dry by allowing you more time in-between each layer being applied to your project!
- Use a paper towel: If you’re out on location and need something quick, try using a rolled-up piece of the paper towel instead of an airbrush cleaning cloth or tissue at certain times when they are needed most. You can also use this method for touching up between coats if necessary. It saves paint, too, so it’s perfect for when you’re short on supplies but still want to keep painting!
- Lube your airbrush needle: Lubricating your airbrush needle with light oil every so often can prevent the tip from drying out and keeps it running smoothly. This is especially useful after you’ve cleaned and stored your brush and need to wait for them again before using them next!
- Use alcohol: If you are worried that some of these tips will not work, try to use an old paintbrush or paper towel with 91% or higher Isopropyl Alcohol. Then, directly apply it on top of the dried acrylic color to soften it back up again. You might have to apply several coats if needed—but this should work great at getting rid of dry patches that prevent new paints from being applied overtop once more.
- Try some Additives: There are a lot of additives out there that can help you prevent dry tips too! You can use things like acrylic retarder or even glycerin to keep your brush workable for longer. Some brands offer special products specifically designed with airbrushes, but these tend to get pricey quick. The other methods mentioned earlier in this article should do the trick with no problem without breaking your wallet!
- Use them more often: If all else fails and you end up having really stubborn tip dry problems when using an airbrush, try going back over it again with a paintbrush instead—it sounds crazy, but it works great at softening dried colors. Hence, they come right off effortlessly once more. And since brushes don’t take nearly as long to dry out, you can get back to cutting through the clear coat again in no time flat!
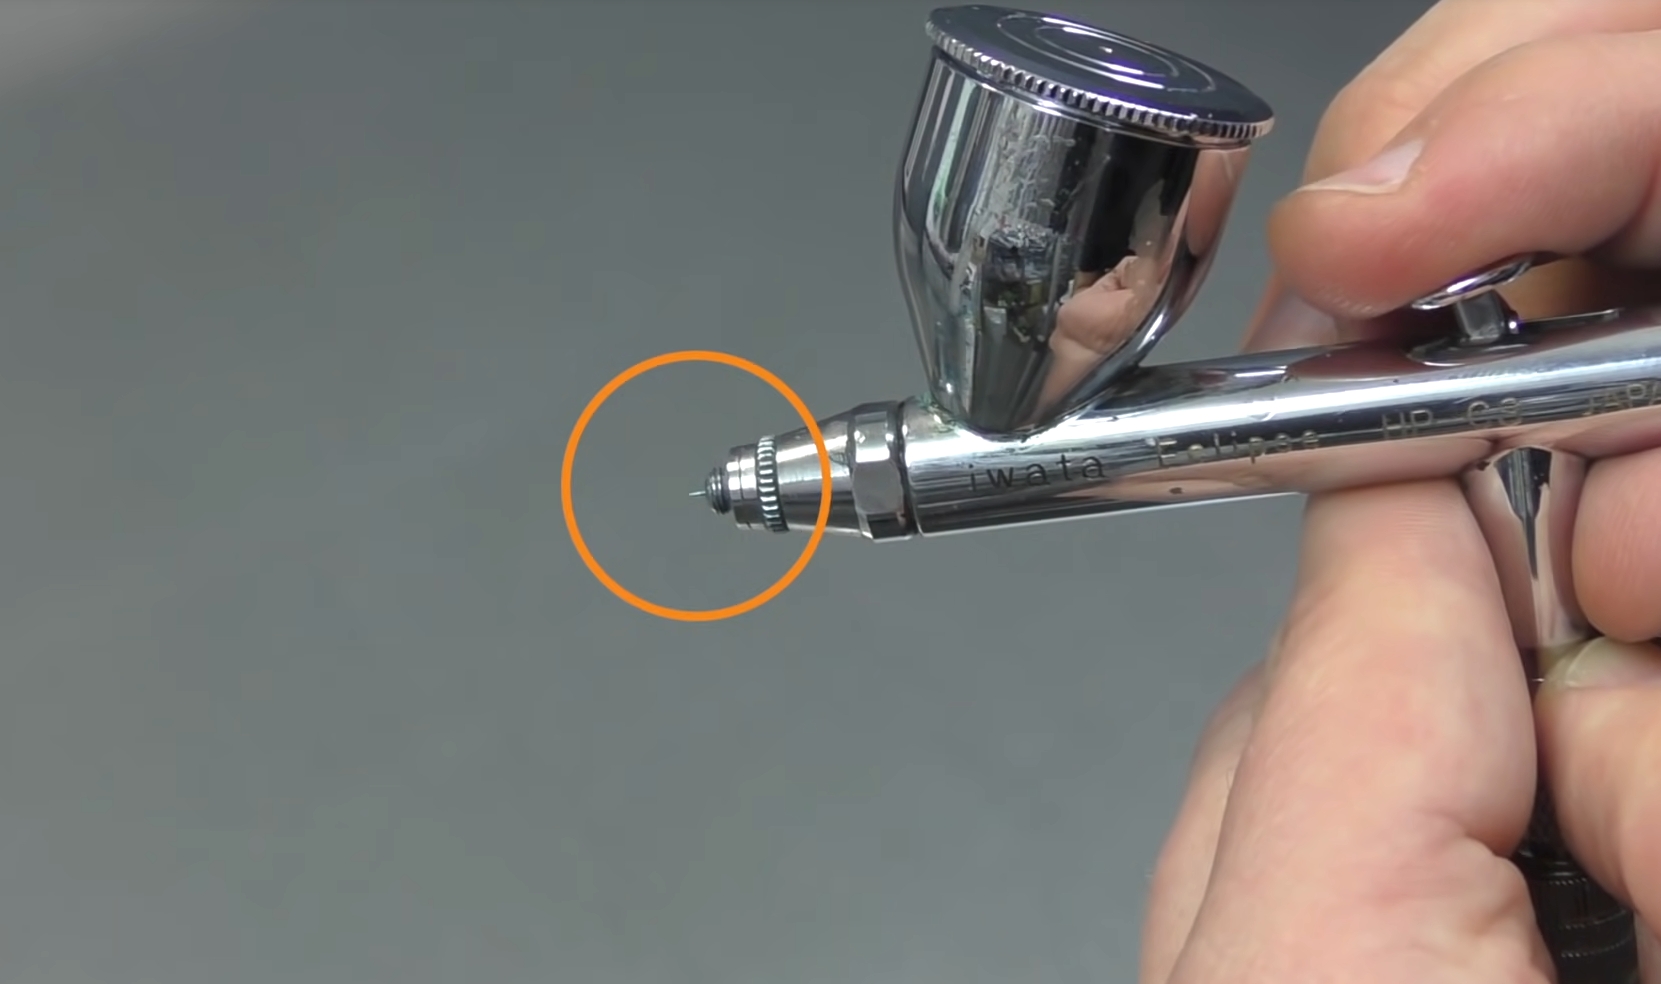
Keep the Needle On the Airbrush Clean
Don’t forget to keep your needle clean. Extreme build-up can cause poor atomization, which means less-than-perfect coverage and a clogged nozzle. This is especially important for those of you who have been using the same bottle of airbrush paint without cleaning it first! Be sure to follow our quick guide on cleaning an airbrush properly before putting away your gun after a session.
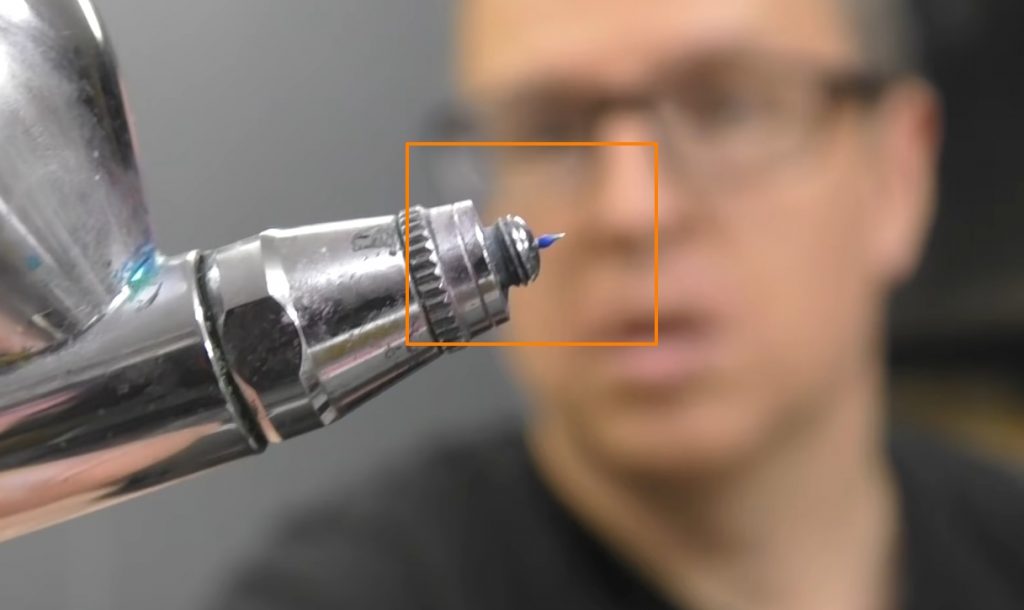
When you use an airbrush, be careful not to bend the tip of the needle.
The thin needle on your airbrush can be easily bent, which will result in dry paint. If you bend the tip back into alignment with some gentle pressure applied by hand or fingernails, it should return to normal without any lasting damage done.
I have found that nothing causes faster drying than an over-bent needlepoint for an artist’s brush toolkit.
The airbrush needle needs to be polished.
You know how mass-produced airbrushes come out pretty smooth, but there are always imperfections on them? These minor scratches and nicks make it easier for the paint to stick when printing, reducing the surface area available. But if we polish our needle tips, these ridges will become more visible so less can cling onto each shelf before being covered up by another stroke of color! This process takes time – be patient: take your supplies around with you while working through different angles to find what works best (don’t forget about safety either).
Clean Your Airbrush
Clean your airbrush! It’s essential to keep it clean for a smooth flow of paint. If the inside is dirty, dirtied up with gunk or other particles that might be clogging it, you will notice less than perfect results when trying out different paints and markers at home – not just in terms of quality but also time spent cleaning after each use. So, your best bet is to clean it after every use.
Tip: Keep a separate container next to you and put the dirty paint water into that instead of pouring it down the drain where it can cause problems for plumbing! It’s essential to do this as painting with old or dirty water will clog up the airbrush, even more, making future cleanings harder than ever before (if not impossible).
Thin Your Paint to Properly
Properly thinning paint is an essential skill for any painter, but it’s critical if you want to learn how the airbrush works. Airbrushes are most effective with properly thinned paints that flow through the needle quickly and produce smaller droplets so they’ll dry more quickly on your project surface – which means less wasted time waiting around while everything sits there perfectly still!
The airbrush needs to be thinner than average, but the paint will break down and become unusable if you overdo it consistently.
Since every paint manufacturer has its own recipe for making it, there can be unintentional reactions when mixing brands of thinner and paints. This mainly applies to enamels or varnishes rather than water-based acrylics- if you have been using one brand long enough, try thinning the new colors outside your airbrush just in case!
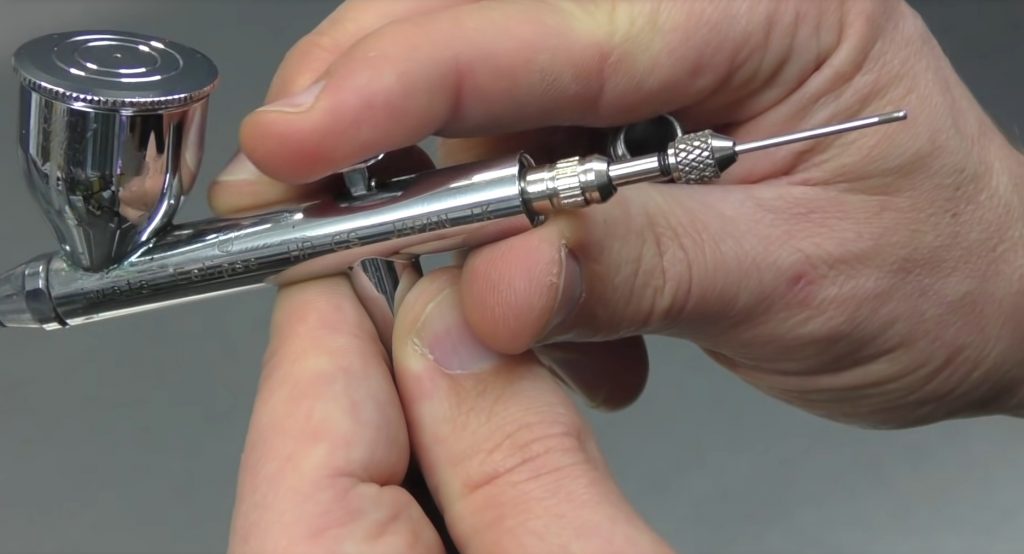
To make your airbrush work better, you should lube the needle.
Needle lube is a greasy liquid that helps prevent the needle from sticking when you’re sewing. One drop on each fingertip will do for my favorite brand, Iwata needles, and Badger pub oil! Now, all we need to do is slowly pull them apart while rotating them between ourselves or pushing forward gently with light pressure until our fingers brushing against themselves as if they were cats meowing at us (or something like this).
With only a small amount of lubricant, you will be able to enjoy using your airbrush for many more hours. You should also lube just halfway up the needle since this ensures less friction when painting with it and makes things difficult on yourself in terms of holding onto what’s inside!
Lubing your airbrush needle will improve its smoothness and give you better results. I didn’t realize how much friction there was in my airbrushes until they were lubed. Still, after using Badger Regdab Juicy Juice® or Iwata Super Lube®, both are very good at reducing this abrasive feeling for artists who work with these devices daily!
Additives can change the color of the paint.
Various additives are available for your airbrush, some of which work great and others not so much. Two types will help reduce the drying time on tips – they’re called retarders or flow improvers, depending upon what you want them to do? Both have benefits, but knowing which one might be best suited for any particular application can take some research into itself before deciding if this is something worth investing in at all!
Drying retarders are an additive that slows down the drying process.
Drying retarders are chemicals that can be added to paint. The purpose of this addition is twofold. First, it makes the airbrush wetter for a longer time, which helps reduce the chance of dried on tips. Second, thinning with these products is less necessary because they are already wetter. Use sparingly, though, as too much might cause take several days before coating becomes fully dry again.
Flow improvers control the flow in a particular area.
Flow Improvers, also called flow aids or thinners for water-based paints, can make your paint application easier. Sticky oils don’t usually go where you want them. When they dry, they can make a mess and create a lot. That’s not what you want. Acrylic paints don’t do that. Still, suppose you’re using an airbrush. In that case, this shouldn’t matter as much since they already have extra-wide nozzles, which allows them some control over airflow during use, making distributing evenly across large areas relatively easy.
These paints make it easy to clean big spaces before starting new projects. They also let you mix colors together that are close to each other because the paint is thin and not as dry as regular paint.
However, there is a downside. This is seen by how thin paints behave on surfaces. Sometimes they are still pooling at edges, but not in an uncontrollable way like before. If your project might need tight lines or details, you should walk away from the area for many minutes to dry thoroughly first. If working under such conditions instead of using flow improvers, I’d suggest testing each product out yourself and their drying times. Some brands may work better than others, depending on the type of paint you choose to paint miniatures.
Paint thinner is a chemical that you use to thin paint.
The paint thinners manufactured by companies like PaintCo and Tamiya are all formulated to have a similar consistency. This means that, for the most part, they contain primarily water as their base ingredient with flow aids or retarders added in depending on what kind of product you want it applied onto- whether your medium is plastic models or not!
When you get into other paint types, such as enamels and varnishes, the thinners will contain more potent chemicals required to break up these compounds.
You can almost always add thinner before issues, but going up to about 25% by volume without a problem. Going over 50% is when you might break the paint on your scale model!
Conclusion
I hope this article has been helpful to you in your struggle with airbrush tip dry. I sure wish I had known about these things when I first started airbrushing! Well, maybe I’ll write another blog post about that sometime soon! Until then- keep on spraying and happy painting, everyone!

Hey there! I’m Richard Baker, a miniature painter who’s been in the game for a solid decade now. I’ve been painting miniatures for ten years and I’ve got a ton of tips and tricks to share with you all. My website is a treasure trove of knowledge that I’ve gathered from both my own personal experiences and from reading all sorts of books.


Leave a Reply