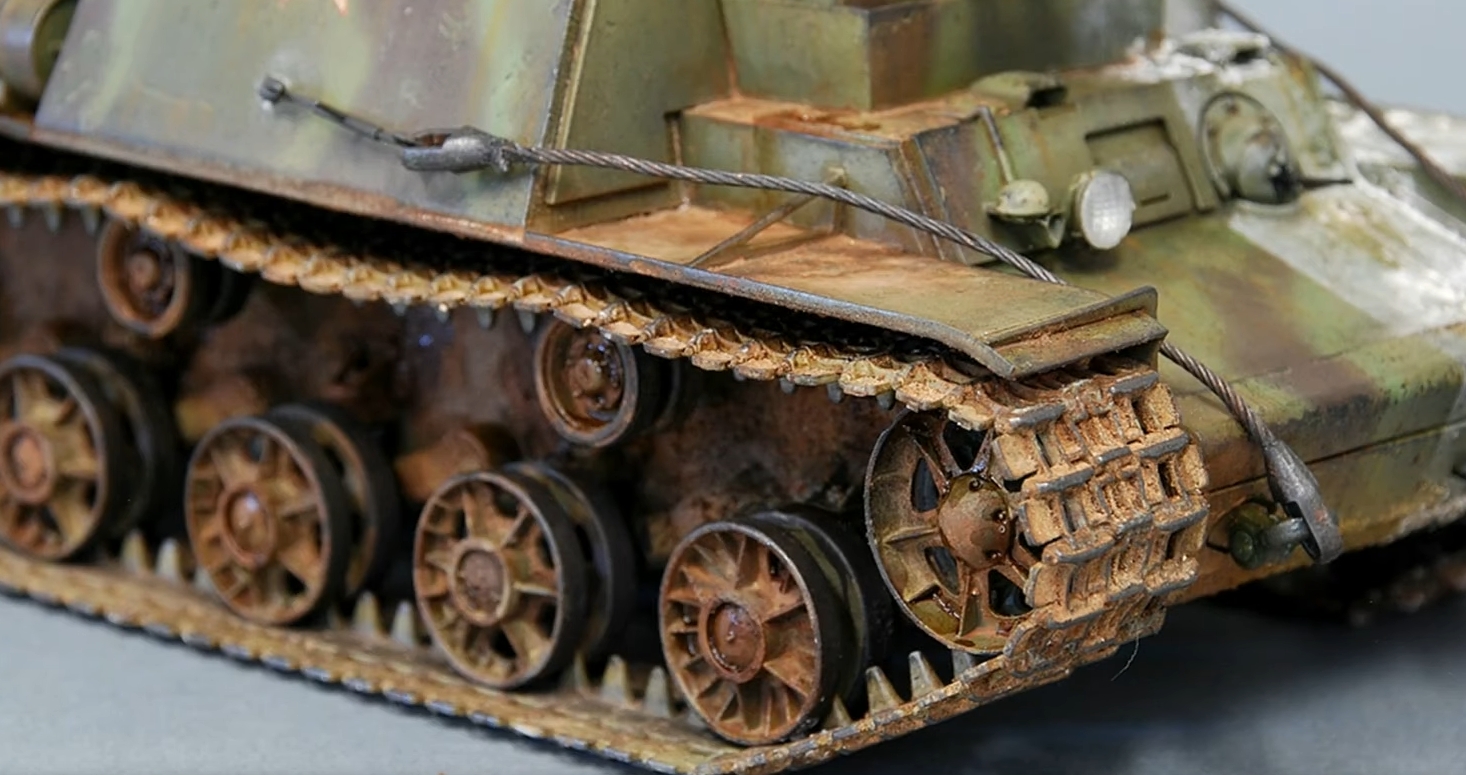
Hey there, fellow model enthusiasts! Today, I want to share with you a fun and creative way to make your model tank tracks stand out. Have you ever noticed how cool and realistic military vehicles look with their well-worn tracks? Well, I’m here to show you how to achieve that same effect on your model.
Now, I know some of you might be thinking, “But wait, I’m not an artist or anything, how can I make my tracks look cool?” Trust me, it’s easier than you think! Whether you’re a seasoned pro or a beginner, there are a few simple tricks that can make your tank tracks pop.
What are Tank Tracks and How Do You Paint Them?
Tank tracks are a track that is attached to a vehicle or object that provides it with mobility. They allow the heavy equipment to move across various terrains more quickly and efficiently than on foot, such as mud, snow, sand, etc…
In model building, tank track schemes can be trendy because of their unique design and exciting look on your models. You can add them to tanks, trucks, or even aircraft if you so choose!
Tools Needed to Make Your Own Tank Tracks
- Hobby Knife
- File Set/ Sanding Tools
- Paint Brush
- Primer (I used Tamiya Gray)
- Paint (Black, Brown, and Silver)
- Clear Coat Spray Sealant
- Water (Optional)
- Toothpaste or Ceramic Gouache Paint (Optional)
Materials Needed for This Project:
- Hobby Paint (I use Vallejo, but I’m pretty sure other brands would do fine as well)
- Paint Brushes
- Gloss Varnish (I use Vallejo)
- Dullcote/ Matte Coat Spray (Vallejo)
Step-by-Step Process

If you haven’t completed your tank yet, I recommend reading my guide on How to Paint Model Tanks right away.
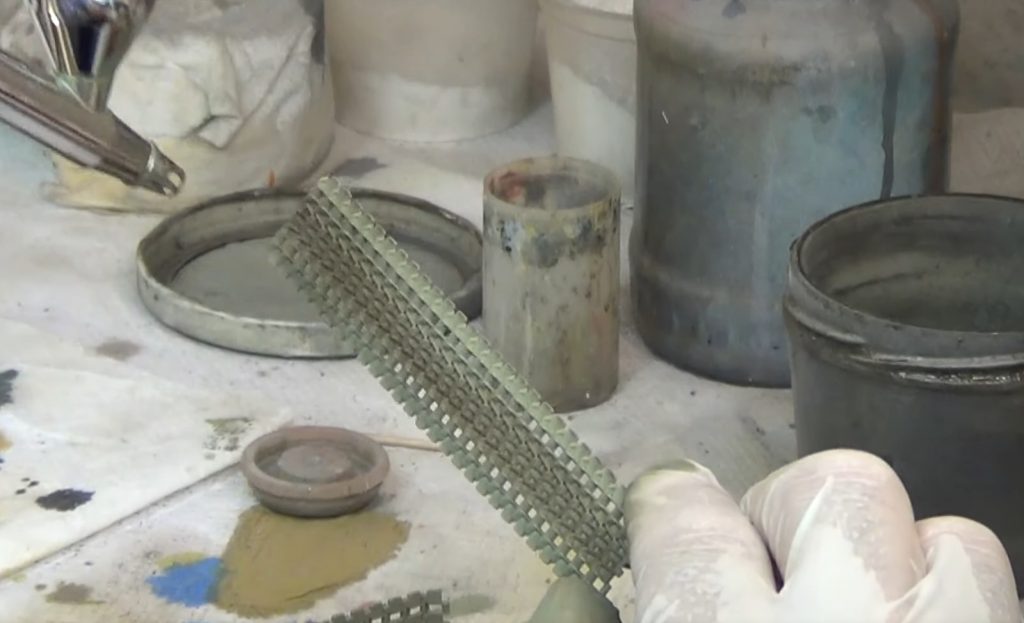
Step 1: Base color (acrylic). Medium green (RLM 70)
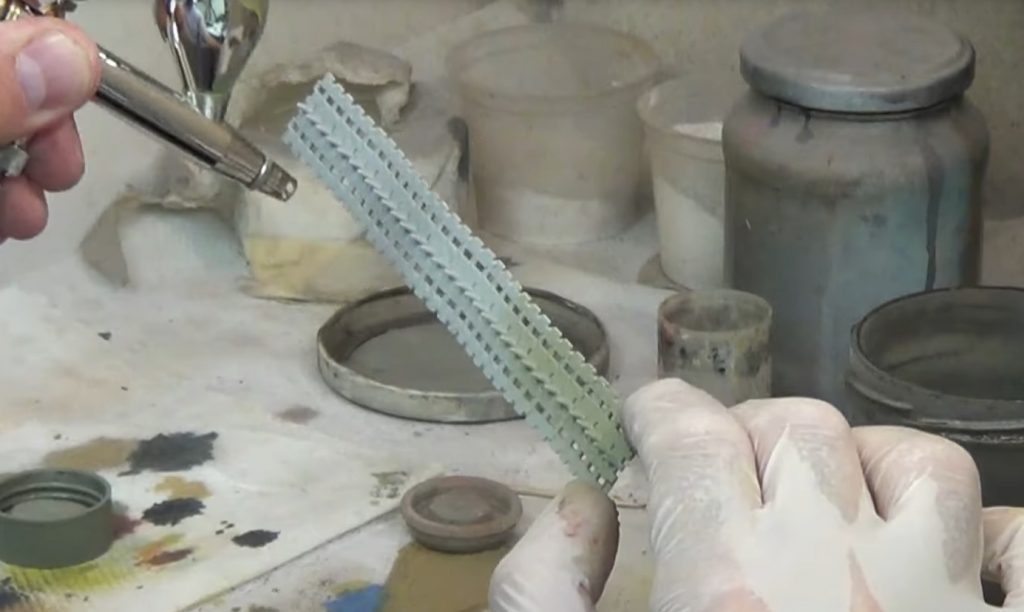
First, take your black paint and brush. You need to put a little water on the tank tracks to spread the pigment across them rather than just being painted on top. Next, apply this mixture onto your tank track piece from earlier using a set of hobby brushes or an old dry one. Be sure not to use too much as you do not want any drips down the side! If there are areas where you see imperfections in coverage, dab some more medium green over those spots once they have dried completely (I waited about 20 minutes).
If you’re an airbrush enthusiast like me, an article on “What Airbrush to Paint a Tank With?” will complete the step.
Step 2: Spray medium brown (acrylic) in the center of the track.
After the black paint has dried completely, you should base coat your tank tracks with medium brown. You can do this by either spraying it or brushing it on top of them. Be sure to hold your piece at an angle so that the sides are not touching any part of a table surface and allow for better coverage! I used Vallejo Tank Brown Paint for this step because I wanted a darker color than my green-brown mix from earlier (RLM 70).
Step 3: Chipping effect with a sponge technique. Use black-brown acrylic paint.
The next step of this tutorial is to apply a sponge chipping effect. This gives the tank track piece some more detail and makes it look used/ old! I started by applying black paint onto my sponge using short, quick strokes upward (the sponge should be wet).
Be sure not to overdo it on your sponge because you will end up with too much brown on your brush when it comes time for base coating later. Next, dab off all but one side of the sponge into a paper towel until only enough remains so that there are no large puddles or runs while working quickly before the paint dries completely! Hold your piece at an angle and be careful when you do this technique.
Paint your sponge onto those areas where you would like to see a chipping effect, such as edges and corners (I did not do this on my tracks because I wanted them to be clean).
Step 4: Make a wash enamel (or Van Dijk brown oil paint) diluted with white spirit.
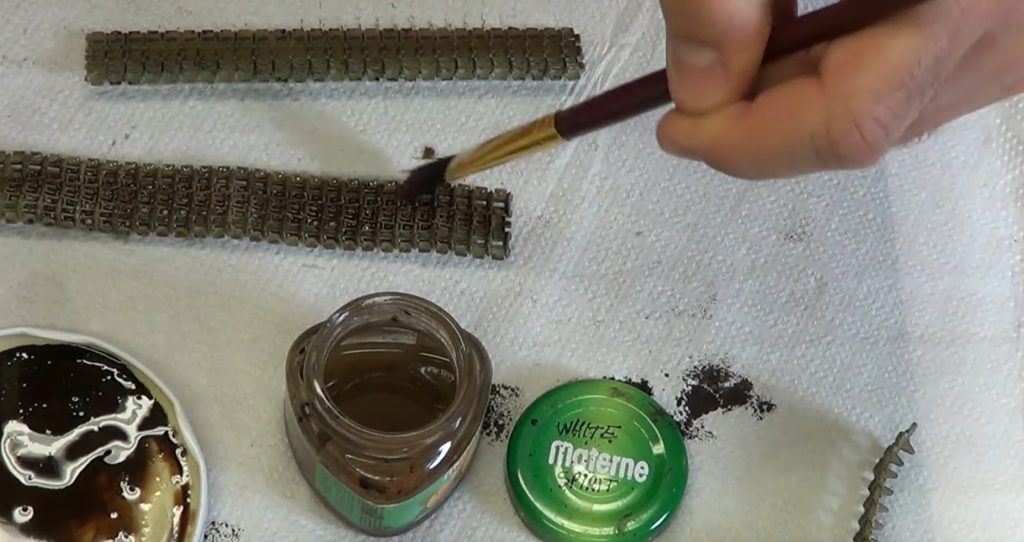
Now that the base coat is complete, it’s time to wash those tracks! Use a toothpick or small brush and apply an enamel wash onto your tank track pieces where you would like to see the chipping effect. Be sure not to overdo this because if there are too many washes on top of each other, they will build up into darker patches instead of just adding depth overall (if that makes sense). You can also use Van Dijk brown oil paint mixed with white spirit diluted around 50/50 for this step. Make sure all areas have been covered with a wash before applying another layer.
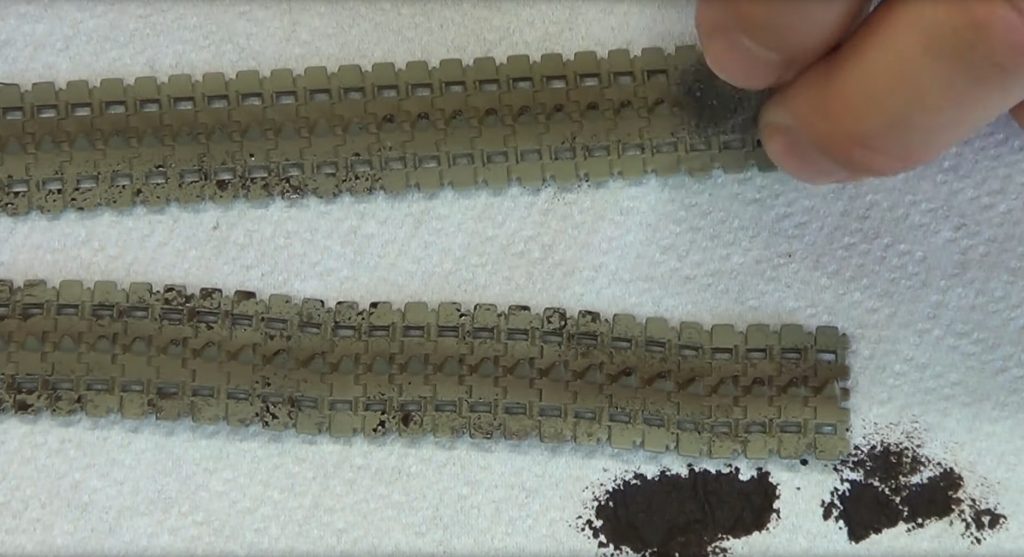
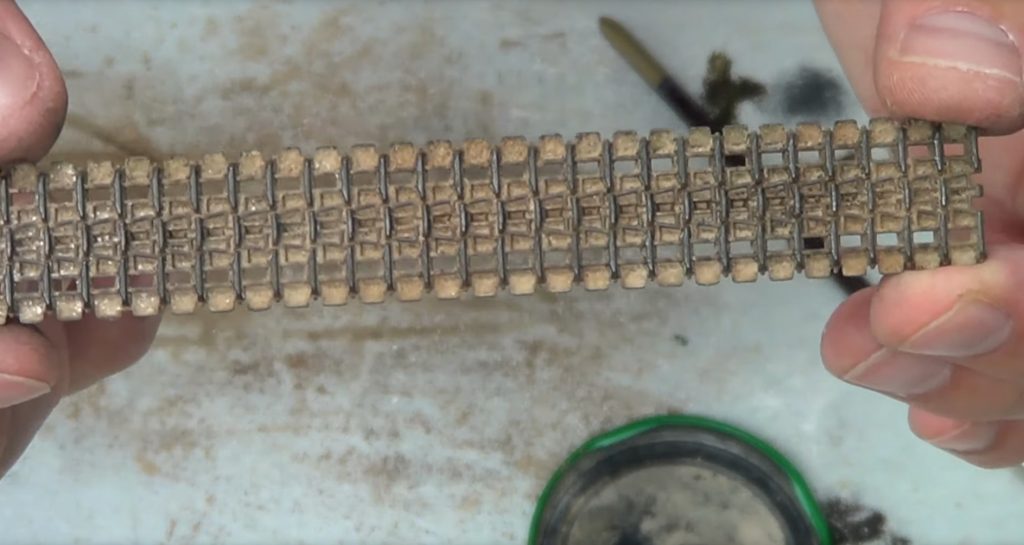
Step 5: Apply pigment fixer on tracks & just after, apply different pigments.
The pigment fixer will protect your paint while you wait for the next step. You can do this by using a small brush or an old dry one (I prefer to use my finger because it’s easier). If done correctly, there should be no heavy pigment patches on your tank track piece other than where washes were applied earlier! This is what mine looked like after pigment fixing:
You can use all sorts of different pigments for this step! Household spices work really well too 😉
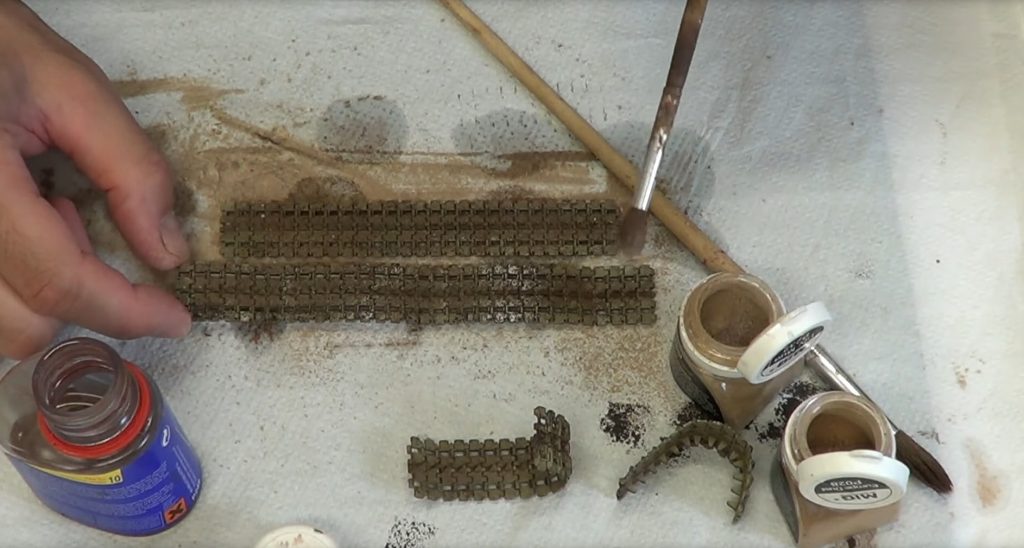
Step 6: Remove excess pigment on reliefs
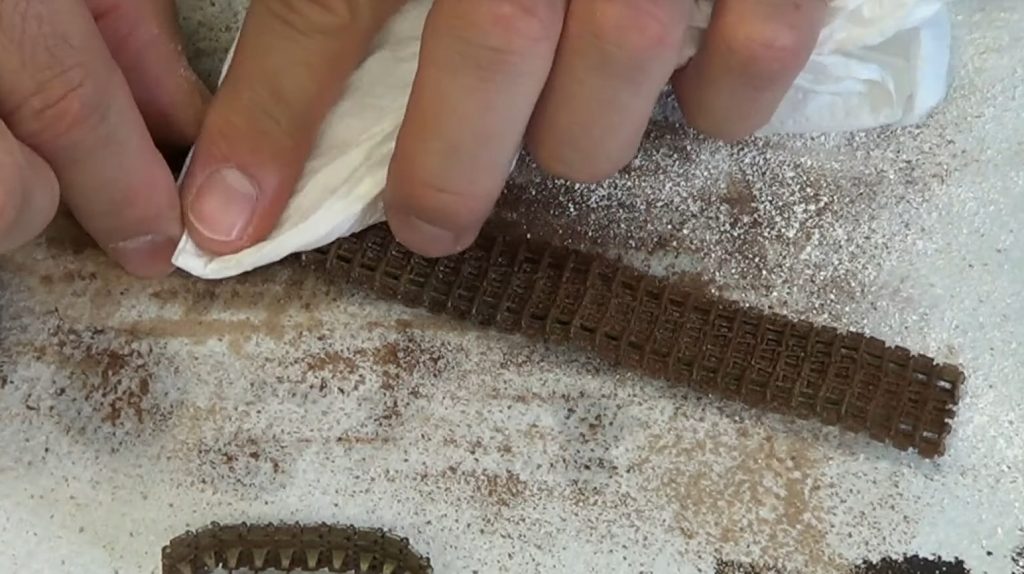
Now that the pigment fixer has dried, you can remove excess pigments on your tank track piece where there are reliefs (e.g., bolt heads), again using a small brush or finger for this step. I used some spare bolts to do this part of the tutorial, so it would be easier to see what I am doing, but please note that these were not cleaned beforehand!
Step 7: Apply metallic pigment with your finger
Time for the final step of this tutorial! You can apply metallic pigments on top of your tank tracks using either a dry brush or just with your finger. I used Citadel Mithril Silver Pigment because I had to lay around when doing this part of my project, but you can use whatever color pigment suits your needs, e.g., brown/gold/copper, etc.…
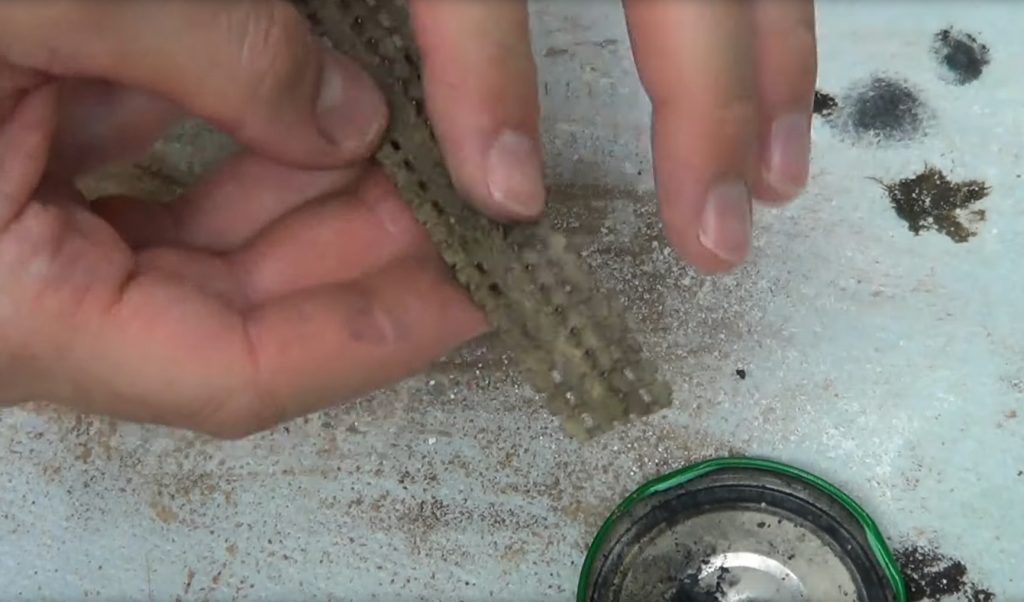
Once applied onto each track piece in an upward motion (with one hand), wipe off all excess product from your fingertip against some paper towel to create that worn-down metal effect along with leaving behind tiny specs in reliefs and creases. Where bolt heads are present!
Step done! 🙂 As always, feel free to ask questions if anything is unclear 🙂
After painting the tank tracks, you can read my article about How to Clean Paint Brushes Between Colors.
Tips for How to Paint and Weather Tank Tracks
- Make sure all areas have been covered with a wash before applying another layer, or use Van Dijk brown oil paint mixed with white spirit diluted around 50/50 instead of enamel washes for this step.
- Try not to overdo it on your sponge initially because you will end up with too much brown on your brush when it comes time for base coating later.
- Be sure to apply pigment fixer onto tracks and, just after, use different pigments (e.g., household spices). The pigment fixer will protect your paint while you wait for the next step.
- Once applied onto each track piece in an upward motion (with one hand), wipe off all excess product from your fingertip against some paper towel to create that worn down metal effect along with leaving behind tiny specs in reliefs and creases; where bolt heads are present!
- In this step, you can apply metallic pigments on top of your tank tracks using either a dry brush or just with your finger. I used Citadel Mithril Silver Pigment because I had to lay around when doing this part of my project, but you can use whatever color pigment suits your needs, e.g., brown/gold/copper, etc.…
Summary
Painting tanks can be an arduous task, but with the help of this guide, you’ll have no problems getting your paint on. There are three stages to painting a tank:
- prime
- paint the base coat on top of the primer
- paint other colors on top of that or add additional coats if needed
During World War II, the Germans copied this idea from America and used it for their tanks like the Sherman Tank!

Hey there! I’m Richard Baker, a miniature painter who’s been in the game for a solid decade now. I’ve been painting miniatures for ten years and I’ve got a ton of tips and tricks to share with you all. My website is a treasure trove of knowledge that I’ve gathered from both my own personal experiences and from reading all sorts of books.


Leave a Reply