Yo, Star Wars fans! Today, we’re talking about painting Mandalorian miniatures, and let me tell ya, these bad boys are all the rage in the Star Wars community. I mean, who wouldn’t want their very own Boba Fett to add to their collection, right? That’s why I’m here to share some tips and tricks to help you paint your own Mandalorian miniature, because let’s be real, who wants to just settle for a plain ol’ toy when you can have a one-of-a-kind masterpiece?
So, let’s dive into the world of Star Wars and talk about these tough-as-nails warriors, the Mandalorians. They’ve been kicked out of their home planet and have to fight for survival, using their armor and weapons to protect themselves. And who’s the most famous Mandalorian of them all? None other than the notorious bounty hunter, Boba Fett. So, if you’re feeling like a mini-Boba Fett is the one for you, then grab your paintbrush and let’s get started!
But before we start, let me share a personal anecdote. I tried painting my first Mandalorian miniature and let’s just say, it didn’t go so well. I ended up with more paint on myself than on the actual miniature, but I didn’t give up. I learned from my mistakes and now I’m here to share my newfound knowledge with you all!
Gather Your Supplies
The first thing that you’ll need is some supplies, like paint and brushes. You can also add things like glue and toothpicks for more detailed work on small areas of the model. If there are any parts on the base or in between joints that you would like to remove or replace, then make sure that you have tools for this as well (usually pliers). It’s important not to forget about safety equipment! Safety glasses should be worn at all times when working with paint; gloves should be worn if needed; it’s always better to be safe than sorry!
The other thing that you’ll need is a good space for painting. It doesn’t have to be big; it can even be done on top of your desk if there’s enough room. Ensure the area has plenty of light, and leave yourself some space if you knock over any paint bottles or brushes by accident (it happens all the time).
What you will need for painting Mandalorian miniatures:
- Brush
- Palette
- Black Templar (Citadel Contrast)
Formula P3 Paints:
- Bootstrap Leather
- Cryx Bane Highlight
- Cygnar Blue Base
- Cygnar Blue Highlight
- Ashes Grey
- Beast Hide
- Underbelly Blue
- Sickly Skin
- Graveyard Denim
- Trollblood Highlight
Winsor Newton Oil Paint:
Step by Step Instructions for Painting a Mandalorian Miniature
The following steps will help you paint your very own Mandalorian miniature:
Step 1: Paint your helmet, gloves, and weapons black.
- Paint your helmet, gloves, and weapons black
- Fill in any details with smaller brushes
Step 2: The belt and leather elements need to be applied in brown.
The second stage is to paint the belt, which will be a shade of black and dark brown. The leather parts are completed in either light brown or tan, depending on your personal taste.

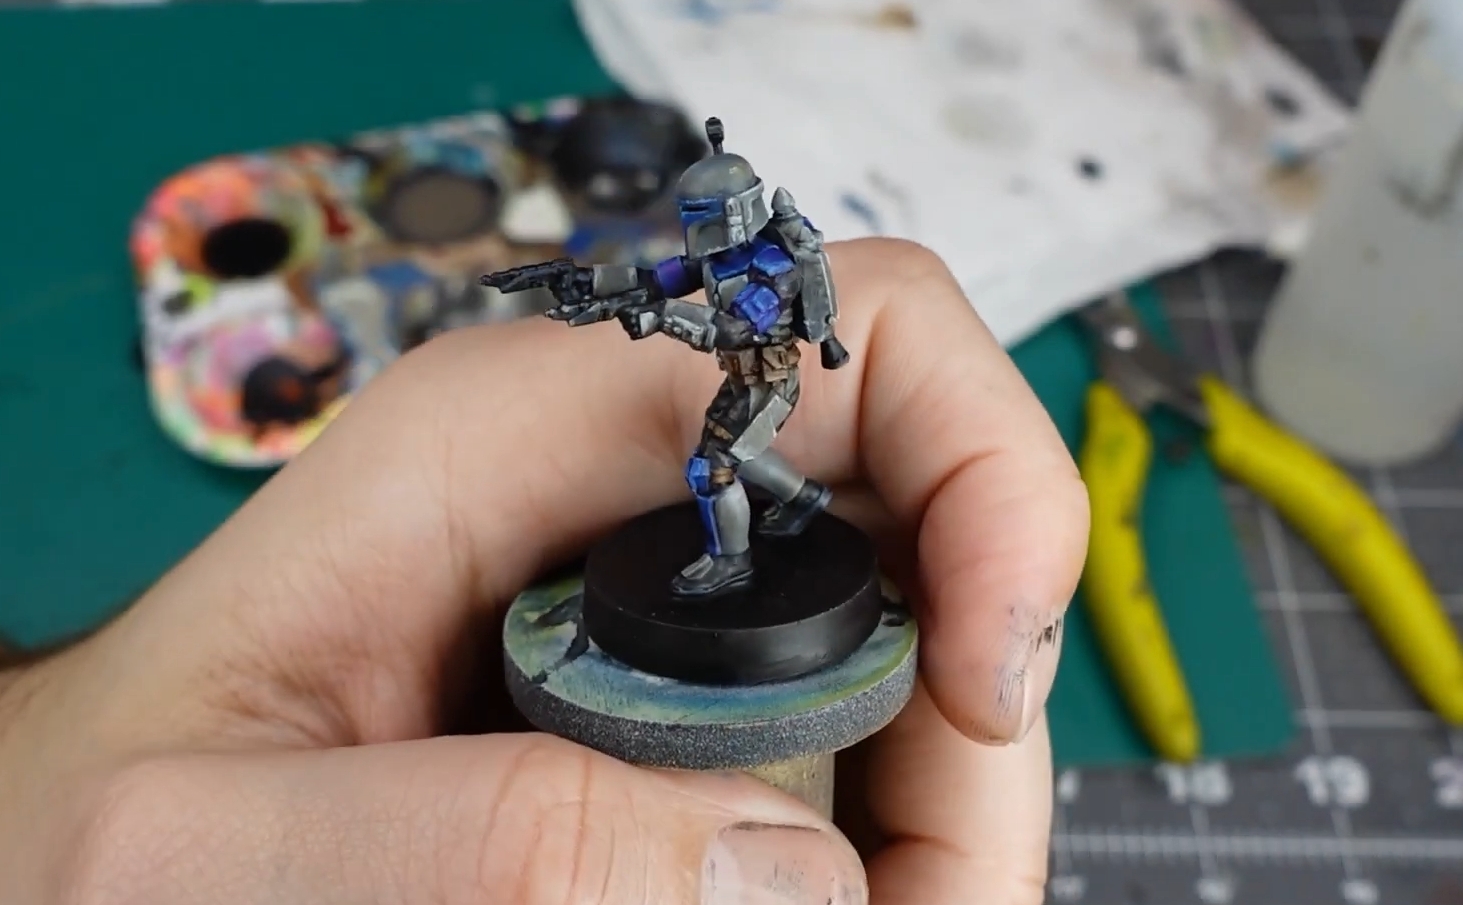
Step 3: The color of the armor can be different depending on the character. In our case, it is gray.
The paint should cover the entire area that you want to color with a thin layer of paint. If desired, you can also use an airbrush, but make sure not to overdo it as this will cause flaking and cracking in your finished product.
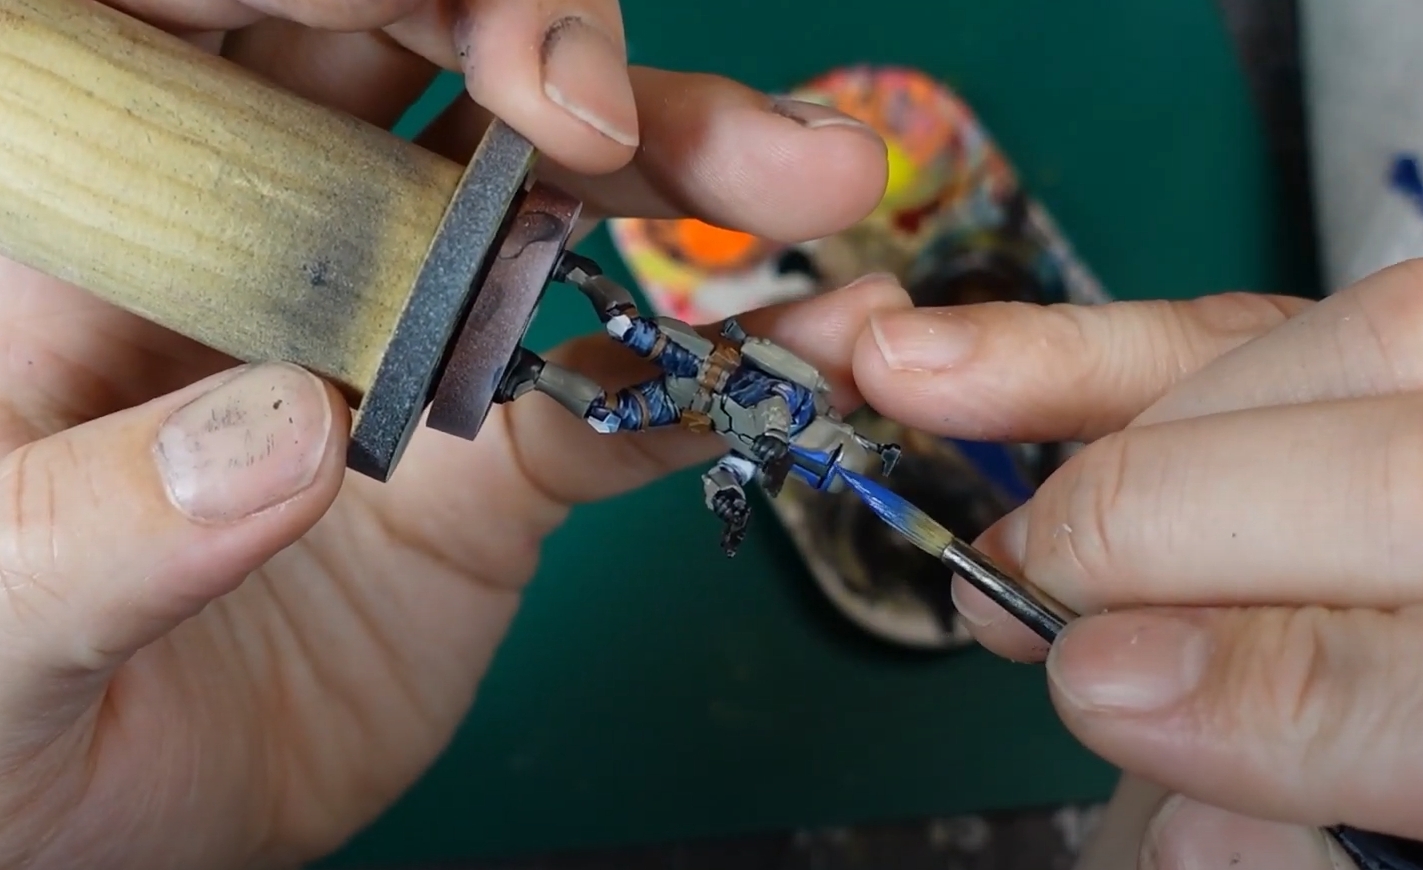
Step 4: I want to paint the rest of the armored blue.
This is the fourth in painting your Mandalorian Miniature.
It’s time to paint the rest of the armored blue. This will give it a more finished look as if it’s been weathered and used on many missions. To do this: first, pick out a nice blue color that you like (I like Cygnar Blue Base ) and spray it across all four pieces of armor with an airbrush or brush; then use Cygnar Blue Highlight to drybrush uneven lines across each piece for added effect.
Step 5: The painting technique on gray parts
The painting technique on gray parts is what will make or break your Mandalorian miniature. The trick to getting a nice, even coat of paint over the gray areas is to use multiple light coats instead of one heavy coat. This way, you’ll avoid brush marks that can be really hard to get rid of later and also save time by not having to wait for each coat to dry before applying another one.
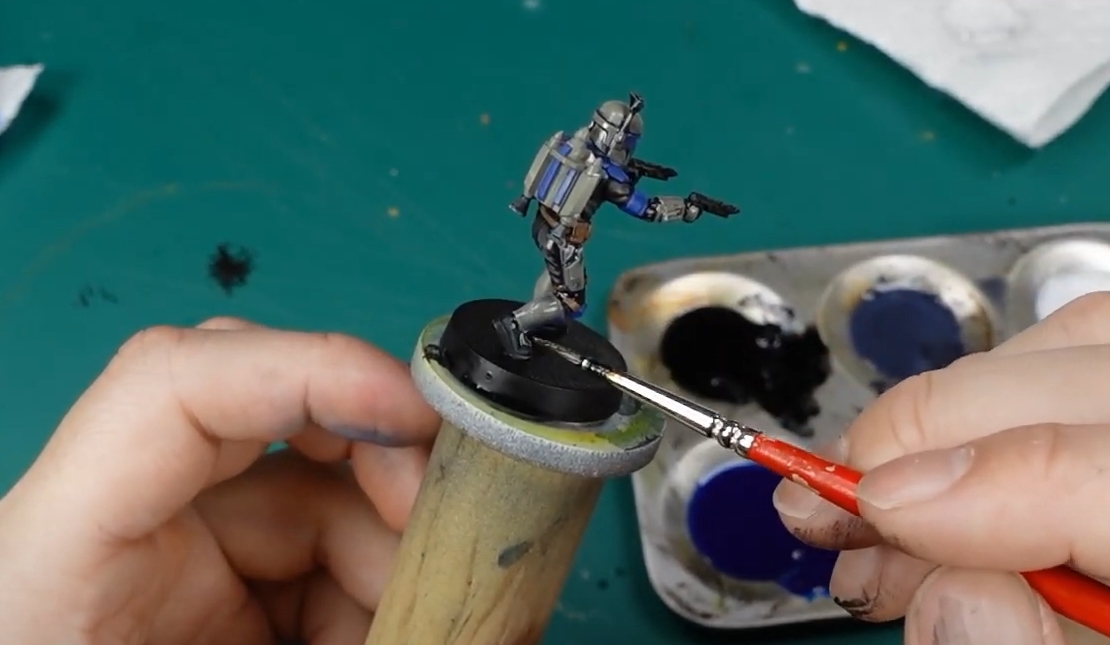
Another thing that helps with this step is using a damp cloth between coats. It’s easy enough just to dip it in water, wring it out as much as possible, then wipe down the area you just finished painting before starting again. Drying times are reduced because the paint has less chance of being pulled off when going back over a place so soon after applying it.
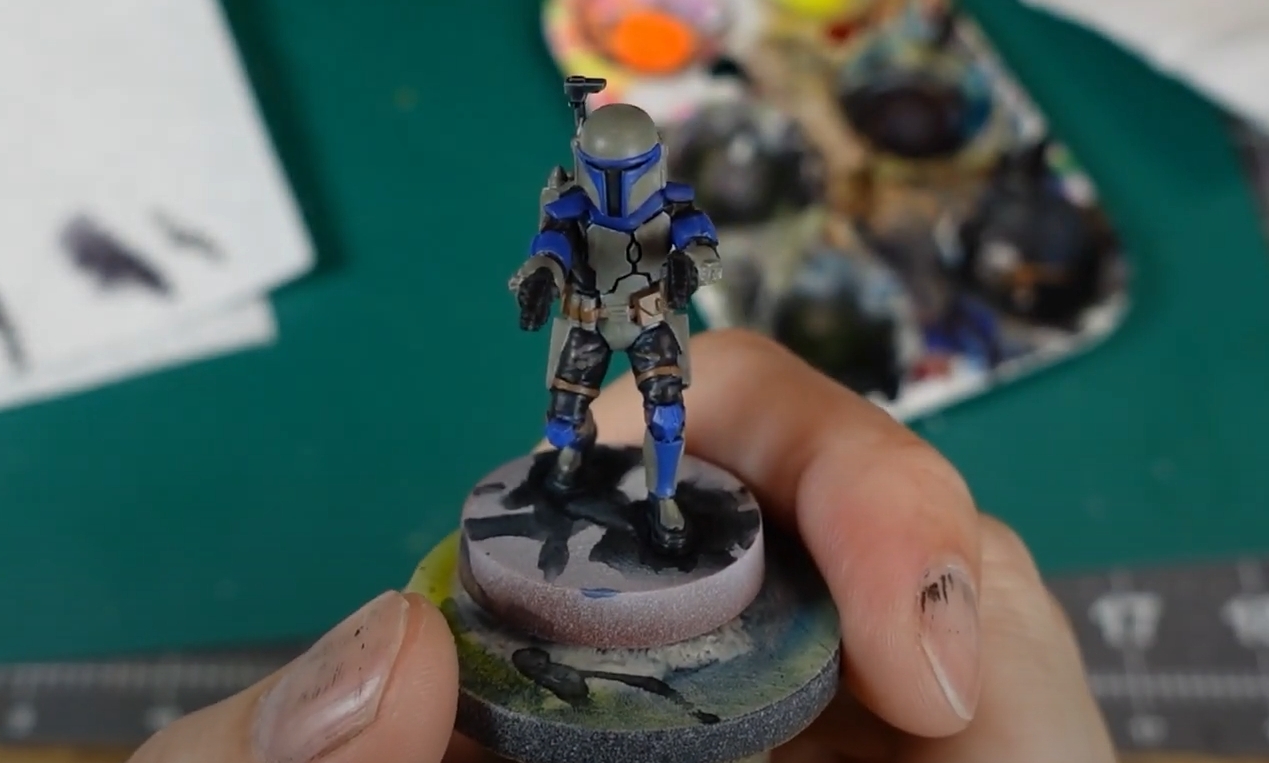
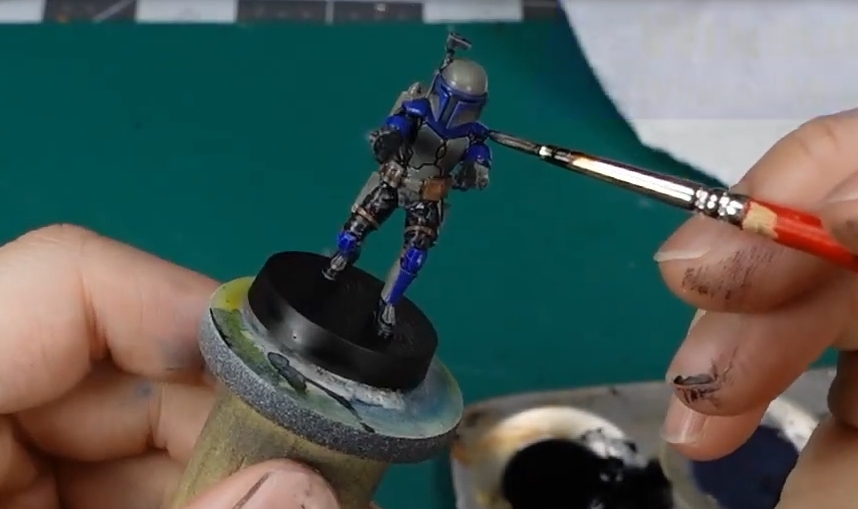
Step 6: The blue parts should be washed with a dark blue color.
The blue parts of the Mandalorian miniature should be washed with a dark blue color.
This will make the armor more realistic and bring out the details of these areas. The wash can be applied using a brush, sponge or even cotton balls dipped in water and ink.
Step 7: The brown part of the painting is done with a damp brush.
The wet brush was used to paint the brown portion of the job. The glue is used to connect some sand to the base (if you want it to appear muddy or silty)
Step 8: Put black paint on the rest of the model.
Put black paint on the rest of the model. You can use a brush or a sponge to apply it and then wipe off any excess with a paper towel or rag. There are several different techniques for doing this, but I generally just do an all-over coat by hand so that everything stays dark and uniform-looking. Some people prefer to start from one side and work their way around to have more control over where they put thick coats or layers of paint, but again there really isn’t any right or wrong way as long as you’re happy with how it looks when you’re done!
If you want your Mandalorian miniature to look like he’s been fighting in the battle for days straight, go ahead and leave some of the white showings through, but if you want him to look freshly painted, then go ahead and wipe off all of it.
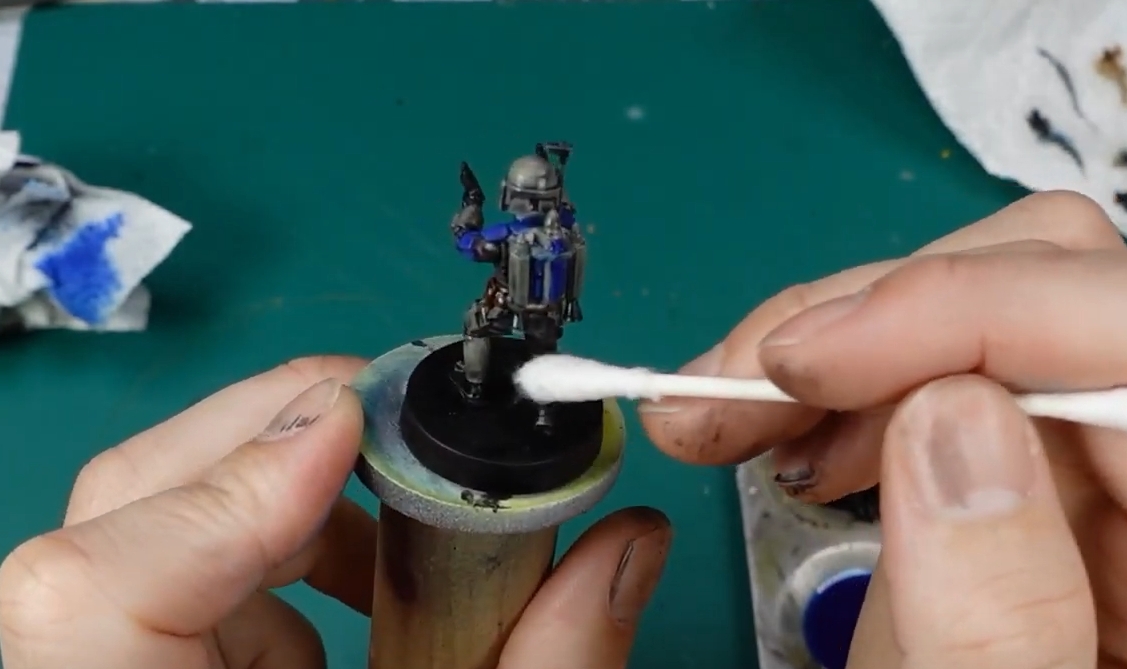
Step 9: Remove the color from your Mandalorian miniature with a cotton swab.
- You will need a cotton swab for this.
- Take the cotton swab and remove any color from your Mandalorian miniature.
- Remember to take off all of the colors, or it may look like you missed some spots!
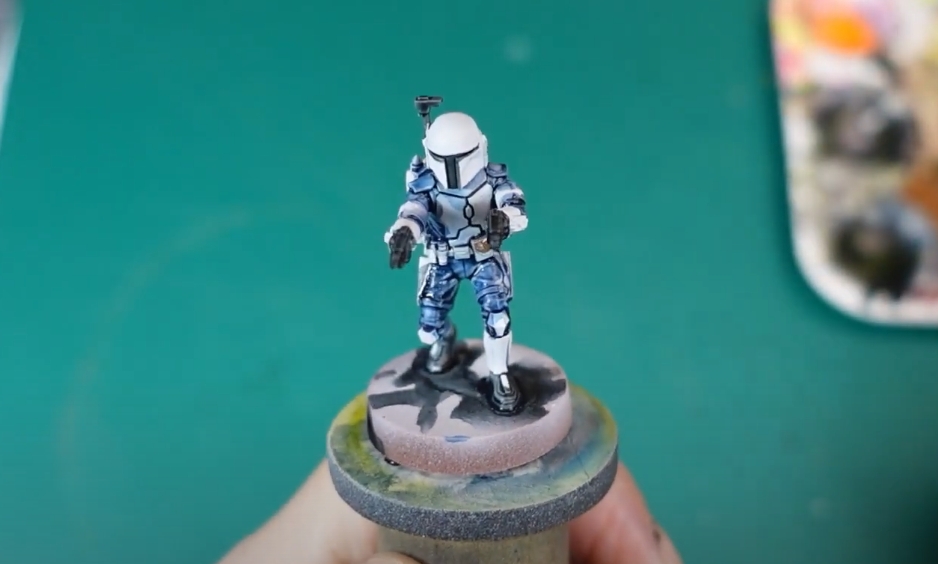
Step 10: Paint the Mandalorian miniature part white.
This will give your model that special look that sets it apart from other models and allow you to show off your neatest brush strokes. If you want to change the color of a part of your model, start by painting it with black or brown paint so that it won’t show through. Then once they dry, you can go back and use them for highlighting purposes (adding more layers of lighter color). It’s worth noting here that there’s no such thing as a wrong color on your Mandalorian miniature, so even if you mess up, it’s okay.
Step 11: Paint other parts of the Mandalorian miniature black.
To paint other parts of the Mandalorian miniature black, you will need to use Black Paint. You can either leave it as is or add a little more detail by painting stripes and such.
Step 12: Find the parts of the model that are “flaring.”
Flares are any part of your miniature that is sticking out from its surroundings. This includes things like spikes, horns, fins, or ears. They can be found anywhere on a miniature’s body, but they’re most often located on an extremity such as hands and feet.
Flares are typically used to provide contrast against the rest of the model. For instance, if you have a bright blue paint job with white highlights, adding some red flares to one hand could make it stand out more. If there’s not enough contrast between two colors, adding some bursts can help create balance by providing another color for viewers’ eyes to focus on while still staying within the same color scheme.
In this example, the flares are on the hands and feet to help accentuate them from all other parts of his body. When you paint a car, if there is a lot of dark, don’t paint the whole car in the same color. Paint it half and half. This way you can see more colors. For example, paint it black on one side and blue on the other side.
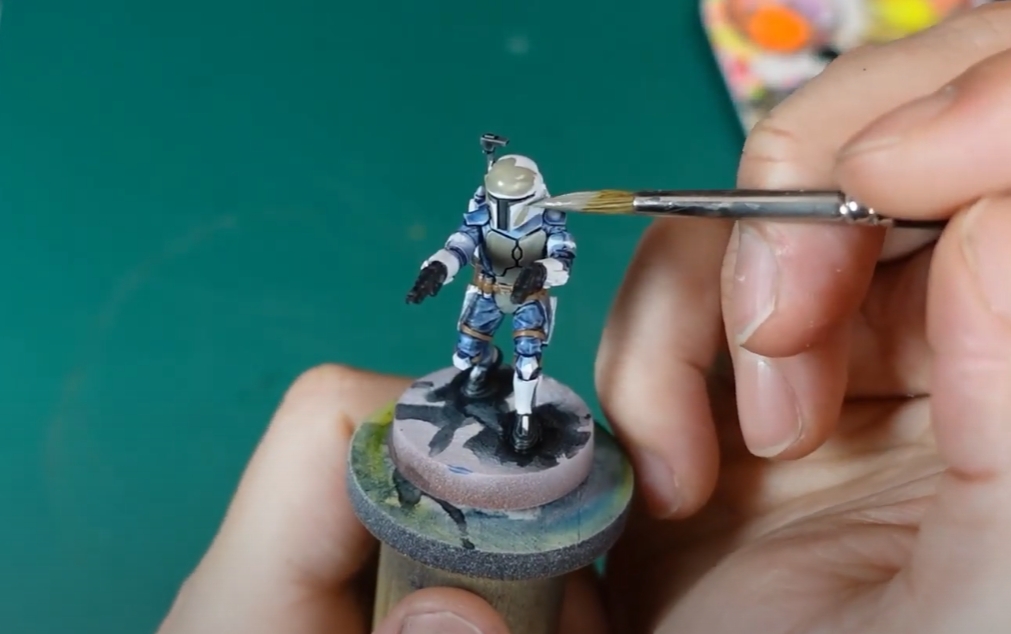
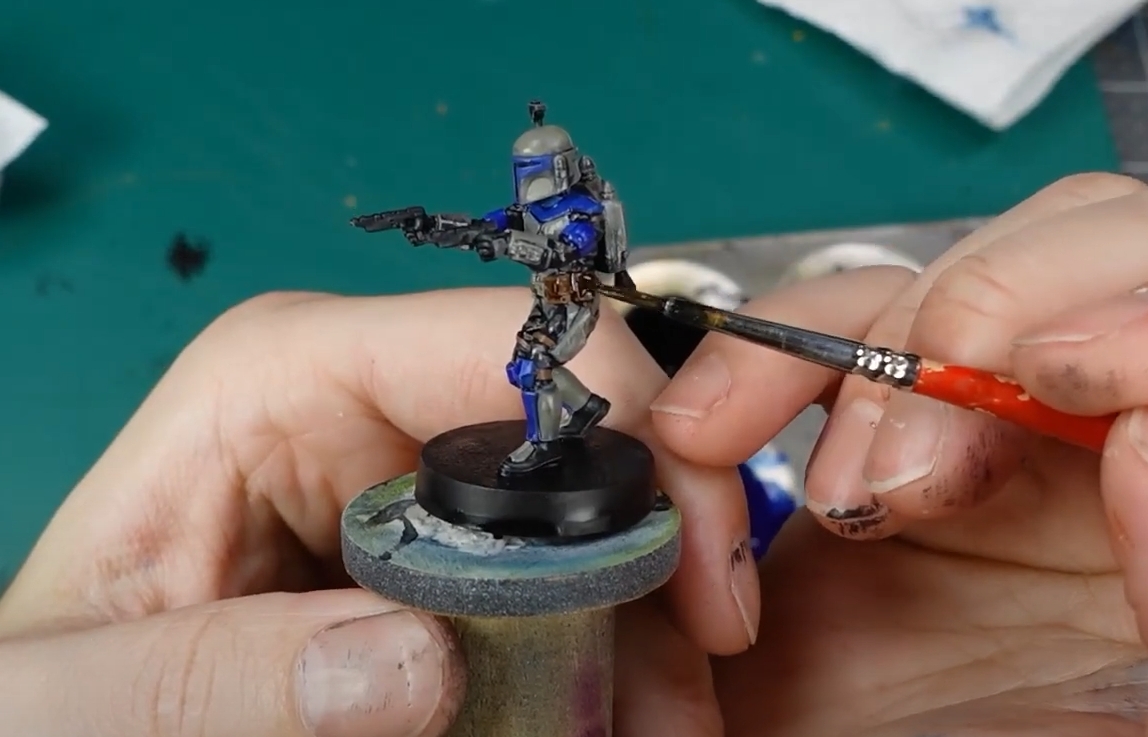
Finish Painting Your Mandalorian With a Base Coat or Matte Varnish
The first thing you’ll want to do is finish painting your Mandalorian with a base coat of matte varnish. Matte varnish provides an even, durable surface that will help protect the paint job. It can be used on all paints and other finishes, but it should not be applied over the top of different layers or colors.
Applying finish before any detail work ensures that there are no mistakes in your layout for painting or detailing later on and that the final product has a uniform look. Hence, people know what they’re looking at when they see it from afar.
It’s also best to use matte varnish for this step because glossy varnishes show every tiny flaw in the paint job and take away from the overall quality.
Tips and Tricks for Painting Mandalorian Miniatures
Whether you’re looking to get into the Star Wars universe with your painting or simply want to try something new, Mandalorian miniatures are an excellent choice. Here are some tips and tricks for painting these awesome little guys.
Tips and Tricks for Paint the Mandalorian’s Armor
If you want to paint your Mandalorian’s armor, there are a few tips and tricks that will make it easier. Here are some of them:
- Use suitable paints – The most common type of paint is acrylic. It dries quickly, which is excellent for painting on top of other colors or layers. You can also use enamel paints, but they take longer to dry and require more detail, like weathering effects.
- Prime before painting – Primer gives an extra layer of protection against chipping or scratching the topcoat color when handling miniatures during gameplay or transport between games.
- Paint in thin coats reduces brush marks and air bubbles under each layer, which can show through later if not careful.
Tips and Tricks for Paint the Mandalorian’s Helmet
If you want to paint a Mandalorian’s helmet, here are some tips and tricks for painting your Mandalorian miniature.
- Paint the black stripes on the forehead first. These will be the easiest to do because they’re so small.
- Next, paint any blue or green sections of the helmet–these can be done at any time since they don’t have to match up with anything else.
- Now it’s time to mask off everything but what needs to be red (including white lines that go across).
- Masking is always easier if you use good quality tape like Scotch brand painter’s tape–it doesn’t leave residue, making it perfect for this step. I also use the blue stuff to line off straight lines–this makes it easier when you’re painting since your paint won’t bleed under the tape!
Tips and Tricks for Paint the Mandalorian’s Cape and Pants
The Mandalorian cape and pants require a pretty straightforward paint job. Here are some tips and tricks to help you:
- Prime and undercoat your Mandalorian to avoid those pesky white spots you can end up with after painting black. Make sure that the primer is either black or very dark gray! I like to use Vallejo Surface Primer – Black because it’s matte (and won’t reflect as much light as regular primers) and prevents dust from sticking to the miniature.
- Apply a base coat of Vallejo Model Air Neutral Gray (70.860). This is a good neutral tone for the cape and will serve as a perfect frame for your other colors (especially if you mix in a little white).
- Apply the same color to your Mandalorian pants. Note that I painted each section in its own step, so you can clean up any mistakes or change tones without worrying about wrecking other colors at this stage of the miniature painting process.
Conclusion
Painting Mandalorian miniatures is a great hobby that can take many hours to complete, but it’s worth the time and effort. If you’re looking for some guidance on how to paint your own miniature, I provided an overview of what painting supplies are necessary, as well as step-by-step instructions for getting started. I also have included our best tips and tricks for finishing off your masterpiece! Now go forth and create something awesome with these simple steps.

Hey there! I’m Richard Baker, a miniature painter who’s been in the game for a solid decade now. I’ve been painting miniatures for ten years and I’ve got a ton of tips and tricks to share with you all. My website is a treasure trove of knowledge that I’ve gathered from both my own personal experiences and from reading all sorts of books.


Leave a Reply