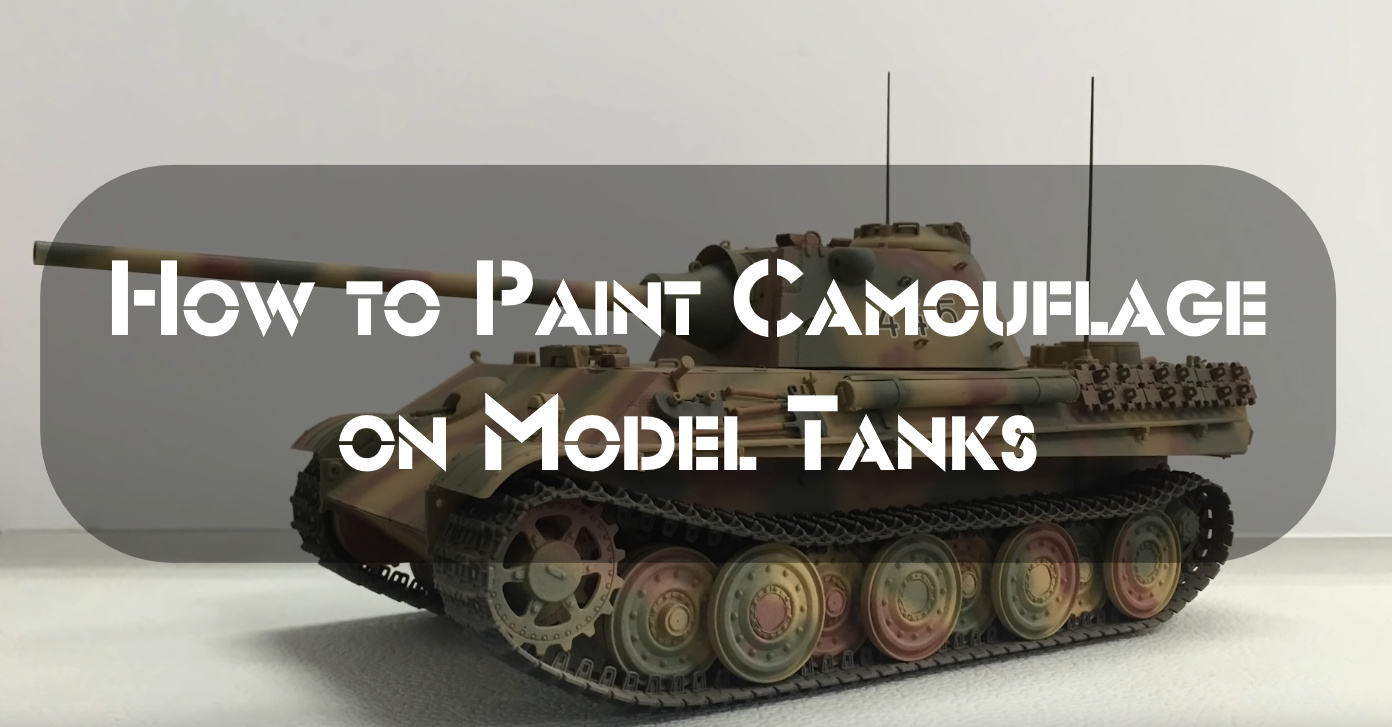
Hey there, tank model enthusiasts! Today, I want to share with you my journey on how to paint the perfect camouflage on your model tanks. This is not just any ordinary article, folks. This is based on my own personal experiences, research, and some good old trial and error. So, grab your brushes and let’s get started!
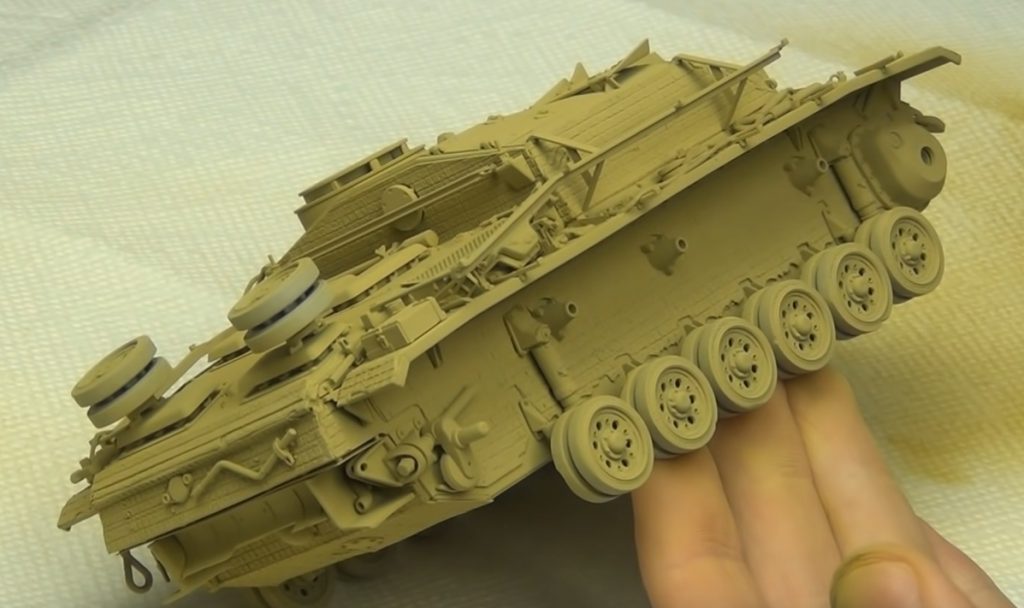
The first thing you need to know about painting camouflage on your model tanks is that it’s all about the prep work. This includes cleaning your tank, priming it, and getting the right tools and materials. Trust me, investing in quality brushes and paints will make all the difference in the end.
What Supplies Do I Need for Painting Camouflage on Model Tanks
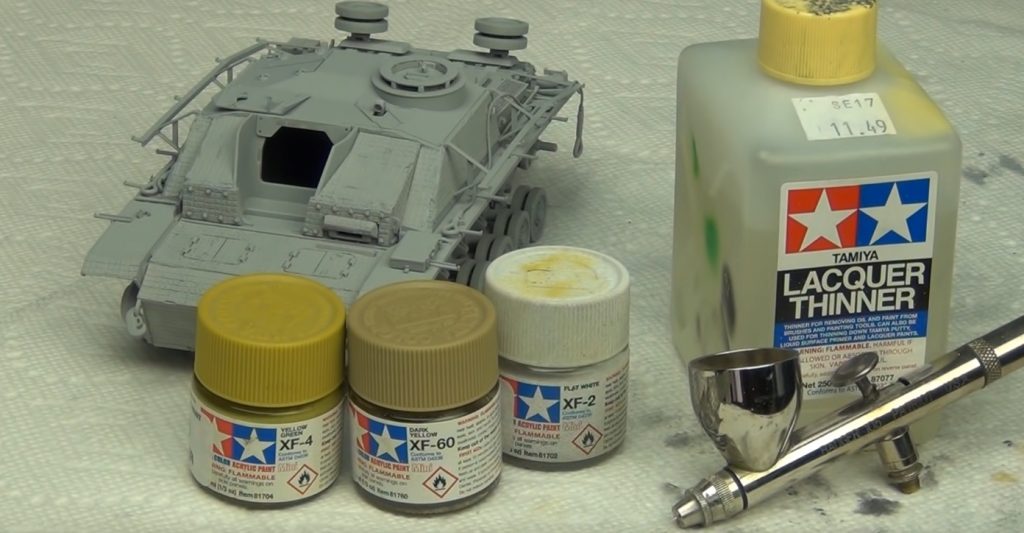
To paint a camouflage pattern on a model tank, you will need the following materials:
- Camouflage paint – This will be the main color of your camouflage pattern.
- Paintbrushes – You will need these to apply the paint to your model tank.
- Thinners – This will help you thin out the paint, making it easier to work with.
- Primer – This will help to create a smooth surface for your paint to adhere to.
- Sandpaper – This will sand down any rough edges on your model tank before you begin painting.
- Masking tape will mask off areas of your model tank that you do not want to paint.
- Model tank kit – This will be the base of your camouflage pattern.
Now that we have gathered our supplies, we can begin painting!
How to Prepare the Model Tank for Painting
An important nuance to consider: a rough surface is better sprayed than a perfectly smooth one. At the same time, note that roughness always spoils the model’s appearance. That is why uneven surfaces are usually smoothed and polished before painting. Usually, for this purpose, “sandpaper” of grit size M-40 and smaller is used. Ideal polishing materials can be purchased in stores for modelers.
Degreasing
The degreasing is necessary to allow the primer or paint to adhere well to the model’s surface. On a surface that is not degreased, the material can become “blabbed,” i.e., it will not adhere smoothly. (Put water on a piece of plastic, and you will see the result), or subsequently delaminate from the surface, thereby irreversibly damaging the finished model.
Priming the model
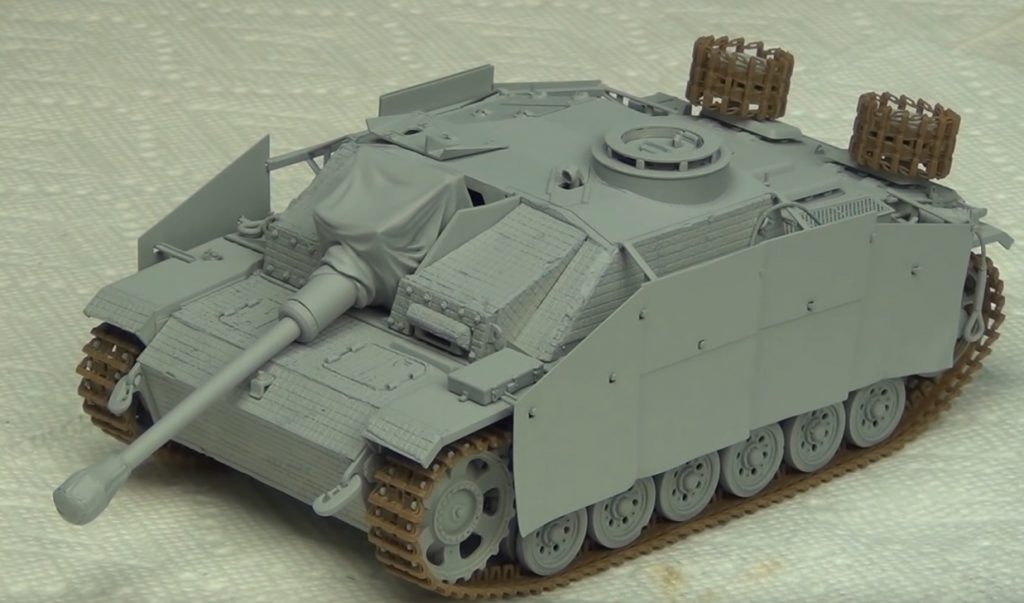
The primer is applied on a preliminary prepared surface of the model (cleaned, sanded, and degreased). Apply the primer only from an airbrush or bottle (never with a brush). In addition to preparing the surface for paint application, priming reveals the defects during the model assembly (traces of glue, not ground scratches, etc.).
Identified problems are solved by grinding with abrasive sandpaper with a grain size of 1200-2500 with water. After fixing – once again, apply primer to the sanded places. I recommend primers in cans Tamiya and Mr.Surfacer from Gunze Sangyo. In the future, it is necessary to remember that different primers are used for priming plastic, metal, and resin.
After priming, it is necessary to allow the model to dry for 24 hours.
How to Mix the Paint
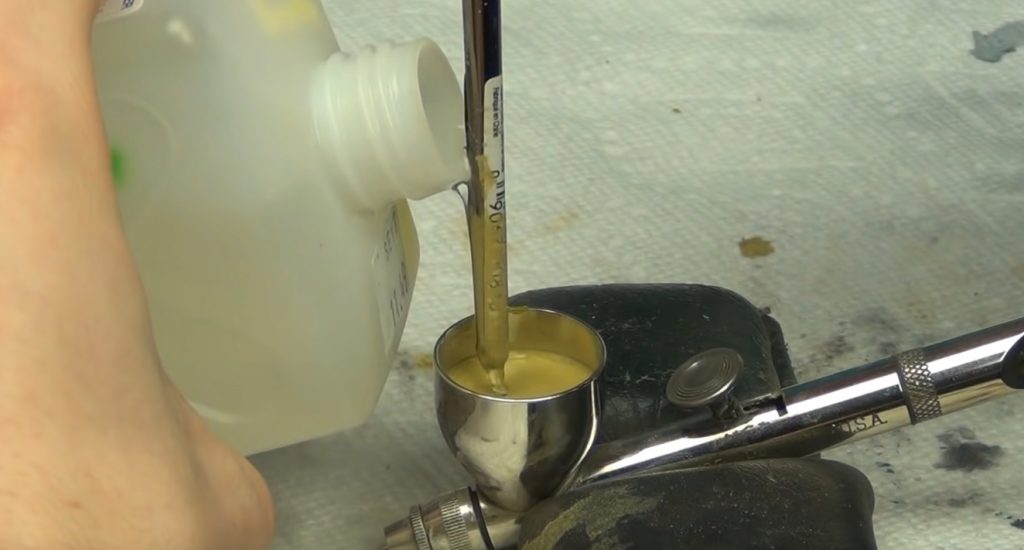
To mix the paint properly, follow these steps:
Choose the colors you want to use
To choose the colors you want to use, you first need to decide what type of camouflage pattern you want to create.
There are many different types of camouflage patterns that can be used on model tanks. Some of the more common ones include:
- Stripes – This pattern involves painting your tank’s parallel stripes in different colors.
- Dots – This pattern involves painting small dots of different colors on your tank.
- Blobs – This pattern involves painting large, round blobs of different colors on your tank.
- Squares – This pattern involves painting squares of different colors on your tank.
- Herringbone – This pattern involves painting diagonal stripes in different colors or shades of the same color on your model tank.
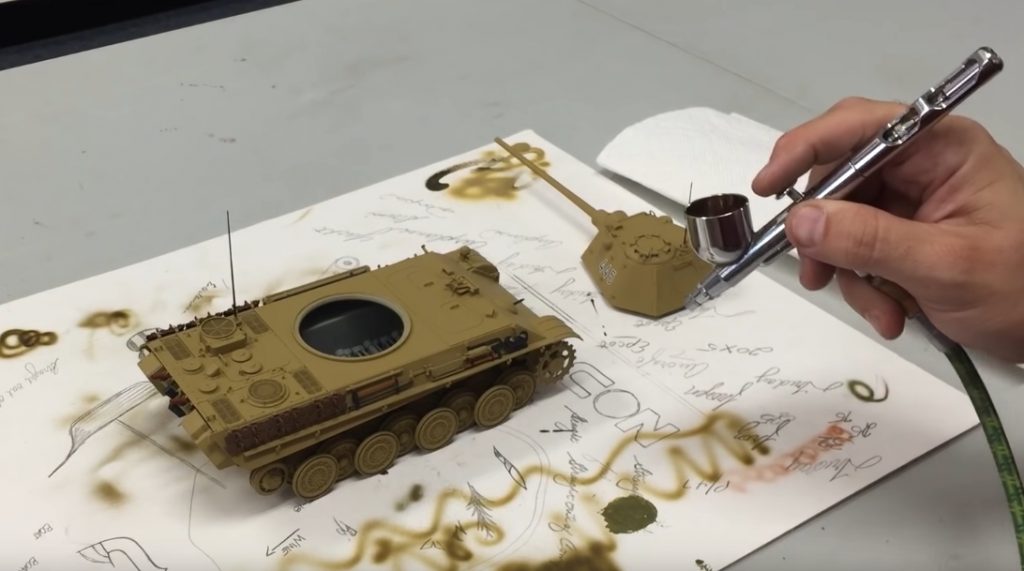
I usually use an airbrush to paint models; if you too, this guide will be useful.
Decide on the paint finish – matte, satin, or gloss
When deciding on the paint finish, you will need to consider the surface of the model tank you are painting. If the surface is matte, you want to use a matte paint finish. If the surface is glossy, you want to use a gloss paint finish. If the surface is somewhere between, you can use a satin paint finish.
Shake the cans of paint well before opening them
Shake the paint cans well before opening them so that the paint is thoroughly mixed. This will help ensure that the camouflage pattern looks even and consistent.
Pour some of the paint into a small container for mixing
It is important to have a small container to mix your paint, as this will help you achieve the desired color and shade. Pour some paint into a small container and mix it well until you get a homogeneous mass, such as a wet palette, which is great for keeping the paint wet after days.
How to Apply the Paint
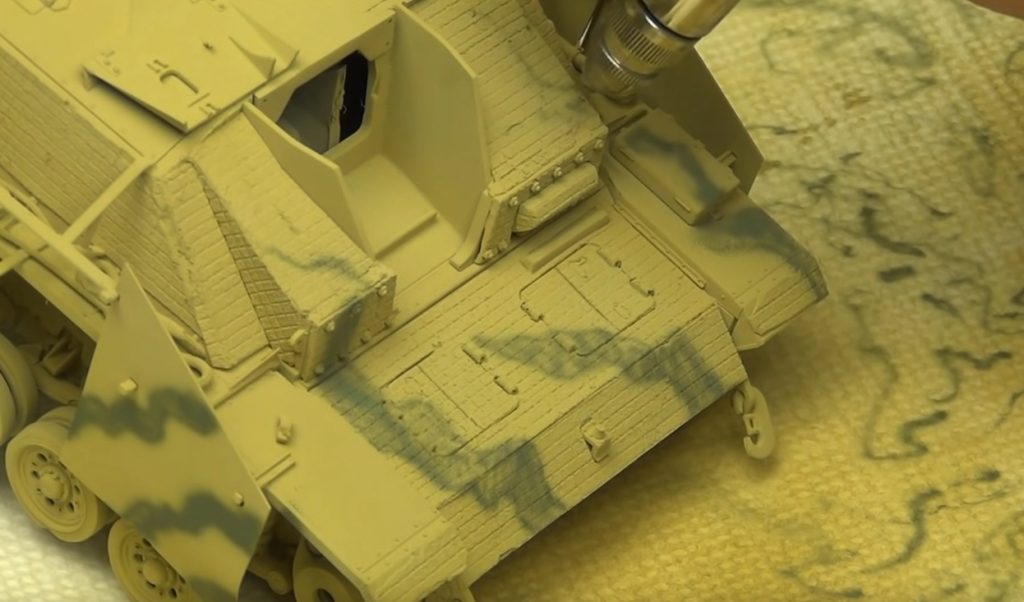
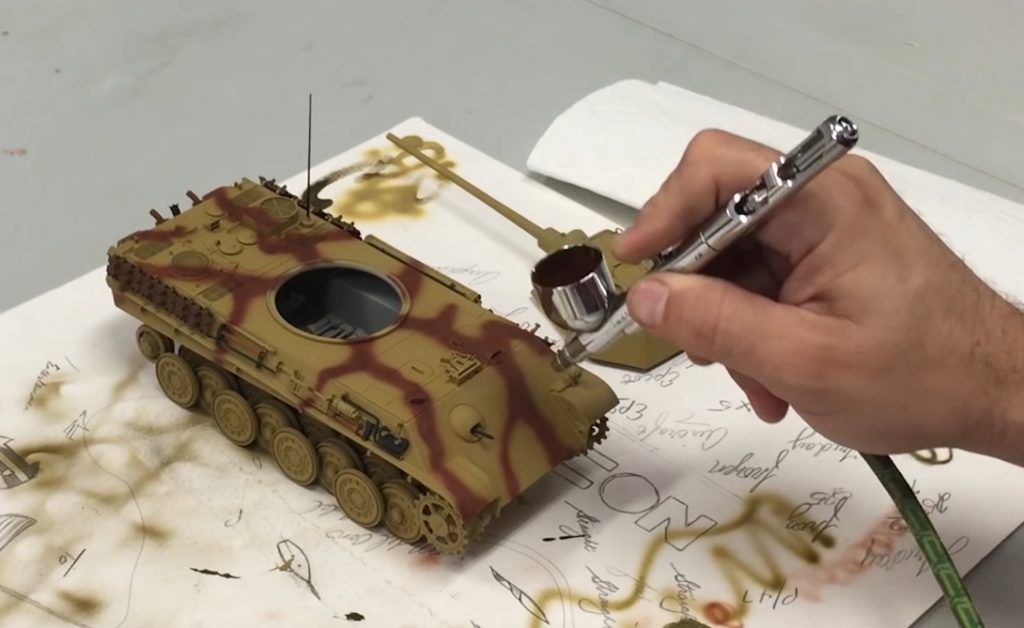
To apply the paint in a camouflage pattern, you must mix different colors. The colors that you choose will depend on the type of terrain that you are trying to simulate. In general, though, greens and browns are good colors for simulating forest terrain, while grays and whites can be used to create a desert camouflage pattern.
Once you have mixed the colors, it is important to test them on a piece of paper before applying them to your model tank. This will help you to ensure that the colors look right when applied wet and that there is enough contrast between them so that the pattern will be visible from a distance. For an even coating of paint, I suggest using an airbrush.
How to Paint a Base Color
To paint the base color on a tank model, you need to follow a few tips:
Sand down any rough patches or areas that need to be smoothed out
When painting a camouflage pattern on model tanks, it is important to ensure that all surfaces are smooth and even. This can be done by sanding down any rough patches or areas that need to be smoothed out. Be sure to use fine-grit sandpaper for the best results.
Prime the tank with a white or light-colored primer
When painting a camouflage pattern on your model tanks, it is important to start with a white or light-colored primer. This will help to create a base layer that the camouflage colors will be able to adhere to. You can prime the surface of the model tank with an airbrush.
Paint the base color of your tank, using even strokes and making sure to cover all surfaces
Be sure to use even strokes and be sure to cover all surfaces. It is best to use spray paint or an airbrush for this, as it will provide even coverage.
Let the paint dry completely before moving on to the next step
Once you have finished painting your camouflage pattern, it is important to let the paint dry completely before moving on to the next step. This will ensure that the paint does not smudge or come off while handling the model tank.
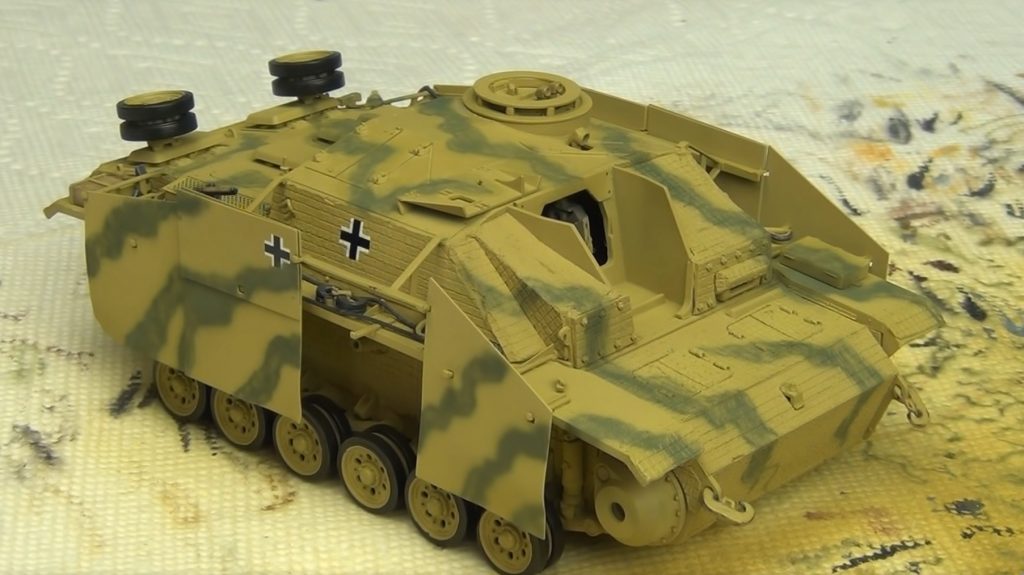
How to Paint a Camouflage Pattern
Painting a camouflage pattern on your model tanks can be done in a few easy steps. First, you’ll need to gather some supplies. You’ll need acrylic paint, a fine-tipped brush, and masking tape. Once you have your supplies, you can start painting!
Choose the colors you want to use for your camouflage pattern
There are a few things to consider when choosing your colors. The first is the environment that your tank will be operating in. For example, if you’re painting a desert tank, you’ll want to use lighter colors like tan and brown. On the other hand, you’ll want to use darker colors like green and black for a forest tank.
Tape off the areas you don’t want to paint
To avoid getting paint on the tank parts, you don’t want to paint, tape them with painter’s tape. This includes areas around the turret, gun barrel, tracks, and other tank parts.
Paint your camouflage pattern on the tank using a sponge brush
Paint the camouflage pattern on the tank using a sponge brush. Dip the brush in the paint and dab it on a paper towel to remove the excess paint. Sponge the brush in different directions to create a random pattern.
Let the paint dry completely
Let the paint dry completely before you begin to add another color. If you do not, the colors will blend together, and you will not have a distinct pattern.
After completing the painting job, the airbrush should be disassembled and thoroughly rinsed.
Tips and Tricks for Painting Camouflage Patterns on Model Tanks
- always test patterns on a spare piece of plastic or paper before painting your model
- use a light color as a base coat to help the camouflage colors stand out
- start with the larger areas and work your way to the smaller details
- use a variety of colors and shades to create a realistic camouflage pattern
- always start by painting the lightest colors first
- use a thin brush for the finest details
- make sure to clean your brush after each color
- allow each layer of paint to dry completely before adding the next one
With these tips and tricks, you’ll be painting camouflage patterns on model tanks like a pro in no time! So grab your supplies and get started today. Thanks for reading!
P.S. If you’re looking for more tips on painting model tanks, check out our other blog post: How to Paint Model Tanks: Make Your Models Stand Apart
Finishing
Apply glossy varnish to the places where the decals are applied
To avoid the so-called “silvering” of the decals on the model surface (when the substrate is visible), apply them on the glossy surface.
Allow it to dry for 12 hours.
Apply the decals
When applying decals, it is desirable to use special liquids that allow you to “weld” them to the surface and also allow the decals to become plastic in case they are applied to uneven surfaces.
Allow the decals to dry for 12 hours.
Apply glossy varnish on glued decals
This is to protect them from mechanical effects and align their boundaries relative to the model’s surface.
Let it dry for 12 hours.
Coat the model with a matte or semi-matte varnish
Semi-matte varnish is also called “satin varnish.” This procedure protects the paint from mechanical damage that can occur during the model’s manipulation and prepares the surface for further coats.
Allow drying for 24 hours.
Apply color correction filters to the model
They are applied to correct the color of the model and make it more vivid and realistic. Filters are very thinly diluted paint in a ratio of 5% paint and 95% solvent. Filters are made from a paint different from the one used for the base paint of the model; for example, art oil fits well on acrylic.
Filters are applied only to the matte or semi-matte surface. Experienced modelers, as a rule, make filters by themselves. Still, a whole line of themed filters from manufacturers (for example, MIG Productions, Ak interactive, etc.) is very convenient.
Allow drying for at least 24 hours.
Paint or glue
…previously painted chanting tools, crates, attachments, tarps, etc.
Apply matte or semi-matte varnish
Allow drying for 24 hours.
Apply oil dots “fading”
Oil dots are applied to simulate the effects of the environment on the surface of the prototype model (rain, wind, fading paint in the sun). A very effective device that adds instant realism to the model. Performed, as a rule, with artistic oil paints and washed out with white spirit. It is done on a matte or semi-matte surface.
Allow drying for at least 48 hours.
Apply a matte or semi-matte varnish
Allow drying for 24 hours.
Apply fuel and other technical fluids on tanks, transmissions, wheel hubs, etc
To be carried out with both self-made and purchased special liquids from the above manufacturers.
Allow drying for 24 hours.
Apply high gloss lacquer
Allow drying for 24 hours.
Apply a high gloss wash
The washout allows you to highlight all the protruding parts and emphasize the shadows in the recesses. The makeup remover is diluted with 50% to 50% solvent. Like filters, it can be made by yourself (for example, art oil and white spirit), or you can buy ready-made.
Allow drying for 24 hours.
Draw chips, scratches, and scuffs
Apply with a hand brush, possibly with a foam pad.
Allow drying for 12 hours.
Apply the top coat of varnish
The type of varnish depends on your idea and on the model.
Allow drying for 24 hours.
Apply the finishing touches (dirt, dust, rust, exhaust marks, etc.)
Having completed all of the above steps and put the model on the stand, we are holding not a piece of plastic but a small work of art in our hands. And though, maybe, perfection is still far away, the model you are holding in your hands is unique, and you can safely call yourself an artist.
As specified in the article, the order of work and pauses for drying does not disclose the execution technology and are indicative, depending on the materials used and the methods and techniques used. Naturally, with time, each modeler comes to own, inherent only to him, algorithms and methods of work with a model.
FAQ
How to paint and tank tracks?
Paint the tracks a light color, such as white or light gray. Add dark paint, such as black or brown, to the tracks. This will give the caterpillars shadows and depth. On top of the blur, apply a lighter color with a dry brush. This will highlight the details of the track. See my guide on painting tank tracks for more information.
How do you paint a winter camo on a model tank?
One way is to use an airbrush to spray different shades of white, light blue, and light green onto the tank. You can also use a brush to paint the camouflage pattern onto the tank. Finally, you can apply the tank’s decals or stickers in a winter camouflage pattern.
Can I use any type of paint to camouflage my model tanks?
Typically, you will want to use spray paint designed for painting camouflage patterns on vehicles. However, you can use any type of paint you wish, as long as it adheres well to the surface of the model tank.
What is the best way to apply the paint to create a camouflage pattern?
Applying the paint in a random, irregular pattern is the best way to create a camouflage effect. You can use a brush or a sponge to apply the paint, but be sure to use many different strokes and vary the intensity of the color to create a more realistic effect.

Hey there! I’m Richard Baker, a miniature painter who’s been in the game for a solid decade now. I’ve been painting miniatures for ten years and I’ve got a ton of tips and tricks to share with you all. My website is a treasure trove of knowledge that I’ve gathered from both my own personal experiences and from reading all sorts of books.


Leave a Reply