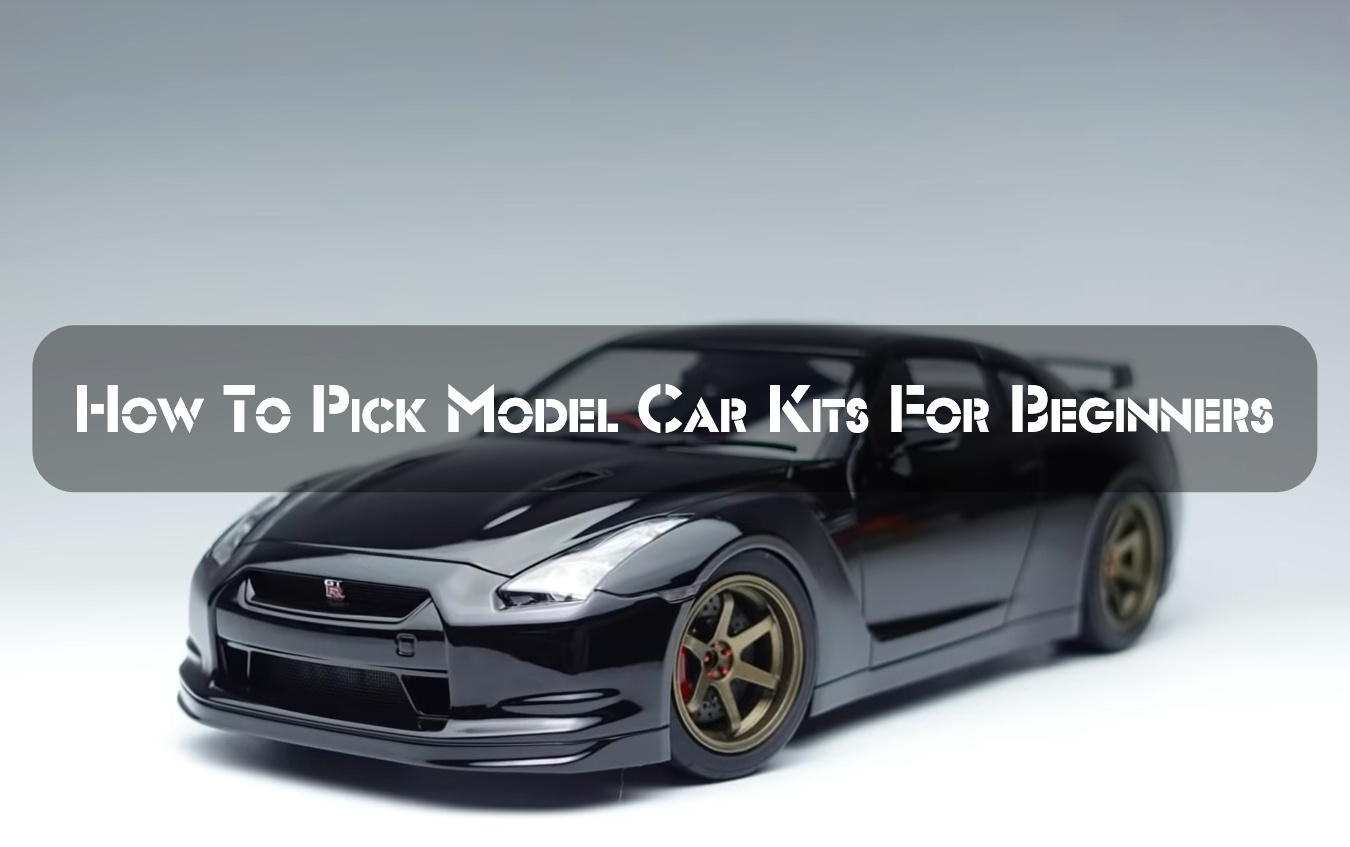
Hey there! So you’re interested in getting into the world of model car building but don’t know where to start? No worries, I’ve got you covered.
When it comes to picking out model car kits, it can definitely be overwhelming with all the options available. But, here’s a little tip to keep in mind – the scale of the kit you choose will determine the level of difficulty. You can start with scale one kits, which are the easiest, and work your way up to the more complex scale five kits that might require some extra skills like gluing, sanding, and painting.
I personally started out with scale two kits and loved it! It was the perfect balance of challenge and satisfaction. And who knows, you might even end up like me and have a whole collection of model cars.
Also, it doesn’t hurt to take a quick look around the store to see if they have any specific kits designed for beginners. Trust me, it’s always better to start with a kit that’s tailored to your skill level, rather than just jumping into a more complex one and getting discouraged.
Model Kits Come in Different Sizes (Scales)
Model kits exist in various scales, ranging from 1:10 to 1:2500. The scale indicates how much a replica has been reduced compared to the original size.
The two figures are a ratio that indicates how many units on the real thing are equivalent to one unit on the model. If a model were 1:1, this would suggest that one foot on the model is equal to one foot on the original, in which case it would be complete-size.
The difference between the model kit and the actual vehicle is measured in inches, with one number indicating how far the second figure has deviated from one. If a car were 1:10, it would be considered a tiny model kit compared to the real thing. Most automobile model kits are based on a 1:24 or 1:25 ratio, but some can be as small as a 1:32 ratio.
Level 1: Snap-Together Pieces
The skill level can be an excellent way to determine how difficult it will be for someone new or just wanting some guidance on what they might want as their own hobby. The one-to-five scale explains this nicely, with 1 being very easy and 5 requiring more patience than usually needed!
Level one of the modeling process is an excellent place for beginners six to eight years old or older if you’ve just started. It’s essential at this stage when your model still doesn’t have any detail in it – only broad shapes and sizes-to focus on creating simple models with good proportions so as not to get overwhelmed by all those pesky details!
These models are perfect for beginners! They come pre-painted, so all you need to do is paint them. A skill level one model requires snapping pieces into place, while a more advanced level two design has parts already attached with clear instructions on how best to assemble your desired scene or character.
As a beginner, you’ll learn how to put together car models. Many different types of kits can be purchased, and they usually come with around twenty or thirty pieces total – making them easy enough for even beginners!

Level 2: Gluing and Painting
This level is different from the first level. Level two is for those over ten and not ready for more complex work. Models car painted in the color they were molded in, usually white. This is when you will start learning how to paint, adhere, and devocalize.
The instructions for this level will have many more steps than the first model. There are also chrome and plastic-replica glass parts that give it an extra challenge to build, which is why I recommend making onto these levels instead of starting from scratch like most people do when they’re just getting into modeling cars or trucks.
There can be anything between fifty – one hundred pieces in each box! The more complicated challenges await on higher stages, so make sure you keep pushing yourself forward. When building your model, it’s essential to use modeling glue so the parts will stay together. I recommend checking out some of our favorite glue brands!
The more complex models can be done with water slide decals, giving the model an even greater life-like appearance.
The box says ages ten and up, but we know that some modelers can still enjoy this fun challenge for a more skilled builder. It will depend on how detailed you want your models – the longer it takes them to build one from scratch!

Level 3: More Advanced Gluing and Painting with More Decals
The third level is known as Level 3 kits. They include smaller, more complex components ranging from fifty to over a hundred pieces. This level requires patience, and the modeler must master several new skills to finish the project.
With this level, you will use a few different colors, so it might be time to purchase some paint from Testors with thirty-six and an extra small brush. That should do just fine for completing your model! They’re also known as ‘model’ paints, but they have plenty more spray options if needed for more significant parts like wings or fuselages; not only does their selection include genuine automotive enamels too – perfect when trying out those new ideas without breaking anything first 🙂
This is an excellent level with plenty of chrome parts and plastic-replica glass. It also comes equipped with water-release decals, so you can build it up in any style that suits your taste! This kit usually contains two to three different options depending on what modes the builder wants -from stock models all the way through street performance or even full-blown race cars!!
This skill level is for people aged 12 and up, but it may be a fun project for more advanced individuals. Depending on how detailed you paint it, this diecast model kit might take five to six hours to finish.

Level 4: With More Defined Details, You Can Get More Advanced
Skill level 4 is perfect for experienced modelers. It has up to fifty parts that you will need glue and a paintbrush to put together, but it’s worth taking your time with these complicated models because they can be difficult without practice!
The model builder should have some previous experience with models in levels 2 and 3 before attempting a skill level 4 kit. The complexity of the assemblies is enough that it can’t be done without having built earlier versions, so take note!
The fourth-level kits are advanced, providing the builder with detail and authenticity. They often include extra parts so you can build multiple options models!
Skill level four kits are more complicated than skill levels one to three and require assembly gluing or cementing multiple parts. These models also have water-release decals, which may take 5 hours up to several days depending on how experienced you are with model-making skills!

Level 5: Still More Advanced for Experts
Expert modelers should use the expert level five kit. They have exceptionally complex components, have hundreds of pieces, and frequently include moving mechanisms. On automobiles and motorcycles, working suspensions are possible, turning propellers on aircraft and movable turrets on tanks.
This is the level where you will find some of your most complex pieces. It can be challenging to complete and requires patience, but if you have, then go ahead!
This kit has over 150 parts which can take anywhere from 1-2 weeks up to 4 months or more. There are some advanced techniques that you need to use.
Conclusion
This brings us to the end of our guide on picking model car kits for beginners. I hope you found this information helpful in making your buying decision! Remember before buying anything else just because there may be something in here explicitly designed for beginners or experts alike!
FAQ
What tools do you need for the model car?
To build a model car, you will need some essential tools. These tools will help you cut and shape the plastic pieces of the model car kit, and they’ll make the process a lot easier and more accurate.
Here are the essential tools that you’ll need:
- A sharp blade or scissors for cutting the plastic parts
- A modeling knife for shaping and trimming the parts
- A drill (or a hobby knife) for drilling holes in the body of the car
- Tweezers for holding small pieces while you work on them
What are the most popular model car kits for adults?
There are some different model car kits for adults. Some people prefer the simplicity of the standard plastic models, while others enjoy assembling more complex and realistic models made out of metal or other materials. There is no one “right” choice for picking a model car kit – it all depends on your own personal preferences and interests.
Do you paint or build the model first?
Some modelers prefer to paint the model car kit before assembly, while others build it first and then paint it. There are pros and cons to both methods. Painting the equipment before pack can be helpful because you can avoid getting paint on the parts that need to be glued together. However, it cannot be easy to get an even coat of paint on all the surfaces if you’re painting a pre-assembled model. Building the model first and then painting it is more challenging because you have to be careful not to damage any parts while you’re putting it together. However, this method allows for a more even coat of paint overall.
What do the Revell skill levels mean?
- Level 1: Beginner’s and snap-together kits require no gluing or painting.
- Level 2: Simple kits with up to 30 parts to glue and paint for beginners.
- Level 3: More demanding kits with 100 parts to glue and paint.
- Level 4: For the more experienced modeler with 150 parts to glue and paint.
- Level 5: The most challenging level, with over 150 parts to glue and paint.
Hey there! I’m Richard Baker, a miniature painter who’s been in the game for a solid decade now. I’ve been painting miniatures for ten years and I’ve got a ton of tips and tricks to share with you all. My website is a treasure trove of knowledge that I’ve gathered from both my own personal experiences and from reading all sorts of books.


Leave a Reply