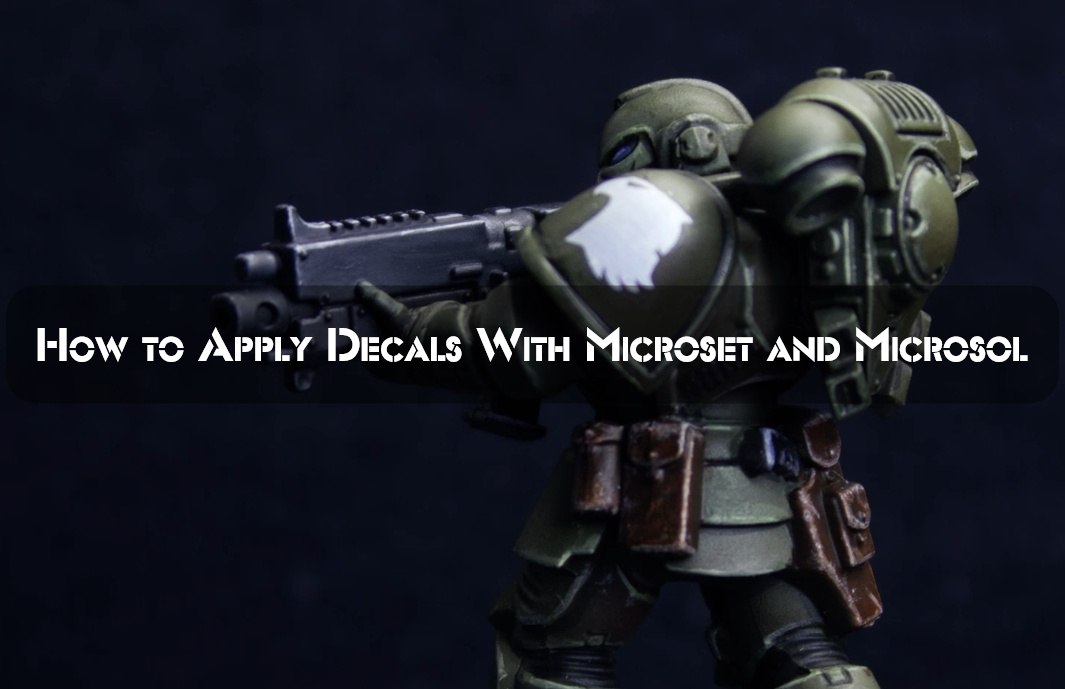
Hey there, fellow model enthusiasts! Today, I want to share with you my personal experience on how to get that flawless, painted-on look when applying decals. And let me tell you, it’s all thanks to Microset and Microsol.
So, first things first, make sure your model is squeaky clean! Wash it with warm soapy water and then dry it off like you’re getting ready for a date. Trust me, it’s important to get rid of any dirt or grease that may be hanging around.
I have to say, I’m pretty proud of myself for mastering this technique. It wasn’t easy, but with a little bit of patience, some laughter, and a couple of swear words, I finally got it right. And now, I’m here to pass on the knowledge to you.
So, let’s get cracking!
What are Microset and Microsol?
Microset
Microset is a unique liquid for those who would like their model painted on. It can slightly soften any hard shell resin or glue, which will cause easier adhesion with your surface because tiny air bubbles are prevented from forming through better contact between both characters, eliminating any design flaws!
Microsol
Microsol, the solution for complex surfaces. Microscale Decals can be tricky to work with and often require some help from an experienced modeler. Luckily there is micro sol! It completely softens your decal, so it conforms perfectly on any surface without distortion or bubbles- perfect for creating realistic models in scale 1:48th or less than a quarter-inch tall.
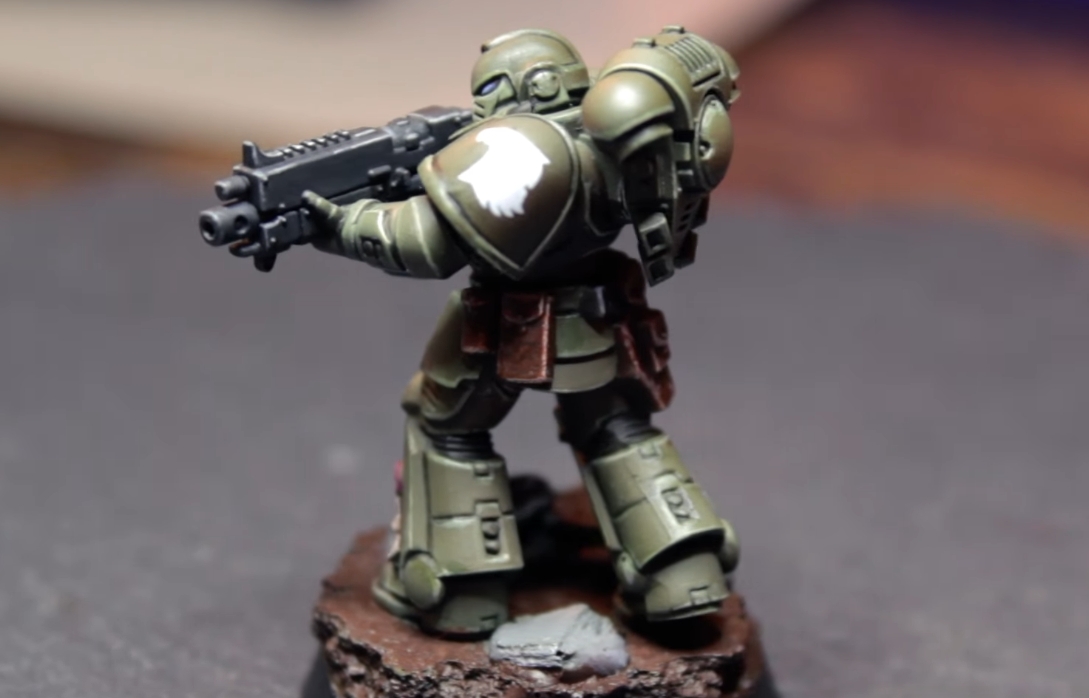
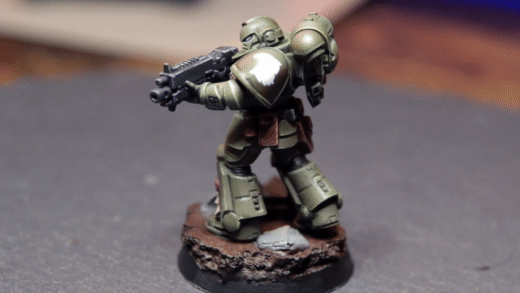
Microsol is an excellent product for complex surfaces, but it’s not always necessary when working with small or simple decals. If you have curved surfaces like the Space Marine shoulder pad in our example that need extra help sticking to their cornerstones, then Microsol will give that extra strength needed!

Micro Sol is a revolutionary setting solution for all things decal-related! It’ll help antiqued the paint on your kit, make it easy to cut through vinyl transfers, and let you puree paint lines without any hard work. Micro Set is an amazingly strong water-based adhesive that allows decals to conform perfectly onto its smooth surface with amazing results.
Looks like this kit might be one of those “best choices” you’ve made in recent memory!”
Prepping the Surface with Micro Set 101
Before applying decals, I always ensure that the surface of my model is properly prepared. That’s why I use the Micro Set 101 solution from the Decal Setting Solution-Micro Scale Micro Sol 102 + Micro Set 101 Package Decal. This solution helps to enhance the adhesive of the decals, ensuring that they stick to the surface of the model perfectly.
Improving Adhesion with Micro Sol 102
To get the best results when applying decals to my models, I always use the Micro Sol 102 solution from the Decal Setting Solution-Micro Scale Micro Sol 102 + Micro Set 101 Package Decal. This solution softens the decals, making them more pliable and easier to apply. It also improves adhesion, helping the decals to stick to the surface of the model without any bubbles or wrinkles.
Achieving Perfect Conformity to Surface Irregularities
One of the things I love about the Micro Sol 102 solution from the Decal Setting Solution-Micro Scale Micro Sol 102 + Micro Set 101 Package Decal is that it helps to achieve perfect conformity to surface irregularities. This means that even on models with complex or uneven surfaces, the decals look smooth and seamless. The solution completely softens the decal, allowing it to conform to the surface of the model perfectly.
Making Decals Part of the Painted Surface
One of the most impressive things about the Micro Sol 102 solution from the Decal Setting Solution-Micro Scale Micro Sol 102 + Micro Set 101 Package Decal is that it makes the decals part of the painted surface. This means that the decals look like they were painted on, rather than applied as a separate layer. The result is a truly professional finish that looks amazing.
Removing Decals with Ease
While I always strive for perfect results when applying decals to my models, sometimes mistakes happen. That’s why I appreciate the decal remover feature of the Micro Sol 102 solution from the Decal Setting Solution-Micro Scale Micro Sol 102 + Micro Set 101 Package Decal. If I make a mistake when applying a decal, I can simply use the solution to remove it without damaging the surface of the model. This gives me the flexibility to experiment and try new things without worrying about making permanent mistakes.
How to use Microset and Microsol
Decals are a cheap and easy way to add detail to your model. But they can be tricky to apply if you don’t know what you’re doing. That’s why we’re going over how to use Microset and Microsol for decal application, step by step!
How to use Microset
Microset is a liquid that makes the decal stick more quickly when applied with water. It also softens up some types of vinyl to form around curves better, like on helmets or tires (but not all). Make sure the surface is clean and dry before applying it because if there’s dirt or grease on the surface, it will resist adhering to the decal instead of helping them stick. And remember-Microset doesn’t work with wall decals! (It works with most, though!)
How to use Microsol
Microsol is a liquid that softens up some types of vinyl more than water does. It’s made explicitly for applying flat-surfaced decals to curved surfaces like the ones on helmets or car bodies, but it can be used on other kinds of decals as well. Just remember not to use Microset and Microsol together because they soften things in different ways, and you could end up ruining your decal if you mix them after using one without knowing about it.
Step by Step: How to Apply Decals with Microset and Microsol
Step 1
First, apply gloss varnish to the area where your decal will be placed. This step is crucial, and if you encounter problems such as a visible border or air bubbles in this phase, it’s most likely that the surface was not smooth enough – so make sure you get an excellent glossy finish!
Allow drying completely.
Step 2
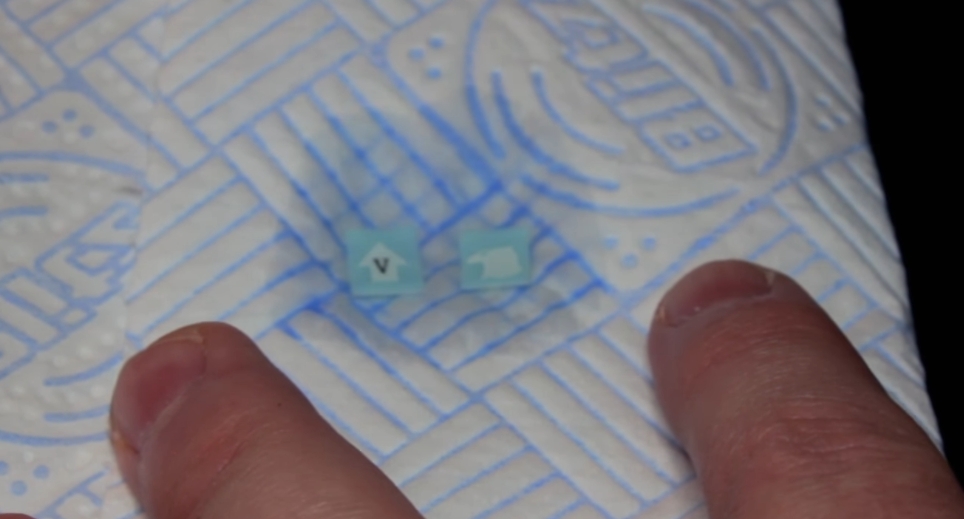
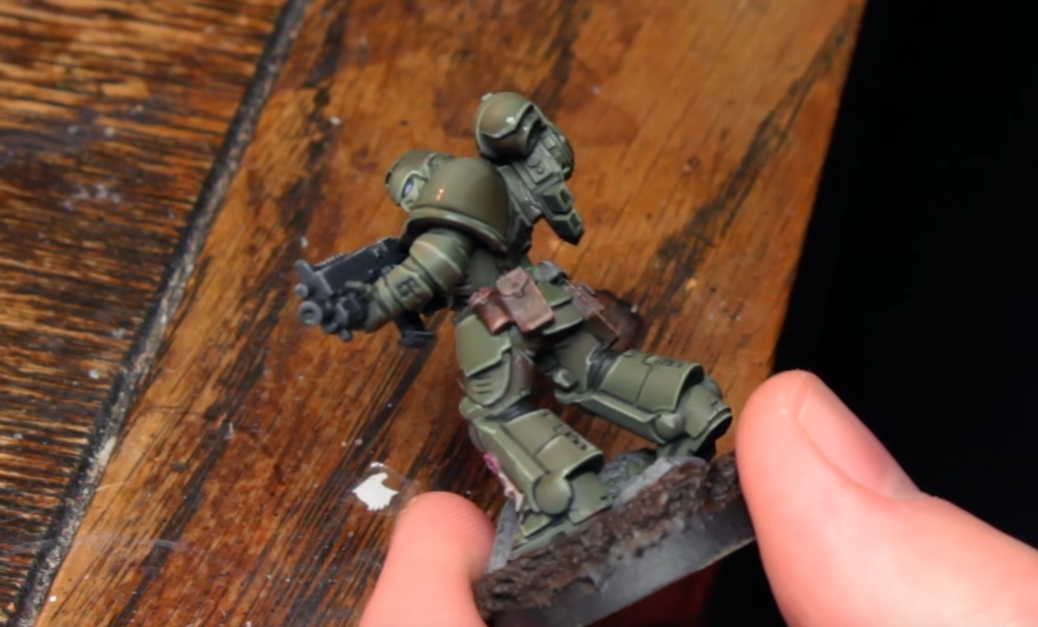
Cut the decal out from the sheet with a hobby knife and, gripping it between your fingers using reverse action tweezers, dip into water for 10 seconds. If that doesn’t work, just put it back in again for another few seconds until you can gently peel off without tugging at all!
Step 3
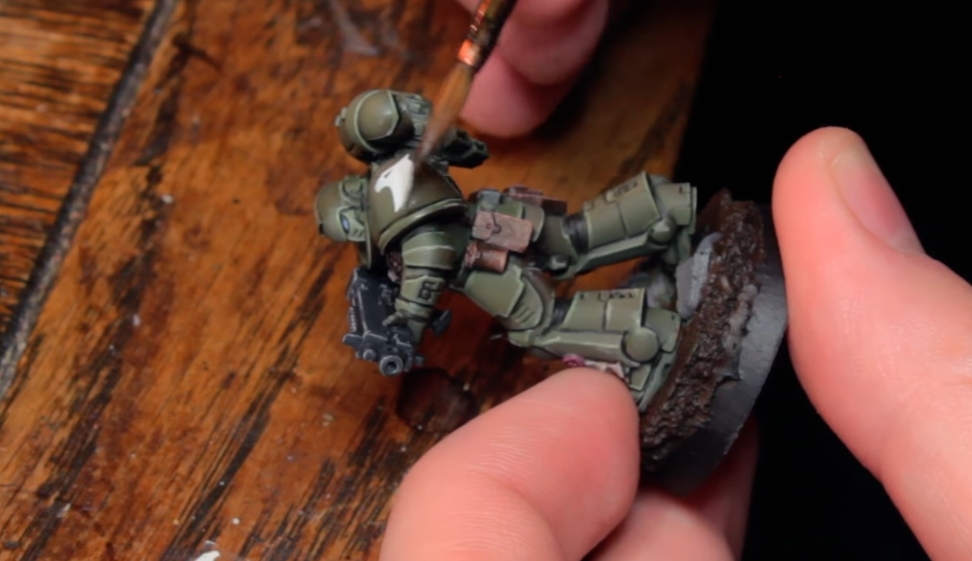
As you get ready to apply your new decal, ensure that the area is clean and dry. Then brush some Microset on so it will stick better!
Place the decal on top of a small amount Microset. Leave for a few moments to allow it to soften before applying more paintbrush strokes overtop!
Step 4
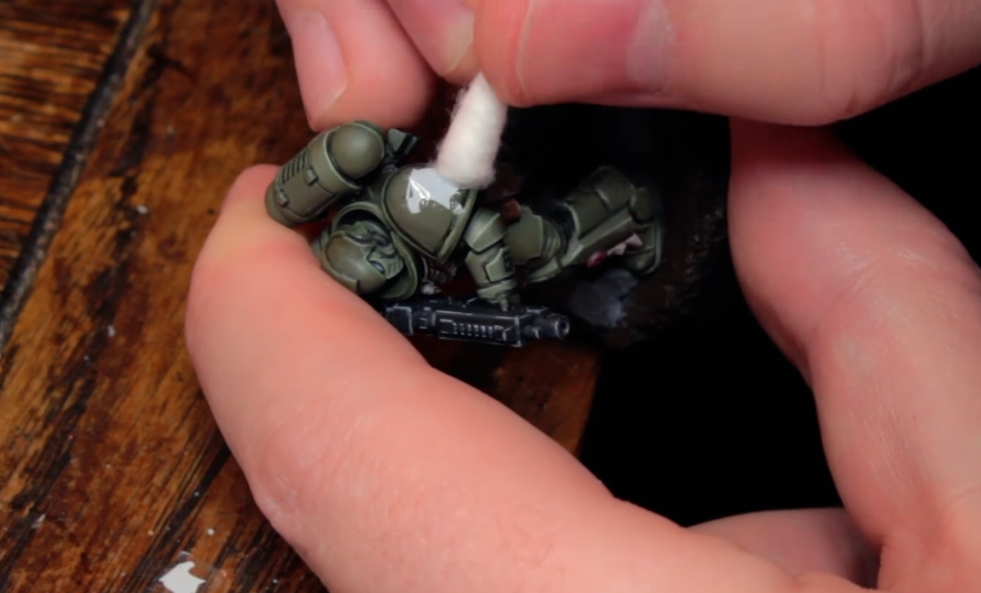
If you use a moistened (but not wet!) cotton bud, gently press the decal down onto your surface and remove any excess fluid. The Tamiya brand of Q-Tips makes this process more accessible because they’re tightly wound, which will keep fibers from sticking in areas where they don’t belong!
If you find stubborn creases or air bubbles on your decal, carefully prick them with a pin. Apply Microsol and allow it to dry thoroughly between each coat until the decal is completely flat!
Step 5
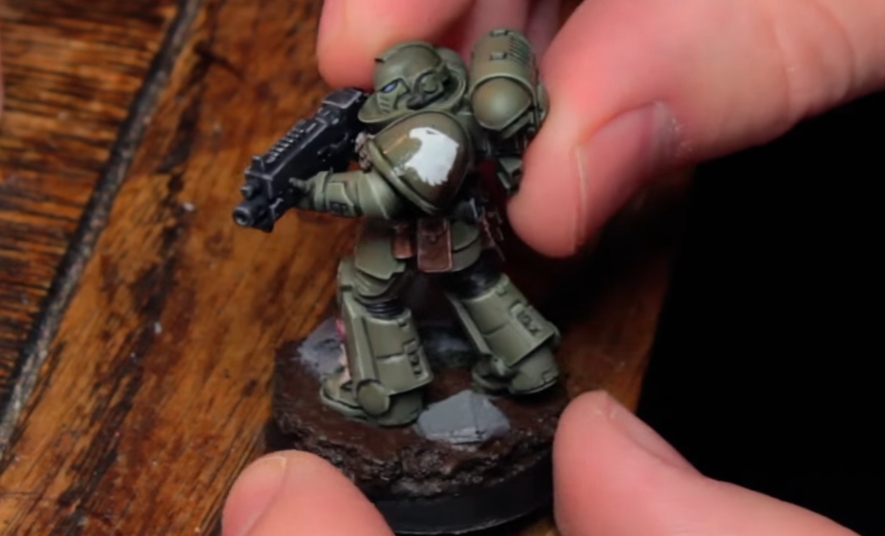
Apply another coat of gloss varnish to seal it in. The film border should be completely invisible at this point, and you’re suitable for all eternity.
Step 6
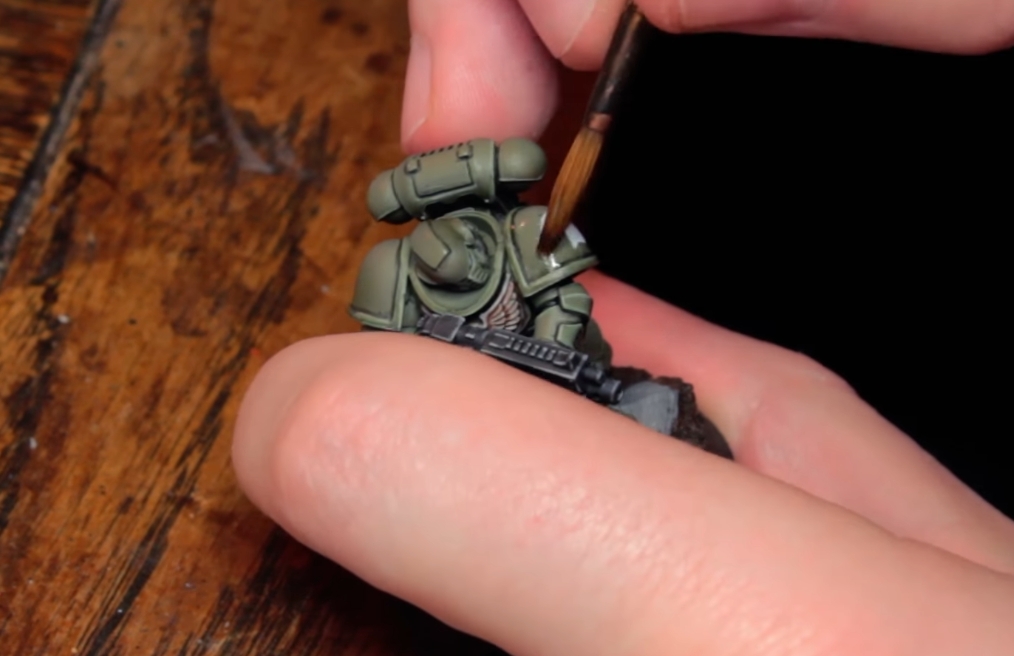
So you want to do some shading washes on your model after applying the decals. That’s a great idea! It’ll help blend in and provide that perfect matte finish for those who will be seeing it up close or even give them an old painting look if they prefer more of an authentic feel. There are plenty of options: Lahmian Medium is one popular choice, but don’t forget about using painters’ oils.
Finale
Tips for using Microset and Microsol
- Start by taping the decal into position on the surface, then apply Microset to the back of the decal.
- Allow 45 seconds to dry before applying Microsol directly onto the decal, then remove excess water with a paper towel.
- What to do if you have air bubbles after removing excess water? Wait for at least 10 minutes before removing.
- Apply the decal solution directly to the model, then apply it to your surface. Allow drying for at least 30 minutes before applying the flat coat.
- If you are using gloss paint, try adding a layer of matte over it after letting your decal dry entirely overnight. This will help keep the gloss from peeling off when removing excess water!
FAQ
Where do you apply the decals first before applying Microsol?
There is no specific order in which you should apply decals with Microset and Microsol. You can do it either before or after applying the solution, depending on your preference. Make sure that any of them has entirely dried before using another to avoid damaging the first layer application.
How to remove air bubbles from the decal without damaging the decal?
To remove air bubbles, use a toothpick and gently poke the bubble until it pops. If you want your decal to stick better, use some moisture.
What are other ways to apply an adhesive decal other than using Microset and micro sol kits?
You can also use decal setting solutions from other manufacturers. Some of these brands include Mr. Mark Softer, Johnson’s Klear-Kote, and more.
What if I have air bubbles after removing excess water?
Wait for at least 15 minutes before removing them using an Exacto knife and tape around the edges of the problem area. Ensure that there are no visible marks leftover from where you taped because the decal will be removed with it. Then apply the decal solution directly to the model, then use it to your surface after waiting another 45 seconds for it dry again.

Hey there! I’m Richard Baker, a miniature painter who’s been in the game for a solid decade now. I’ve been painting miniatures for ten years and I’ve got a ton of tips and tricks to share with you all. My website is a treasure trove of knowledge that I’ve gathered from both my own personal experiences and from reading all sorts of books.


Leave a Reply