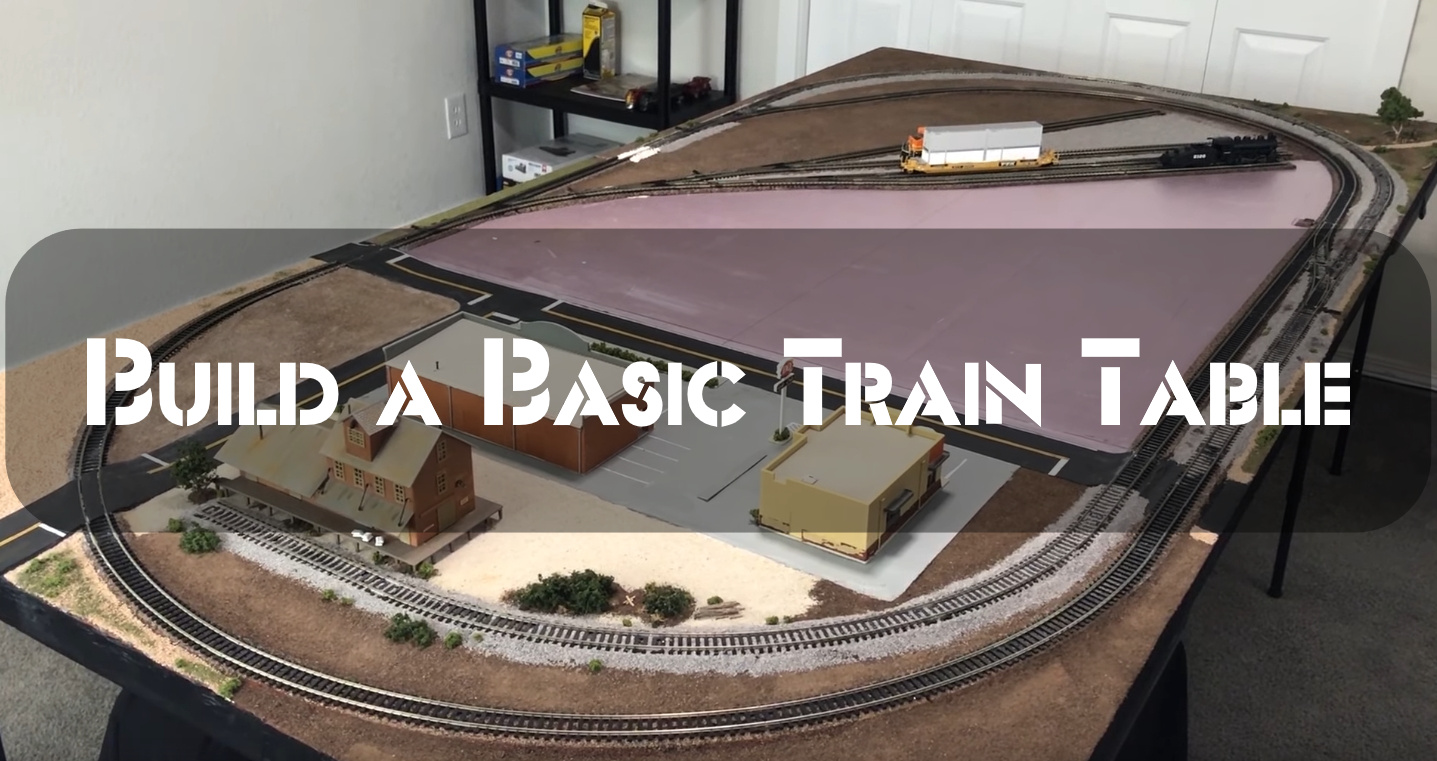
Hey there, train enthusiasts! So, you’re finally taking the leap and starting your very own model railroad, huh? That’s awesome! The first thing you’ll need is a solid foundation for all your trains to chug along on. And that’s where the model train table comes in. But with so many options out there, how do you know which one to choose? Don’t worry, I’ve got you covered. I’ll walk you through the basics of choosing the perfect train table, and even give you some tips on building your own!
So, let’s get started. First things first, you need to decide on the size of your train table. It’s important to choose one that will fit the space you have available and also allow for enough room for all your trains and accessories. Trust me, you don’t want to have a cramped and cluttered table. That’s just no fun.
Building a Base for Your Model Railroad
Starting a model railroad is an exciting prospect. But before you can do much of anything, you have to start with the right building blocks. The base of your train table will be the foundation for all your efforts and needs to be sturdy and stable. If it wobbles or flexes at any point, then everything else on top of it will too, which means that even if you’ve invested in expensive locomotives, they won’t run smoothly because they’re resting on uneven ground.
The size and shape of your model railway layout depend entirely on what kind of space you have available to work with, but whatever its dimensions are, there should be enough room for a track around three feet wide by five feet long (or thereabouts). If it has less than that, then don’t worry – make sure whatever you have gets used to its full capacity, so nothing goes to waste.
What to Look for When Looking for a Platform to Run Trains
When starting your model railroad, the first thing you’ll need is a platform to run your trains. Here are some things to look for when choosing a platform:
Size
Size: Make sure to choose a platform that’s big enough to accommodate your train set. You don’t want to run out of space when adding more trains and accessories.
- Remember that standard train sets come in various sizes, from N scale (smaller) to G scale (large). The size you choose will depend on the amount of space available in your home or office and how much time you have to spend building your layout.
- If possible, use an existing table, dining room table, or coffee table. This will save money on buying new furniture and allow easy storage if needed later down the road. Just make sure it’s sturdy enough not to easily break underweight which could cause damage like falling off track pieces causing derailments!
- Think about the best place in your home or office where you’ll be able to run trains regularly without having them get in the way of other activities like cooking dinner while preparing food at the kitchen countertop with kids playing nearby.
- For example, if there is no room for a train table on top of existing furniture, consider building one underneath. This will save some space, and it can be at a height that is easier to see when standing over the track layout.
Shape
Shape: The platform should be square or rectangular so that the tracks can be laid out in a grid pattern.
A square platform is best since it will allow you to use any track layout and not have to worry about running out of room or having tracks run into walls, furniture, etc.
- If possible, choose something with a lip around all four sides that keeps trains from falling off while moving at high speeds across curves where centripetal force may cause derailments if there isn’t enough weight holding them down on rails securely! If you are building a tabletop, make sure to use wood instead of plywood. Plywood can warp over time if it is not evenly distributed when it is pressed together. This can lead to problems later on, such as the corners lifting and creating gaps between the boards. This can make the tabletop unstable and cause it to collapse or damage the flooring if placed directly on it.
- Rectangular platforms are okay to use, but you might have to be a bit more careful when laying out your track since not all curves and switches will fit perfectly. You’ll also want to make sure that the platform is at least as long as your train set so that you can run trains in both directions without them crossing each other.
- Platforms with rounded edges should be avoided since they can be difficult to layout tracks on and are prone to derailments.
Elevation
Elevation: The platform should be elevated off the ground to have room underneath to store your trains and other track accessories. Most tables are elevated between four and six inches.
Material
Material: The platform can be made from wood, plastic, or metal. Wood is the most common material, but it can be susceptible to warping and damage over time. Plastic and metal platforms are more durable, but they tend to be heavier and more expensive.
Wood: Wood is a common material used for building train tables. It’s easy to work with, and it tends to be cheaper than other materials.
Plastic: Plastic platforms are more durable than wood platforms, but they tend to be heavier and more expensive.
Metal: Metal platforms are the most durable of all types of train tables, but they also tend to be heavy and expensive. Some metal train tables have folding legs or telescoping legs, so you can store them easily when not in use (and save space).
If you want something lightweight yet strong enough for your trainset up, then a metal platform best suits you!
Difficulty
Difficulty: Model train tables can be easy for beginners or more advanced for people who want to create elaborate layouts.
Here are some examples of model railroad platforms:
- Train table with storage space underneath the platform
- Wooden platform elevated by wooden blocks
- The plastic platform is portable and folds up for storage
Time Required
Time Required – The platform you choose will also determine how much time you’ll need to spend setting up your model railroad.
When choosing a platform, it’s important to consider the size of your train set, the shape, and elevation of the platform, and the type of material it’s made from. Be sure to choose an easy enough platform for beginners with room for advanced layouts. Platforms can be found in various materials, shapes, and sizes, so take your time and find one that’s perfect for you. Building your first model train table is an exciting experience and will get you well on your way to creating a beautiful model railroad!
Tools
Tools – The tools needed to build a model train table are simple: a screwdriver, hammer, saw (or chop saw), leveler, drill bit set, measuring tape.
Some platforms come with all of these tools included; others may require you to purchase some or all of them separately. Many people also build their platform using basic materials like plywood and two-by-fours. If this interests you, then it’s a good idea to do some research on the internet first before buying any tools so that you have an idea of what kind of work will be involved in constructing your model train table from scratch! You might also like our category modeling tools.
Instructions
Instructions: Almost all platforms come with instructions, but it’s a good idea to read them over before starting to build. This will help you avoid any potential problems and make the process smoother.
Once you have chosen a platform, follow the included instructions to build it. Be sure to use all of the provided hardware and tools to ensure that your table is sturdy and safe. Building your train table is a great way to start model railroading!
How to Build a Model Train Layout (Step-by-Step)
Model train enthusiasts know that the key to a great layout is planning. If you want to build a model train layout but don’t know where to start, these simple steps will help you get started.
Step 1: Choose The Right Table or Platform
To build your model train layout, you will need a table to put it on. You can choose a simple oval track for beginners or a more elaborate layout with multiple tracks and switches. When selecting your platform, there are several factors to consider.
- Size: The first thing to consider is the size of your layout. How much space do you have to work with? A smaller table or platform may be a better option if you’re limited on space.
- Shape: The next consideration is the shape of your table. Do you want a square or rectangle track, or would you prefer something more curved?
- Layout: Another important factor is the layout of your train tracks. Will they all run in one direction, or will there be switches and turns for trains to travel in different directions?
Once you’ve considered these factors, select a table that’s large enough to accommodate your needs and has the right shape and layout for your desired track design.
Step 2: Assemble The Table
Once you’ve selected your table, it’s time to assemble it. This may require simple assembly steps, like attaching the legs to a square or rectangle platform. If your table is larger or has more complicated shapes, you’ll likely need to use screws and/or nails to secure everything in place.
Steps for building a model train layout on a tabletop:
- Assemble the table according to instructions
- Layout the tracks on the table according to your design plan
- Secure the tracks in place with tape or glue (optional)
- Start running your trains!
Note: This step may be skipped if you’re using a pre-assembled table. Remove any covering and start laying out your tracks.
Step 3: Installing The Track
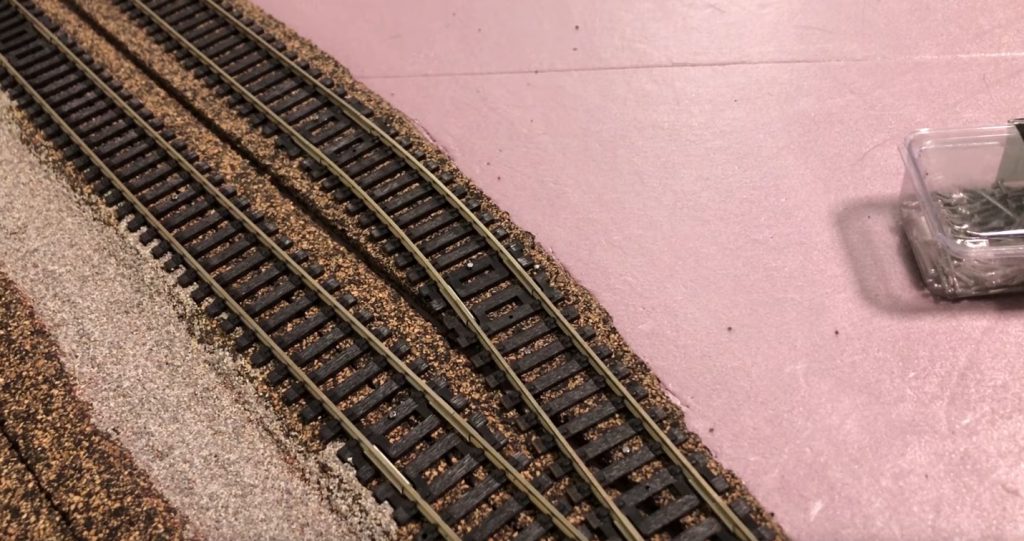
Now it’s time to install the track. This may require some planning and measuring, as you’ll want to make sure the tracks are evenly spaced and parallel to each other.
If your table is square or rectangular, you can use a T-square or ruler to draw straight lines on the table’s surface that will serve as guides for installing the track. Then, use a hammer or mallet to tap nails into the tabletop at each corner of the track, making sure they’re secure.
If curves are more your thing, you can purchase a flexible plastic track that can be easily curved around corners and shaped according to your design plan. Cut the track to size with scissors, then use hot glue or tape to secure it in place on the tabletop.
Steps for installing model train track:
- Measure and mark the tracks on the table according to your design plan
- Use a hammer or mallet to tap nails into the tabletop at each corner of the track, making sure they’re secure
- If using a flexible plastic track, cut it to size with scissors and use hot glue or tape to secure it in place on the tabletop
Step 4: Laying and Securing Your Track
Once the track is installed, it’s time to lay the train tracks. This can be done one of two ways: with or without rail joiners.
If you’re using rail joiners, place them on each end of the track and press them together. The joints will snap into place and hold the track securely in position.
If you’re not using rail joiners (or if they’ve already been used), use tape or glue to secure the tracks in place. Be sure to apply the adhesive evenly along the length of the track, so there are no bumps or dips that could cause your trains to derail.
Steps for laying model train track:
- Place rail joiners on each end of the track and press them together
- If not using rail joiners, use tape or glue to secure the tracks in place
- Apply adhesive evenly along the length of the track
Step 5: Set Up Your Train Engine and Cars
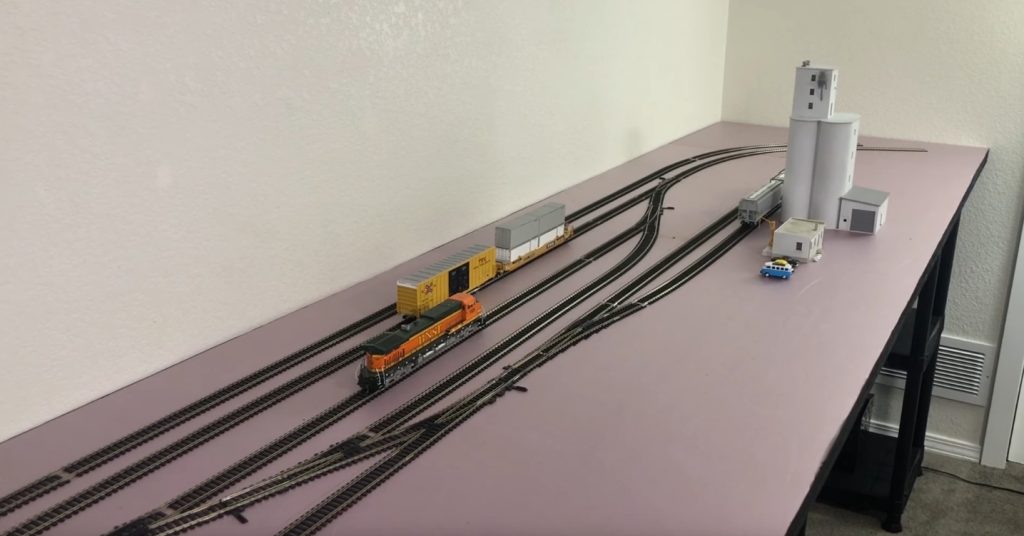
Now that your track is installed, you can set up the train engine and cars. This step will depend on what type of train set you have purchased: a traditional toy-style one with plastic or metal pieces or an R/C (radio-controlled) model.
For traditional trains, connect the track to each end of the engine car using rail joiners if necessary. Then run it along the rails until they meet in the middle, at which point both engines should be facing outward so they can control different sections of tracks without colliding into each other headfirst! If there’s just one engine, then push it outwards towards its corresponding side, leaving room for passengers behind them – this will prevent those pesky collisions when traveling through curves and around stations.
For R/C models, you’ll need to set up a special “train yard” with an oval or loop track that the engine can drive around in circles. This will allow you to change direction and controls without unhooking the engine from the tracks every time.
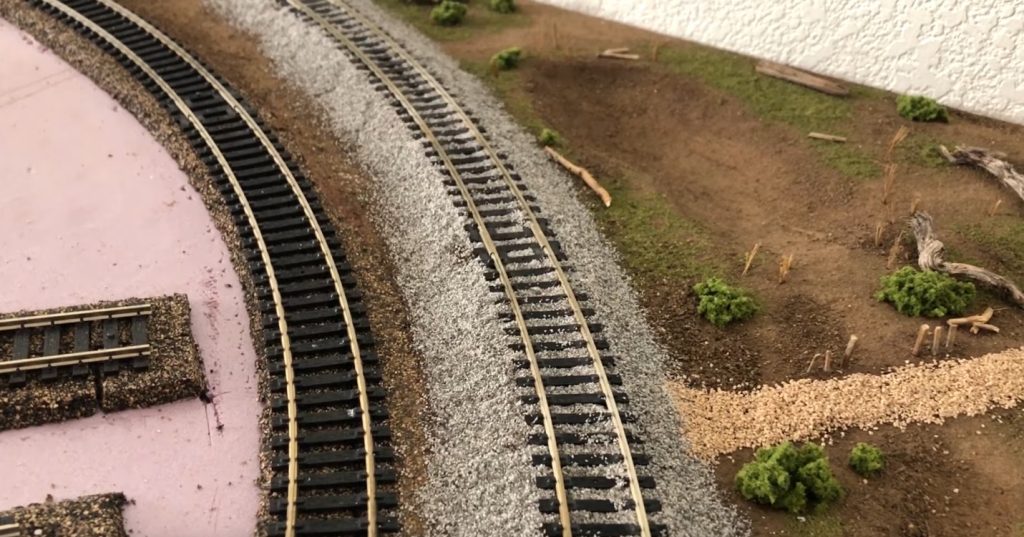
Step 6: Create a Landscape for Your Railroad
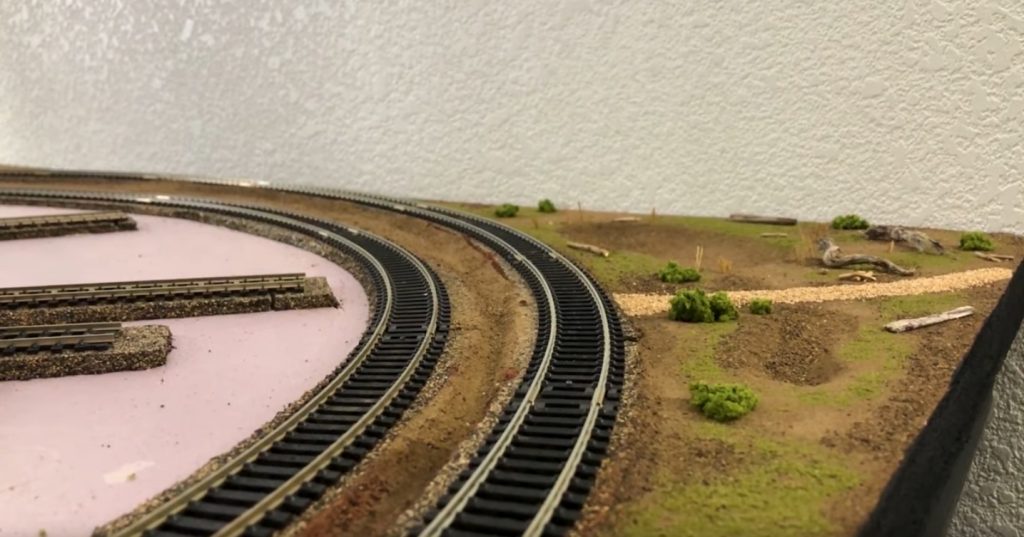
You can use a foam insulation board to create a landscape for your railroad. Cut it into the shape you want and then paint or cover with construction paper, felt, wallpaper scraps – whatever!
If you are using cardboard boxes instead of wooden boards as the base material, here is how you can do it:
- Cut along one side of each box so that there are two pieces left (one large rectangle, which will serve as an outer frame/wall).
- Add glue to the top of these pieces before placing them together again.
- Make sure that they stick together and form a wall around the entire train layout area.
- Attach small trees made from pipe cleaners at various places all over this new landmass – depending on how much room you have available inside those containers, rivers/lakes could separate islands, etc.
Step 7: Add Buildings, Trees, and Other Details (Scenery)
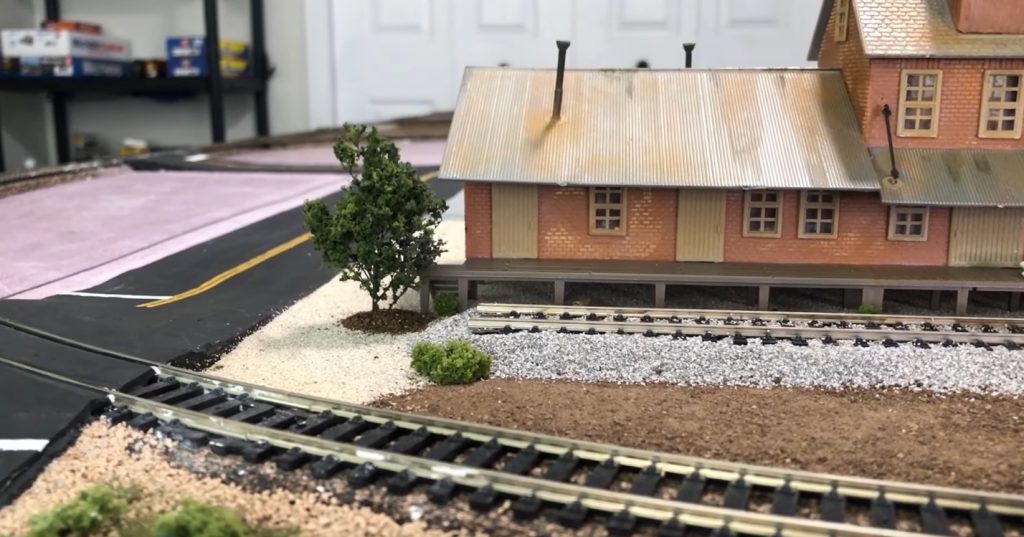
Once you’ve got your train track in place, it’s time to add some buildings and trees. To do this, use hot glue or tacky craft glue (such as Elmer’s).
To make a building: cut out pieces from cardboard boxes, then cover them with construction paper, felt strips – whatever! Use scissors to cut windows into the structure before gluing on doors/doorways. Make sure these items all fit together nicely. Hence, everything looks like one cohesive unit when placed next to each other along their edges without any gaps between surfaces where sunlight would shine through during daylight hours (unless the desired effect for aesthetic purposes is desired!).
Step 8: Finishing Up
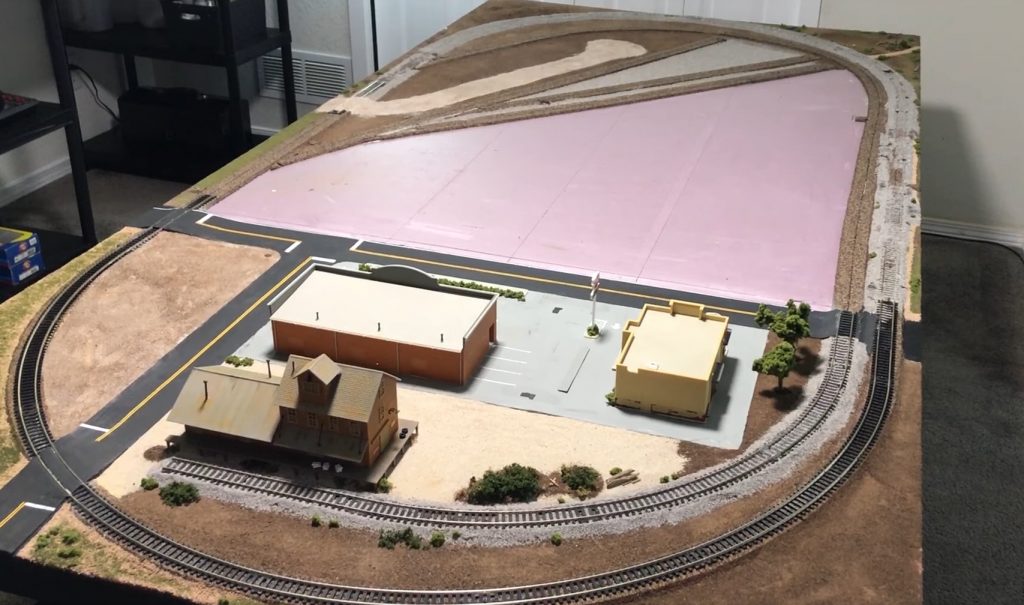
And there you go. You have built your first basic train table with a simple backdrop and scenery. This is the foundation of any layout, big or small, so pat yourself on the back for creating this important piece of equipment to run trains on!
You can find more information about these types of scales in our article Best DCC Systems for Model Trains.
Conclusion
So there you have it – everything you need to know about how to build a model train layout. I hope you found this guide helpful and that you are now inspired to start building your railroad empire!
FAQ
How do you make a model train table?
It’s not rocket science, but it takes some time and patience. The first thing you’ll need is some basic carpentry skills. It doesn’t matter if your craft is impeccable; the only criterion for success is that the table is strong enough to withstand hours of running trains without toppling over or collapsing.
Here are some general guidelines:
- Use good, straight lumber (2 “x4” s) because they’re cheap and can be cut to any length with common power tools like saws and drills
- Make sure the rails on top are at least 1/2 inch high, so your trains don’t derail
- Nail down plywood sheets for a smooth surface
- Make the table at least as wide and long as your longest train
- Leave plenty of space on each end for sidings
What is a good height for a model train table?
A typical height is usually about 36 inches (91 cm) off the floor, but it can vary from 28 to 42 inches (71-107 cm). Tabletops come in many sizes, shapes, and lengths.
Is the model train hobby dying?
Many people believe that the model train hobby is dying. This opinion is based on how much space model trains take up, the high cost of buying a set, and the time required to maintain one. However, some things may be causing this belief to be false. There has been an increase in sales for products related to trains such as books and DVDs which could mean more interest in them. The number of memberships for organizations like the Train Collectors Association has increased by 16% over five years, supporting this idea, so it seems the hobby might not be dying after all.

Hey there! I’m Richard Baker, a miniature painter who’s been in the game for a solid decade now. I’ve been painting miniatures for ten years and I’ve got a ton of tips and tricks to share with you all. My website is a treasure trove of knowledge that I’ve gathered from both my own personal experiences and from reading all sorts of books.


Leave a Reply