Ah, leaving the paint can open – we’ve all been there, haven’t we? You think, “It’ll just be for a moment,” and before you know it, your paints are as dry as a desert. But fear not, fellow artists! I’m here to share some wizardry to bring those parched paints back to the land of the living. Believe me, I’ve been in some paint pickles myself. Once, I forgot a tube of acrylic paint open for what seemed like an eternity. I was certain it was a goner. But, with a pinch of know-how and a sprinkle of patience, I resurrected that paint like a magician pulling a rabbit out of a hat. So, strap in, and let’s save those paints from becoming mere memories!
Paint Properties
Each paint has its own quirks and characteristics, much like people. Knowing what you’re dealing with is half the battle.
- Oil-based Paints (The Stubborn Ones): These thick, resinous paints need a gentle nudge with a paint thinner rather than water. Think of it like coaxing a cat out from under the bed – patience and the right approach are key.
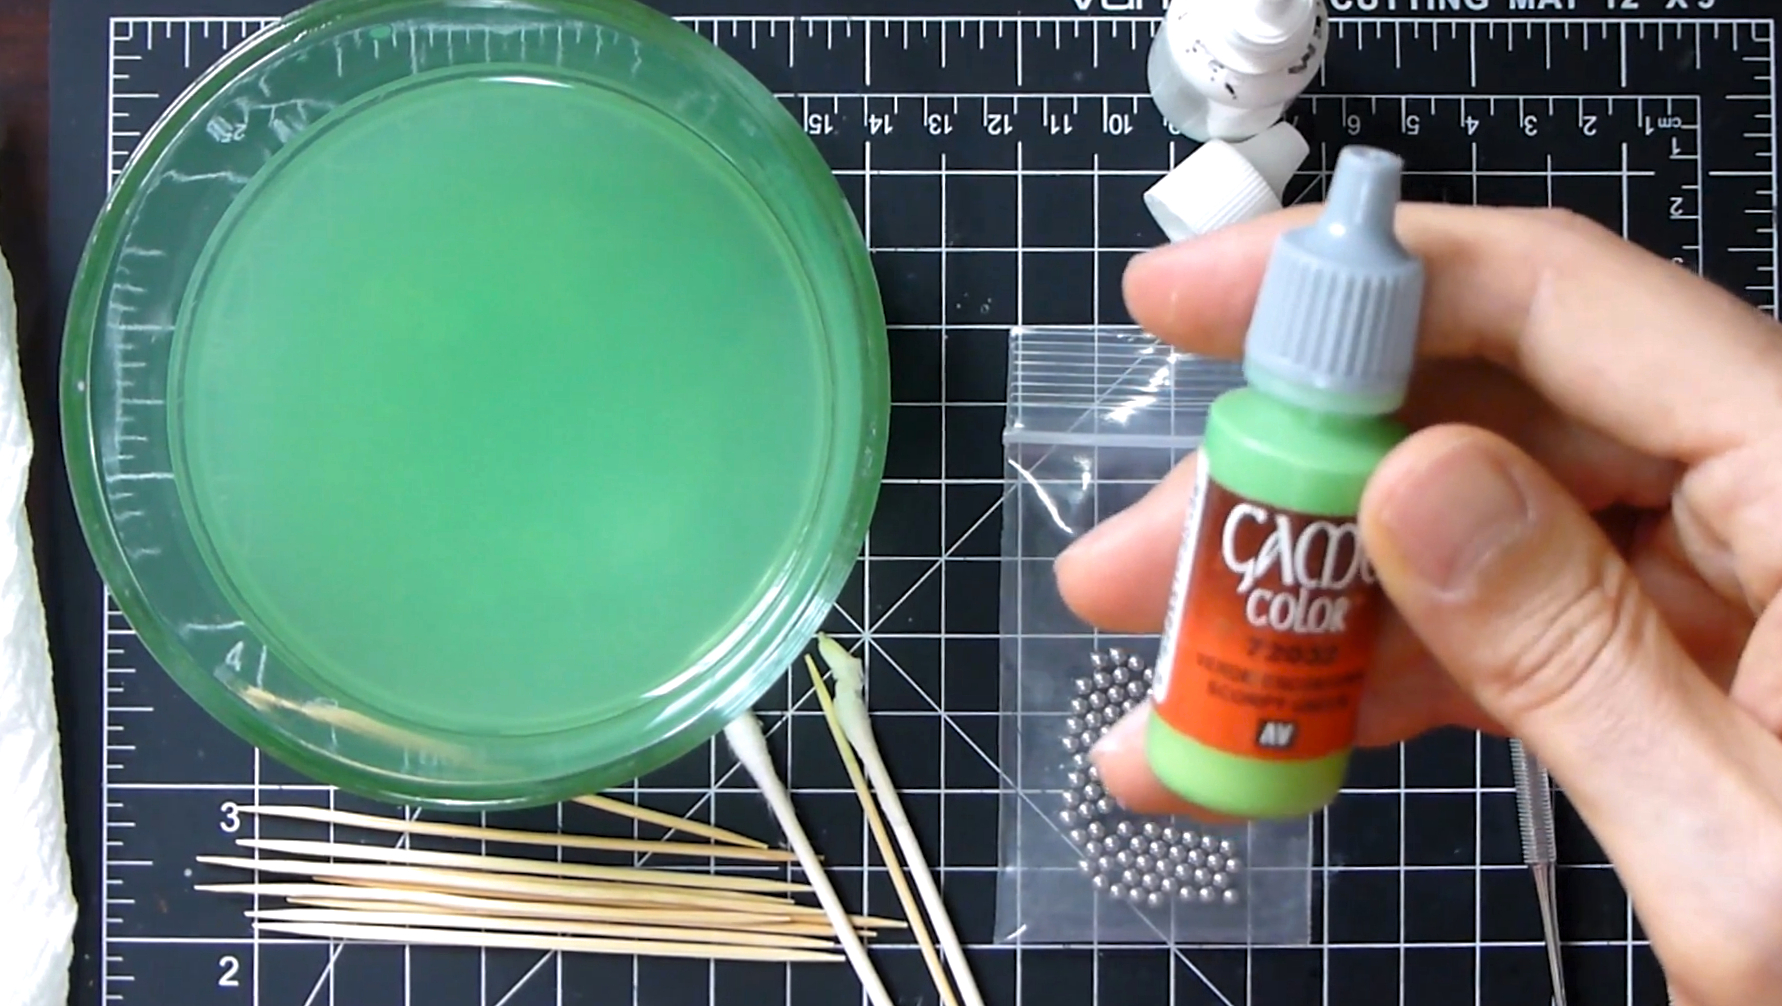
- Acrylic Paints (The Easy-Going Types): Water-based and not as fussy as their oil-based cousins, acrylics are pretty forgiving. But don’t let their laid-back nature fool you; they still need some TLC.
- Water-based Paints (The Sensitive Souls): They’re like the fresh produce of the paint world; great, but with a shorter shelf life. Quick to dry and cure, they need a watchful eye.
- Latex Paints (The Go-With-The-Flow Crew): Simple and straightforward, these guys just need a bit of warm water or a damp cloth to spring back into action. But remember, too much water and they might just throw in the towel.
Restoring Dried Out Paints and Fixing Lumps
Ah, the age-old dilemma of dried-out paints and those pesky lumps. Fear not, my fellow artisans, for I have a few tricks up my sleeve that are as simple as adding a pinch of salt to your evening stew!
Step 1: Prepare Your Artistic Battlefield
First things first, shield your workspace like a knight preparing for battle. A layer of newspaper or butcher paper will do the trick, guarding your precious table from the spills and thrills of paint resurrection. If you’re feeling adventurous, why not set up shop in the great outdoors of your garage? A little fresh air never hurt anyone, and it might just add a hint of nature’s touch to your work.
Step 2: Approach the Paint with Surgical Precision
Cracking open a can of dried paint requires the finesse of a skilled surgeon. Gently pry the lid off with a screwdriver, avoiding any sharp edges like they’re hot lava. Once you’re in, evict as much of the dried-up paint as you can, like you’re clearing out old tenants from a forgotten attic. Remember, it’s not a race – patience is your best friend here.
Step 3: The Magic Potion of Thinning Medium
Here’s where the magic happens. Mix in an equal amount of thinner medium, and watch as your paint begins its transformation back to life. Avoid water if you can – it’s like feeding your plants soda, not quite the nourishment they’re looking for.
Option B: The Warm Water Lifeline
No thinner medium? No problem. Warm water can be your knight in shining armor. It won’t be perfect, but it’ll do the trick in a pinch. Just keep stirring like you’re trying to summon a genie from a bottle.
Option C: The Flow Aid Fairy Dust
If you’ve got flow aid on hand, sprinkle some into the mix. It’s like adding fairy dust to your paints, making them smooth and cooperative once again. (Flow Improver).
Step 4: Recycling Brush Leftovers
Don’t throw away those brush leftovers – they’re like gold dust! Mix them with some thinner or water, and you’ve got yourself a homemade remedy for dried-out paints.
Step 5: Stirring the Cauldron
Now, stir your concoction as if you’re a wizard brewing a spell. The goal is to return the paint to its former glory, free of any rebellious lumps.
Step 6: Sealing the Deal
Once you’ve mixed and matched, seal the lid like you’re locking away a secret treasure. Store it in a safe place, giving it time to blend and bond, like a fine wine maturing in a cellar.
And there you have it, fellow miniaturists! With these steps, those dried-out paints will be springing back to life, ready for your next artistic adventure. Remember, every paint has its own personality, so treat each one with the care and respect it deserves.
What About Other Kinds Of Paint?
- Water-based paints are the best to use with any thinner medium since they will be fully diluted once mixed without causing issues.
- Oils: Oil paints can only work well using a combination of turpentine or mineral spirits and some other form of mild solvent (such as paint thinner), which should help make them even easier to clean up afterward!
- Acrylics: Acrylics are great for mixing in small amounts of water – however, it’s important not to add too much or else this could cause parts to separate when put back into storage! You may also want to consider adding flow aid to these if you don’t want your paint to end up too thick after mixing.
- Latex: Latex paints can use a mixture of water and mild detergent to be restored into their full liquid form. However, they might require extra time for stirring to eliminate any clumps that may have formed during storage!
FAQ
Why do Acrylic Paints Dry up Within the Bottles?
The major cause of acrylic paints drying up within the bottles is exposure to air. When you open the bottle and start painting, the oxygen in the air begins a chemical reaction with the paint pigments, causing them to dry out over time. Another factor that can lead to the paint drying up in the bottle is if you leave the water-based paint on its side after use. This can cause the pigments to settle at the bottom, leaving only clear water on top, which means the paint is no longer usable.
It’s important to store acrylic paints in a cool, dark place and to make sure the lids are tightly sealed when not in use to prevent drying. Also, it’s good practice to clean your brushes thoroughly after use to avoid any residual paint from drying in the bristles.
What’s a Thinning Medium?
A thinning medium is a type of solvent used to thin oil paints. It is made specifically for use with oils to avoid damaging the paint and to provide a more even and smooth application. By acting as a lubricant between the paint particles, thinning mediums allow artists to achieve vivid and more consistent results with fewer layers.
Can Acrylic Paint Expire?
Storing your acrylic paintings in the coolest spot possible and away from sunlight will keep their vibrant colors for quite some time. Acrylic paint, being synthetic-based, can’t expire like organic matter, but it becomes tough to revive if stored incorrectly.
How Long Can You Keep Acrylic Paint?
Acrylic paint is a versatile medium that is ideal for many projects. Made from polymers and water, acrylics are durable once dry and can last for years if stored properly, away from direct sunlight and extreme temperatures. If stored correctly, you can expect acrylic paint to have a lifespan of five or more years, which is an impressive longevity.
How to Tell That an Acrylic Paint Start to Go Bad?
To check if your acrylic paint has gone bad, look for signs of mold growth, which can appear as discoloration, a musty smell, or a surface film. You should also check for consistency, as bad paint will have a thicker consistency or a separation of the pigments. Additionally, the paint should be smooth and homogenous when stirred. If you observe any of these signs, it is best to dispose of the paint and purchase a new one.

Hey there! I’m Richard Baker, a miniature painter who’s been in the game for a solid decade now. I’ve been painting miniatures for ten years and I’ve got a ton of tips and tricks to share with you all. My website is a treasure trove of knowledge that I’ve gathered from both my own personal experiences and from reading all sorts of books.


Leave a Reply