Hey there fellow tabletop gamers! Today, I want to share my experience with magnetizing my miniatures. Trust me, it’s a game-changer! I mean, who doesn’t love the thrill of being able to switch out weapons and accessories on their minis for different battles? It adds so much more depth to the game and really takes the immersion factor up a notch.
But let me tell you, it wasn’t always easy for me. I remember when I first started trying to magnetize my minis, I had no idea what I was doing. I was like a kid in a candy store trying to figure out which magnet to use, how many, and where to place them. But after some trial and error, I finally figured it out and boy was it worth it!
I mean, can you imagine the look on your opponent’s face when you whip out a different weapon mid-game? It’s like “BAM! Take that!” It’s a great feeling. Plus, it’s a fun way to add a personal touch to your miniatures. I like to add a little bit of humor by giving my minis silly weapons, like a spatula or a rubber chicken. It always gets a laugh and makes the game a little more lighthearted.
And let’s not forget about the emotional aspect. I have a special mini that I use for my favorite character. Every time I bring her out, I can feel the excitement and attachment I have for her. It’s like she’s come to life on the battlefield.
What are Magnets Used for in Miniatures Games?
When it comes to miniatures games, magnets are used in three ways. The first way is to save space on the game board or utilize more of your gaming table’s surface area. Instead of having one miniature that takes up several inches, you can use a magnetized base with multiple positions and have different models occupying less physical space at once.
The second reason gamers opt for magnets is that they always come as an accessory to higher quality products, making them ideal for those who want their figures’ bases to look uniform from all angles instead of having gaps where metal meets plastic (which also makes changing poses easier). Lastly, some old-school players out there might still enjoy using markers don’t like spending time painting their miniatures and instead opt for magnets that look good enough for them.
What Kind of Magnets Do I Need for Miniatures?
Nowadays, you don’t have to visit a hobby store and search through different products to find the best magnets. Numerous websites offer high-quality metal discs with adhesive on one side (so they can be attached to the bottom of your miniature’s base) and magnetic polarity symbols on another (which should match those located at the top of your figure).
The only thing left is choosing how many pieces will come along with each magnetized unit. Some people prefer having three or four options available, while others like using magnets as an accessory for specific units such as heavy weapons which need two extra arms instead of just one. They also make it easy to add markers (which are used for different special actions) without resorting to using glue or paint.
What is the Magnetizing Process Like?
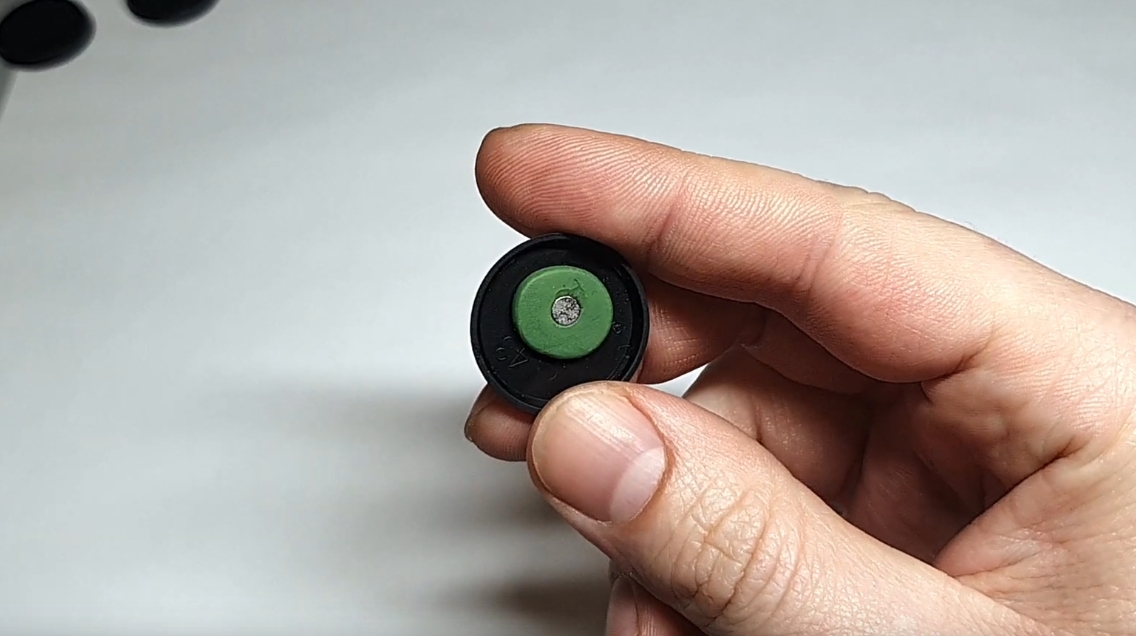
The process itself couldn’t be any easier. All you have to do is remove your figure’s base and use an X-Acto hobby knife to cut out a small hole in it so that the magnet can fit through with ease. Next up, clean the bottom of your miniature by wiping it down with some rubbing alcohol and let everything dry before adding adhesive on top of each metal disc. Once this step has been completed, place one piece in every corner until they’re evenly spread across their dedicated area, and voila! You now know how easy it is when making magnets work for your miniatures.
How to Magnetize Miniatures in a Few Simple Steps:
This is the step-by-step tutorial everyone has been waiting for.
Follow these instructions to get started:
- Step One: Decide which miniatures you want to magnetize and what magnets will work best with them. Make sure that your choice of magnets is compatible with your metal; see the below section on “Which Magnets Should I Use?” if unsure.
To make this process faster, we recommend ordering a handful of each magnet type to test out different combinations and figure out what works best before assembling all the components! This also helps cut down construction time from hours into minutes, so it’s worth doing regardless!
- Step Two: Purchase or locate some rare earth magnets neodymium. You can find these magnets online for a good price, but it is worth checking your local hardware store as well!
- Step Three: Test out the various magnet strengths until you are satisfied with their power of attraction to each other. It’s best to have some resistance so that they don’t fly apart or feel loose when handled on the battlefield, which leads us to our next point…
- Step Four: Assemble all components, making sure there are no sharp edges or corners on the magnets. This is especially important if you plan on using metal miniatures (which we recommend) since they can easily get scratched up!
You may want to consider trying out a super glue like Gorilla Glue for this step as well; it’s safe and easy to use, unlike some other glues that require special handling and ventilation equipment. Just be careful not to let any excess drip onto your table surface or where it might stick unwanted objects…like their painted faces! Finally, carefully place them between bases of matching unit types so that each miniature will always stay with its buddies when removed from storage.
- Step Five: Voila! Magnetize your miniatures and enjoy the newfound immersion factor. If you plan to use them for wargaming purposes, make sure to use metal or magnetized bases so that all components can be stored together without fear of their magnetic pieces flying apart during gameplay.
Which Magnets Should I Use?
Two main factors determine which magnets will work best for your miniatures.
- The first is the material used to make either the base of your mini or whatever it’s mounted on (terrain, cardstock, etc.) and how magnetic each one is; iron bases aren’t going to hold up very well against super-strong neodymium rare earth magnets!
- The second factor is just how much weight you want holding onto those magnets – do you need a firm grip? Or should they be able to easily slide across smooth surfaces like polished glass shelves without falling off?
The trickiest part about deciding which rare earth magnets strength/type to use can also come down entirely to personal preference. Though buying individual packs of fixed magnets can be a little pricey, you’ll probably end up using just one or two sizes for your entire collection so it shouldn’t break the bank.
What are Magnets Used for in Miniatures Games
- Magnetize Your Miniatures for Transportation
- Securely attach miniatures to a metal base or container during transit
- Prevent separation or damage to miniatures
- Makes transport and setup more convenient
- Magnetize Your Miniatures for Easy Storage
- Organize miniatures using magnetic containers with removable lids
- Use small rare earth magnets on the bottom of the container
- Easy access to miniatures for quick gameplay setup
- Magnets Make Painting Easier
- Hold miniatures in place during painting
- Easily pick up and reposition miniatures without causing damage
- Access hard-to-reach areas without spilling paint or disturbing other models
- Magnets Are Great for Terrain Pieces Too!
- Simplify transportation and storage of terrain pieces
- Attach magnets to hills, trees, or buildings to ensure stability during transport
- Facilitate interchangeable terrain setups for diverse gaming experiences
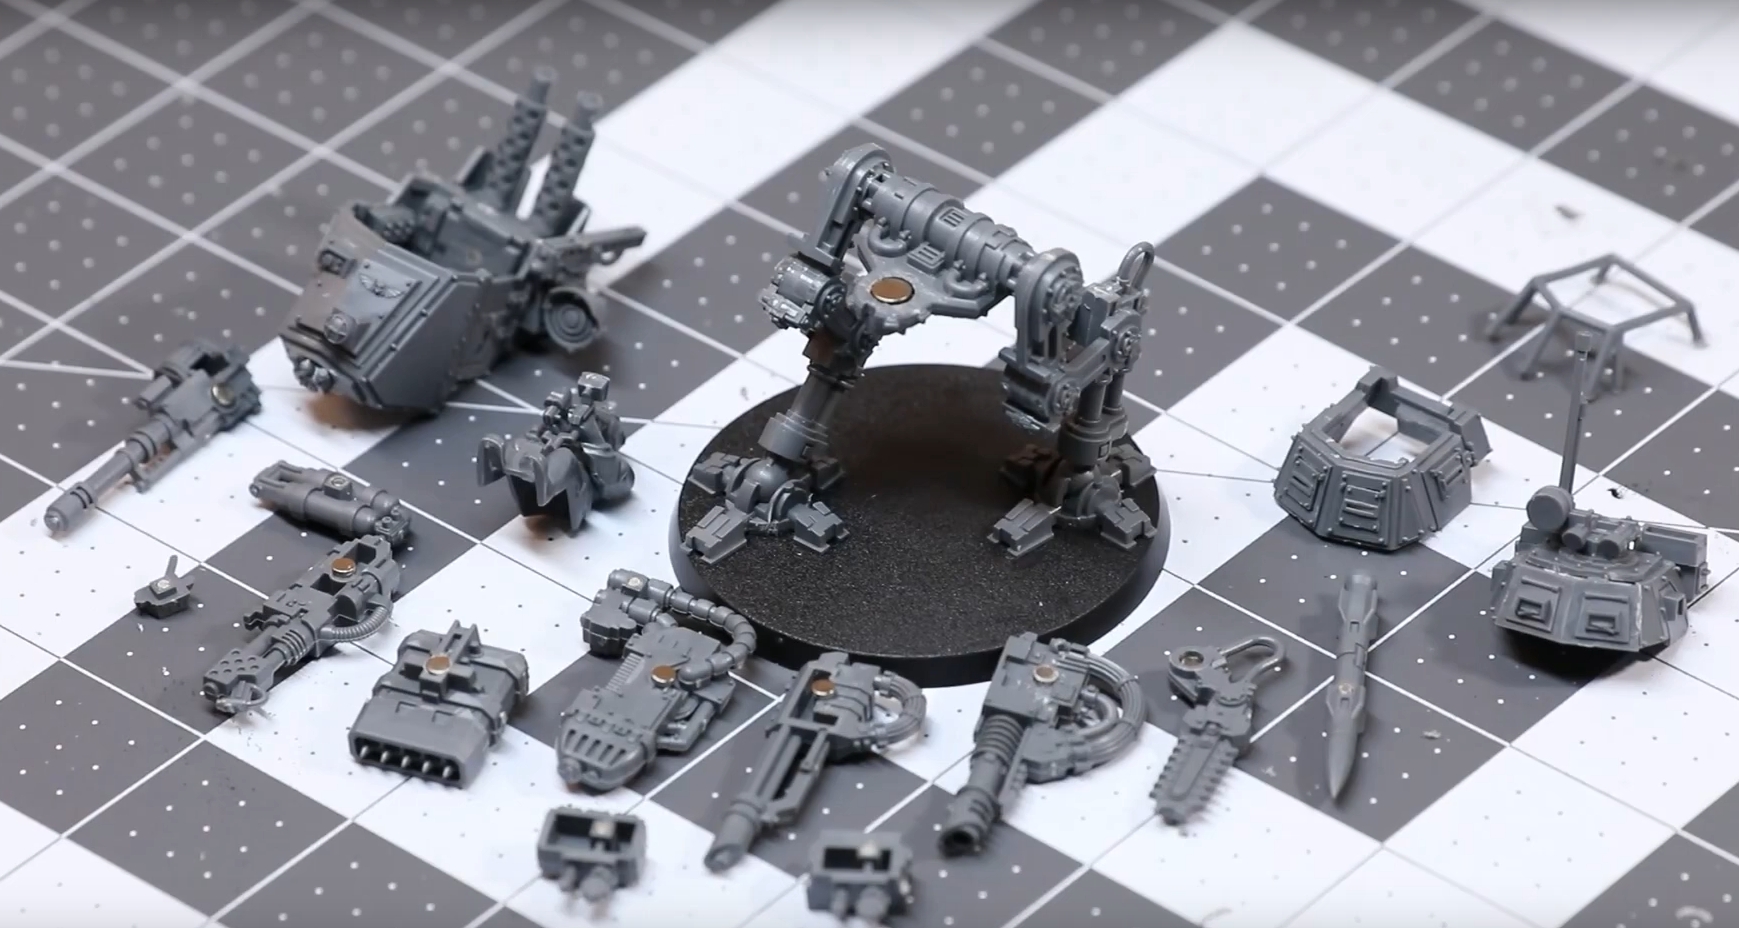
- Magnetize Your Weapon Options to Miniatures
- Customize and interchange weapon options for miniatures in games like Dungeons & Dragons
- Add depth to characters with various weapon choices
- Enhance gameplay by allowing players to switch weapons as needed
- Create Modular Miniatures and Scenery
- Use magnets to design modular miniatures, such as multi-part models or vehicles
- Facilitate easy assembly and disassembly for customization and storage
- Design modular scenery or buildings with interchangeable components for varied gaming environments
- Enhance Miniatures Display
- Use magnets to create dynamic displays for miniatures collections
- Attach miniatures to magnetic display boards or shelves
- Securely showcase miniatures without using adhesive or other permanent methods
- Simplify Game Setup and Organization
- Use magnets to keep game tokens, markers, or accessories organized during gameplay
- Create magnetic game boards or trays for easy setup and storage
- Reduce the risk of lost or misplaced game pieces
By incorporating magnets into various aspects of miniatures gaming, you can enhance the overall experience, making it more enjoyable, organized, and efficient.
The next step in the process is to magnetize your weapon options. Weapon options are what you would use with miniatures when playing games like Dungeons & Dragons. Weapon options include your sword, ax, or even a bow that you can play within the game when needed. Weapon options are what adds the most depth to your character. They add so much more to a game when customizable and interchangeable, but not all weapon options come in a set.
What Size of the Magnet Should You Use?
If you want a nice smooth look without any gaps or overlapping areas, then it is best to use larger sized neodymium magnets. They cost more per unit but are well worth it in terms of appearance. The most common size used is ¼ inch diameter by ½ inch long, which gives good results across most miniatures (tanks/vehicles etc.).

- Fixed magnet sizes are not suitable for this process. They are so small that they will be tough to align correctly, and the magnetized miniature is likely to have visible gaps between each point of contact with the magnets.
- Small magnets – such as the size used for holding fridge notes – are not recommended. They will be difficult to use and give poor results (gaps or magnets sticking out of the surface).
- Larger magnets – such as those used on some model railway layouts – can also give poor results. They are too large to fit into many models’ bases and will again show up if they stick out underneath a miniature or vehicle.
- Round magnets – such as used on refrigerator magnets or bottle openers – are also not recommended. They give poor results because the contact point is too close together (even with a large magnet, such as a ¼ inch diameter).
In Summary: Use ¼ inch diameter by ½ inch long magnets for most miniatures (tanks/vehicles etc.). Smaller sizes may work better with irregularly shaped figures such as monsters. Larger sized magnets should be avoided due to visibility issues when placed under vehicles, buildings, etc.
The Tools You’ll Need
- Hobby knife (X-Acto)
- Pliers (needle nose)
- Metal file (medium grade)
- Super glue (quick dry is preferred, but thread-lock will work as well)
- Small rare earth magnets (Neodymium “rare earth” is what you)
- Magnets (either brass, steel, or neodymium)
- Pin vise drill (optional, but makes it a lot easier and faster to drill holes for magnets)
- Bits for your pin vise drill (again, optional)
- Green Stuff (optional, but highly recommended)
How to Magnetize Your Miniatures (Steps)
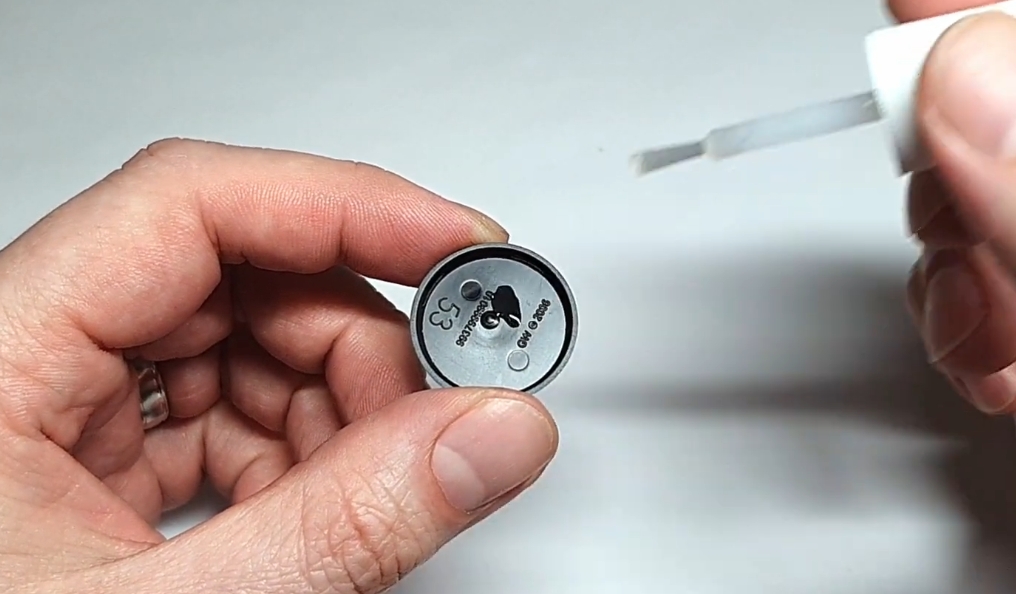
- Step 1 – Cut the tab on your miniature off with a hobby knife.
- Step 2 – File down any rough or sharp edges.
- Step 3 – Drill a hole through the bottom of your miniature with a pin vise drill or an X-Acto knife.
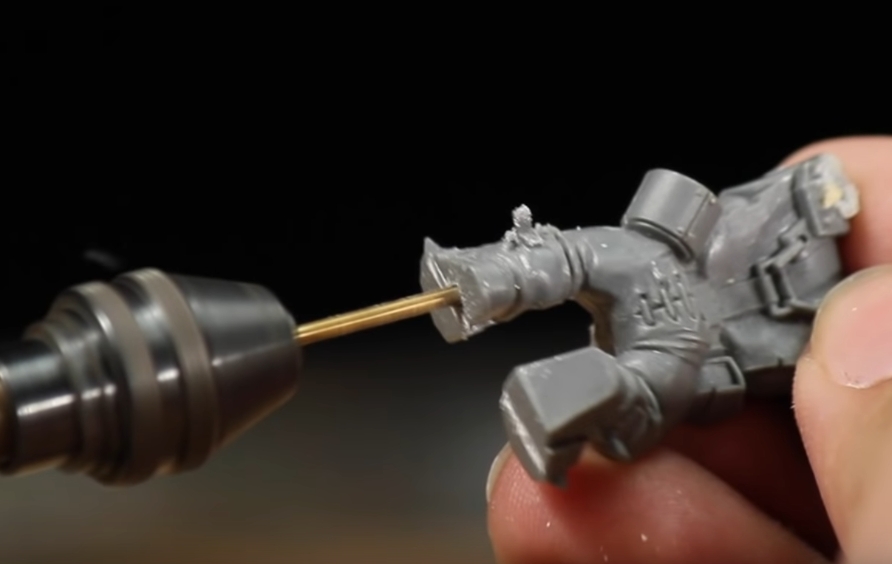
- Step 4 – Glue in magnet(s). Make sure to sandwich them between layers if you’re using two different types (ie, steel and neodymium) for maximum hold time. Still, it’s not necessary unless you have issues with one type falling out before another can be applied because they will likely cancel each other out.
- Step 5 – Glue the other side of your magnet into a metal piece (brass, steel or neodymium) with super glue.
- Step 6 – If desired to fill in gaps between miniatures, attach green stuff around magnets using superglue.
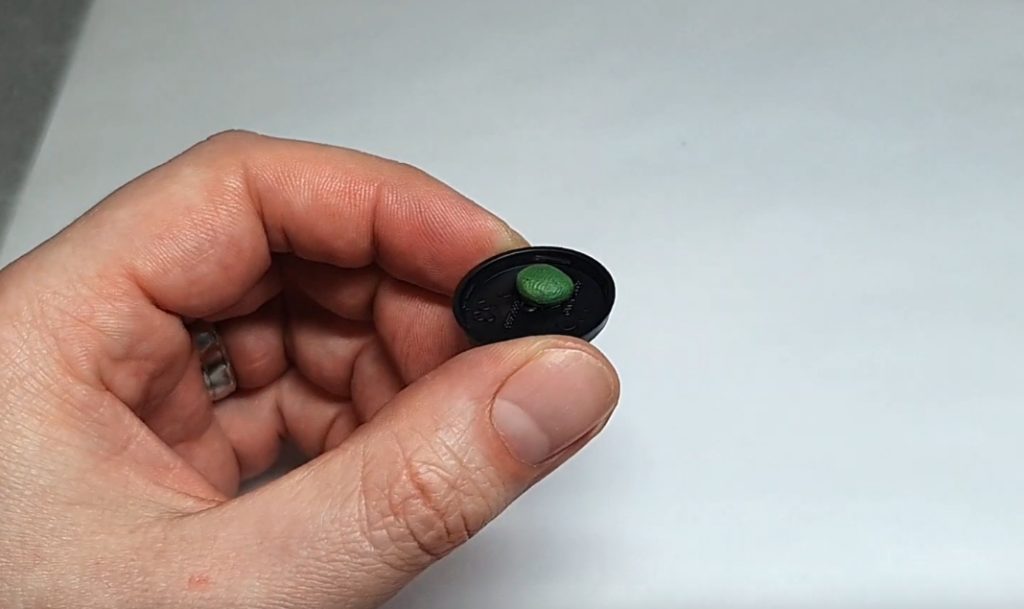
- Step 7 – Apply to the bottom of your miniature and voila! Done!
Conclusion
With the right tools and a little know-how, you can magnetize your miniatures in no time. Assemble all of the materials before getting started! A few quick steps will have your armies at attention and ready to do battle. I hope this guide has been helpful for you on your quest to magnetize your miniatures—or learn more about how magnets work with them.

Hey there! I’m Richard Baker, a miniature painter who’s been in the game for a solid decade now. I’ve been painting miniatures for ten years and I’ve got a ton of tips and tricks to share with you all. My website is a treasure trove of knowledge that I’ve gathered from both my own personal experiences and from reading all sorts of books.


Leave a Reply