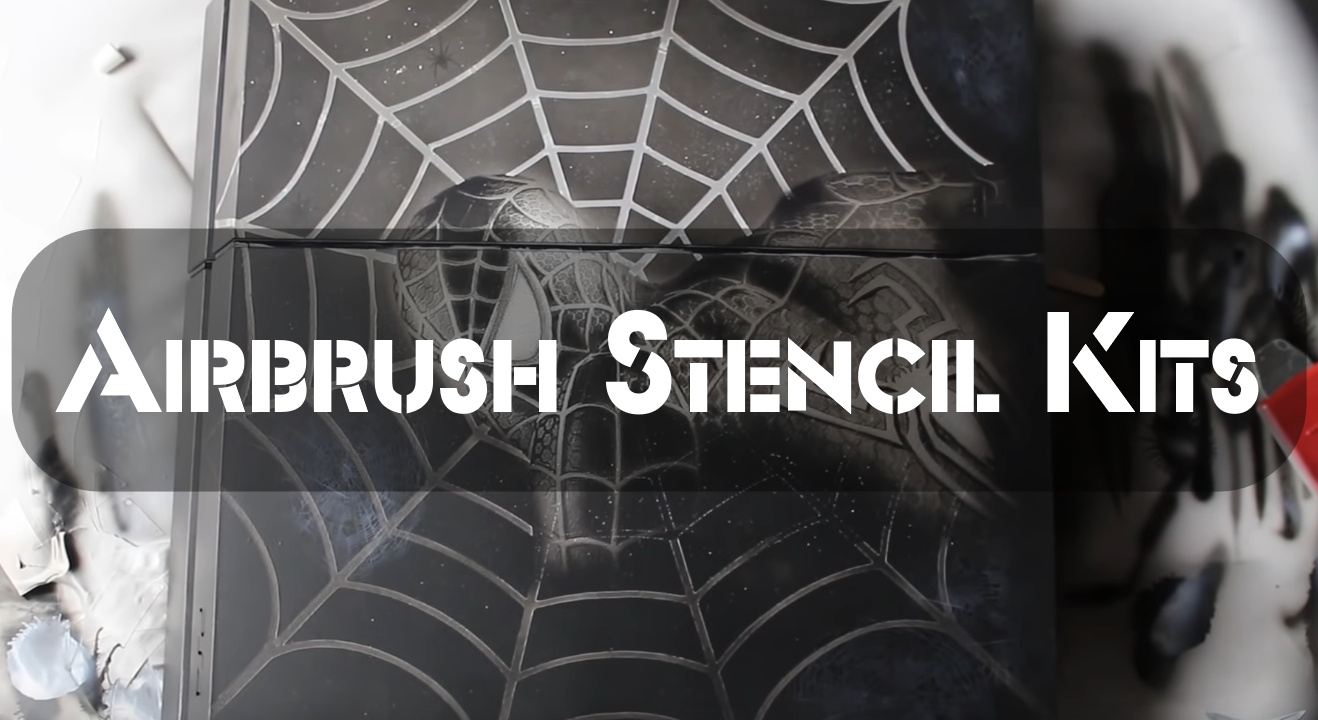
Yo, what’s up guys! So, I just wanted to talk about airbrush stencil kits today. You know, those things that can take your paintings from average to amazing in just a few simple steps. I mean, I’ve always been a bit of a paint and canvas kind of guy, but airbrush stencils have completely changed the game for me.
Honestly, I never realized how versatile these things could be. They come in all sorts of shapes and sizes, and there’s a stencil for just about every design you could imagine. And the best part? They’re easy peasy to use, even for a paint novice like me. I mean, sure, it took me a few tries to get the hang of it, but once I did, it was like a whole new world of creative expression opened up.
What are Airbrush Stencils?

Airbrushing is a great way to let your creative side out. With the right airbrush gun and paint, you can create unique pieces of art that will catch people’s attention. However, remember that the edges of your design may be a little blurry. This is often done to create soft color transitions, but sometimes you may want sharper lines. In this case, you can’t achieve this with just the airbrush.
There are two possible solutions to this problem: you can either spray the background first and then paint all the designs on with a fine brush. This will help ensure that the background doesn’t get washed out often. However, this can be very cumbersome, especially for beginners, and there is a high risk of making mistakes shortly before the artwork is completed.
Luckily, there is a second option. This is where airbrush stencils, or airbrush templates, come into play. You can attach them to a suitable painting surface, and they will create sharp design edges. They are easy to handle and can be found in wide different varieties. They are also made of polyester, which makes them easy to clean.
There are other reasons why you might want to use an airbrush stencil, including:
- If you’re not confident in your drawing skills, you can still create a beautiful design using stencils.
- You can use ready-made designs or be creative and make your own.
- It can be time-consuming to develop your own design, but you can still create beautiful art using other people’s designs.
You can find airbrush templates for free like on the Internet. You can also find professional templates. If you have some skills, you can make your own stencils.
What Can Airbrush Stencils be Used for?
Airbrush templates can be used for all sorts of airbrush projects. It depends on the size of the template. If it is small, you can use it for:
- Temporary airbrush tattoos
- Airbrush makeup
- Painting of cars, motorcycles, and their accessories like helmets
- Photorealistic murals
- Body and face painting
You can use stencils to spray designs on cakes and other foods. This will make your cake look amazing for any wedding or special event.
Pros and Cons of Using Stencils
An airbrush stencil offers the artist different advantages. But there are also some disadvantages to using this kind of method. We have listed these below.
Pros
- We’ve already covered the finest edges and straight lines that you can find.
- To produce genuine beautiful art, you don’t need to be an airbrush specialist; you can make the perfect picture with a stencil.
- Because the film makes it washable and highly durable, a high-quality film can be reused frequently and for lengthy periods.
- Even big areas, such as walls, may be easily sprayed with a stencil.
- If you buy a set, it usually comes with several stencils and detailed instructions that will assist you in producing a correct and beautiful work of art.
- With little effort, you may make a small stencil.
Cons
- The expense of a high-quality airbrush stencil is not insignificant. A single stencil isn’t cheap, but if you want a wide range, you may need to spend more.
- The design is, of course, predetermined, which might be frustrating to obstinate or creative individuals. However, pattern stencils are available in addition to the picture stencils, which allow you greater freedom.
- The still-fresh paints on your artwork may smear if you aren’t vigilant.
- The stencils must be wiped clean after each application, which means more work.
Airbrush Stencil Considerations
An airbrush stencil is made up of many layers of foil. To operate effectively with it, it must be of excellent quality and remain in place, but it also needs to have enough transparency to properly position it on your work. It should be flexible so that you may apply it to various surfaces.
Stencils made of high-quality materials are resistant to solvents and simple to clean. As a result, they have a long life and may be reused numerous times. Consider what you want from the stencils before purchasing one or more. You can make an airbrush stencil if you only need to spray basic designs.
However, you may also have complete kits that allow you to make photorealistic images or highly intricate pieces of art. These come with thorough instructions as well. For individuals who want to get started fast with their airbrush gun, such a collection can act as a substitute for simple stencils. By the way, you may not only follow the directions provided by this kit but also combine the stencils in unique ways and spray new pictures repeatedly.
Airbrush Stencil Tips and Tricks
Keeping your templates organized and stored properly is crucial, especially when working with comprehensive airbrush template collections. If not maintained correctly, there is a risk of unwanted mistakes in the finished artwork. As a result, it’s essential to follow the provided instructions. Of course, this constraint only applies if you want to use the techniques outlined in the guidelines. You are free to mix and match individual stencils as desired, and through trial and error, I found that experimenting with different combinations can yield fascinating results.
After trying various airbrushing techniques and based on my own experience, I’ve gathered some useful tips and tricks to enhance your airbrush stencil projects:
- Allow drying time:
- Give a brief pause after each spraying session to let the sprayed colors dry. This doesn’t take too long, but to be on the safe side, you don’t want to smudge your colors with the stencil.
- Prioritize safety:
- When airbrushing, consider your safety. My findings show that using a mask and disposable gloves when working with airbrush templates is essential. As the templates must be held in place while spraying, this helps prevent contact with potentially harmful paint or solvents.
- Experiment with layering:
- As my tests have shown, layering different stencils can create interesting effects and depth in your artwork. Feel free to mix and match stencils to achieve the desired look.
- Invest in a stencil adhesive:
- According to my experience, using a stencil adhesive can help keep your stencil firmly in place during the airbrushing process, ensuring crisp, clean lines and reducing the risk of paint bleeding under the stencil.
- Clean your stencils regularly:
- My investigation shows that regularly cleaning your stencils not only prolongs their lifespan but also prevents paint buildup, which can affect the quality of your designs.
- Practice proper storage:
- Store your stencils flat and away from direct sunlight or heat sources to prevent warping or damage. Proper storage will ensure your stencils are ready for use whenever you need them.
How to Clean Stencils
Proper care and maintenance of your airbrush stencils will ensure they last longer and continue to provide you with precise, clean designs. Regular cleaning is an essential part of this process. The method for cleaning airbrush stencils depends on the type of paint used. As a result of using these products and after experimenting with various cleaning methods, I’ve developed a step-by-step guide to help you clean and maintain your stencils effectively:
Step 1
Identify the type of paint used on your stencils:
- For water-based paint, my findings show that warm water is usually sufficient. Alternatively, you can use isopropyl alcohol or a specialized airbrush cleaner.
- For solvent-based paint, choose a compatible cleaner, such as an appropriate solvent or thinner.
Step 2
Prepare the cleaning solution:
- Fill a bowl with the suitable cleaner identified in step 1.
- If you used spray adhesive on your stencil, my investigation has shown that adding isopropyl alcohol to the cleaning solution is beneficial.
- Mix the solution by filling the bowl halfway with water, then topping it off with cold water and ice cubes.
Step 3
Soak the stencils:
- Place one stencil at a time in the cleaning solution, ensuring it is fully submerged.
- Based on my observations, allowing the stencil to soak for about 30 minutes will help dissolve the paint and any adhesives.
Step 4
Remove and clean the stencils:
- Carefully take the stencil out of the cleaning solution.
- Place the stencil on a double layer of paper towels or a clean, dry cloth.
- Using a cloth or paper towel soaked in the cleaner, gently wipe both sides of the stencil to remove any remaining paint or adhesive residue. Be cautious not to damage the stencil’s delicate edges.
Step 5
Dry and store the stencils:
- Once the stencil is clean, let it air-dry or gently pat it dry with a clean cloth or paper towel.
- Store the stencils in a dry, safe location where they will not be damaged or exposed to dust and dirt.
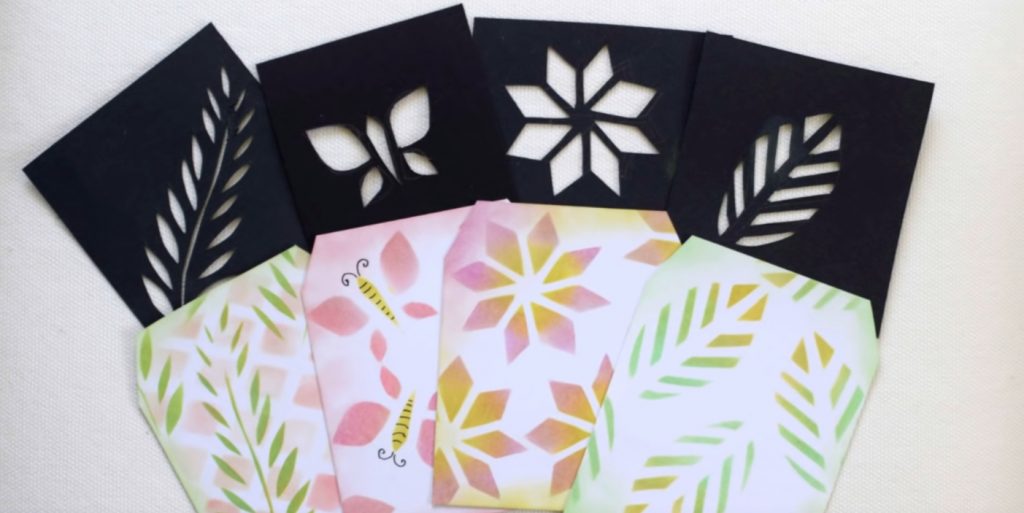
Making Airbrush Stencils Yourself
If you don’t want to buy pre-made designs, creating your own stencil for airbrushing can be an innovative and cost-effective solution. Based on my own experience, making your own stencils gives you more control over the final appearance of your artwork. To create an airbrush stencil on your own, you’ll need a few supplies:
- An editor
- A cutting mat
- Stencil film
- Paper and pencil
Here is a step-by-step guide on making your own airbrush stencils:
- Sketch your design: Begin by sketching the image you want to create and draw it down on paper with a pencil.
- Prepare the cutting mat: Adhere your drawn motif to your cutting mat using adhesive tape.
- Cut out the design: Cut out your concept using the cutter and stencil film. Place the stencil film over the design after tracing the contours with the cutter.
As a result of my tests, I determined that an alternative to stencil film is using thick cardboard to create an airbrush stencil. However, the edges of cardboard stencils may not be as smooth and precise as those made with stencil film.
Airbrush Stencils for Printing and Cutting
If you don’t want to purchase pre-made stencils, you can also download free printable airbrush stencils from the Internet and use them in the same way as outlined above to create a stencil. This method allows you to get beginner’s airbrush stencils on demand without spending any money. To do so, follow these steps:
- Find a suitable design: Search online for free printable airbrush stencils that fit your desired theme or style.
- Print the stencil: Print the design onto paper or directly onto stencil film if your printer allows it.
- Cut out the stencil: Carefully cut out the design using a cutter or craft knife, following the lines of the printed image.
- Apply the stencil to your project: Position the stencil on your artwork, ensuring it’s properly aligned before securing it in place with tape or adhesive spray.
Beginners should use airbrush stencils, which are particularly helpful since they allow you to be creative while seeing fast outcomes. My investigation has shown that templates can also be beneficial to advanced users. In my opinion, any studio should have an essential collection of airbrush stencils on hand for various projects and techniques.
FAQs
Is it facile to operate airbrush stencil kits?
Verily, airbrush stencil kits exhibit a modicum of facility in operation, including by those new to the craft.
What manner of stencils are encompassed in an airbrush stencil kit?
Airbrush stencil kits incorporate an assortment of stencils, incorporating, albeit not limited to, letters and numerals, geometric shapes, symbols, and ornamental designs. Certain kits further incorporate bespoke stencils that can be created from your own unique designs or logos.
Can airbrush stencil kits be reused?
Yes, in fact, a bevy of airbrush stencil kits are amenable to being reused on multiple occasions. Simply cleanse the stencil following usage to eliminate any residual paint, and store it in a secure location until its next use.
Are there varying dimensions of airbrush stencil kits accessible for purchase?
Aye, verily, airbrush stencil kits proffer a panoply of sizes, from diminutive kits encompassing merely a few stencils to more sizable ones with dozens of stencils in sundry sizes and motifs.
Is it feasible to craft one's own stencils to utilize with an airbrush?
Indeed, many airbrush artisans fabricate their own stencils using a plethora of materials, such as vinyl, cardboard, or acetate sheets. Additionally, enterprises specialize in creating custom stencils for airbrush artists.

Hey there! I’m Richard Baker, a miniature painter who’s been in the game for a solid decade now. I’ve been painting miniatures for ten years and I’ve got a ton of tips and tricks to share with you all. My website is a treasure trove of knowledge that I’ve gathered from both my own personal experiences and from reading all sorts of books.


Leave a Reply